PROCESS
PROCESS
PROCESS
PROCESS
User Research
Updraft prepares climbers for the unpredictable nature of altitude sickness.
Updraft prepares climbers for the unpredictable nature of altitude sickness.

The High Sierras
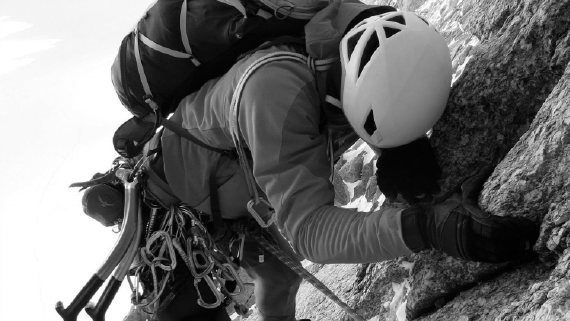
The Sierras offer a wide range of climbs in terms of grades. Some of the most difficult of these being a Grade VI. This is called “a big wall”. A Grade VI has more than 15 pitches and takes more than two days to complete. These consist of lots of difficult "free" and "aid climbing".
The Climber
Jacob
25 years old
Experienced climber
Living in Southern California.
Sport Chalet employee
Jacob and three of his friends have set up camp for a night under the trees below 10,000 feet. They will get up early the next day to do some traditional multi-pitch climbing on the big walls that the Sierra has to offer.
Interviews With Experienced Climbers
Aiden
Aiden works at Sport Chalet in the climbing department. He has grown to be an avid climber, hiker, and mountaineer since he was a teenager. Aiden frequently climbs in the High Sierra, Tahquitz, and Apple Valley.
Justin
Justin works at Sport Chalet in the climbing department. Though he’s recently gotten into climbing in the last few years, he has done some climbing in the High Sierras.
Tyler
Tyler works at the REI in Santa Anita. He has done big wall climbs before and has been caught up on the wall in a storm. He waited out the storm praying that he wouldn’t be struck by lightning.
Data Samples
Excerpts from interviews
“Most people will backpack up and camp before climbing a specific route.”
“They just look down at their feet and don’t pay attention to their breathing.”
“The weather in the Sierra is often underestimated.”
“Gore-Tex will keep you dry but it will not keep you warm.”
“You may have hypothermia and not know it.”
“Escape or retreat will involve technical difficulties.”
“Rappelling down is usually the safest option, but sometimes it's better to just finish the climb.”
Data Interpretation
What I learned
Some climbers aren’t concerned with altitude sickness until they experience symptoms.
Climbers are concerned about the weather all the time.
Climbers are either fully prepared and take longer or carry less and go faster.
Climbers use either down or synthetic jackets to keep warm.
Insights
So what?
There are many different variables that go into altitude sickness.
Climbers have to slowly acclimatize to the altitude.
Climbers have to slowly acclimatize to the altitude.
Climbers need to be able to get down quickly in an emergency.
Climbers have to deal with many obstacles related to their gear and the environment.
Design Implications
Criteria for this project
Awareness of oxygen levels, breathing patterns, and rate of ascent are important.
Climbers need to be able to adjust to altitude quickly.
Gear needs to be lightweight and compact.
Gear should not be an obstacle when it’s not in use.
Technology Research
Technology Research
Technology Research
Oxygen Use
What's needed?
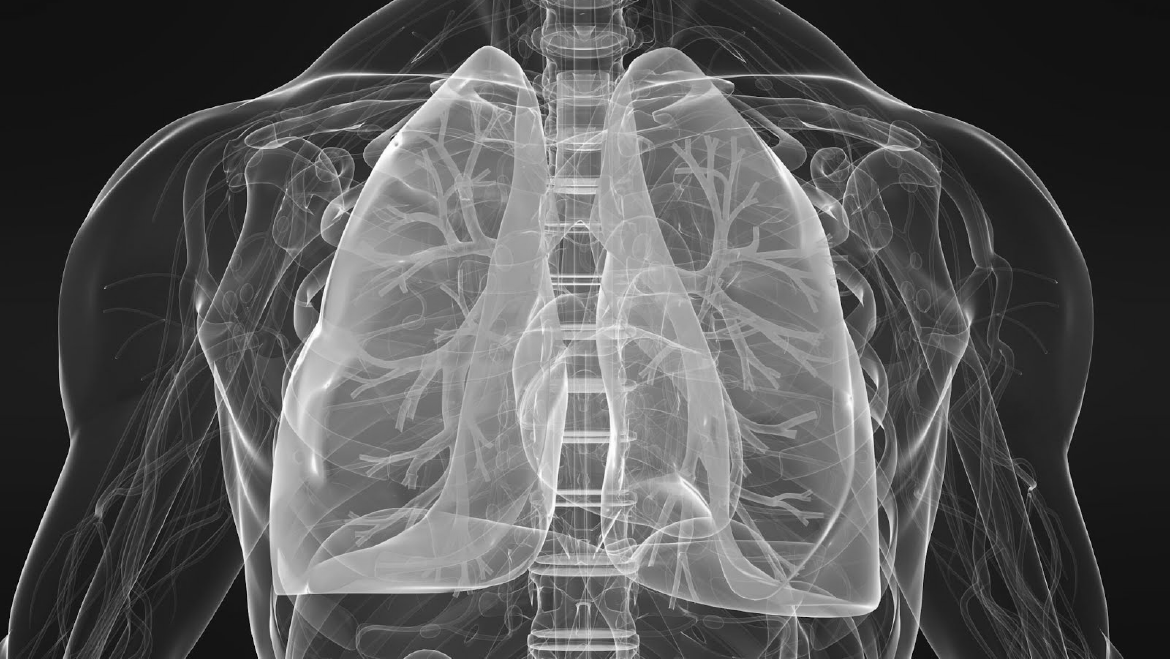
Hypoxia is the lack of oxygen in your system. Not enough oxygen can make you feel ill or kill you. Too much oxygen can be toxic.
You can use the known barometric pressure of any altitude to calculate the percent oxygen concentration that would balance out the loss of pressure at altitude.
X = 149 / ( mmHg - 47 )
Oxygen Storage
Compressed Oxygen
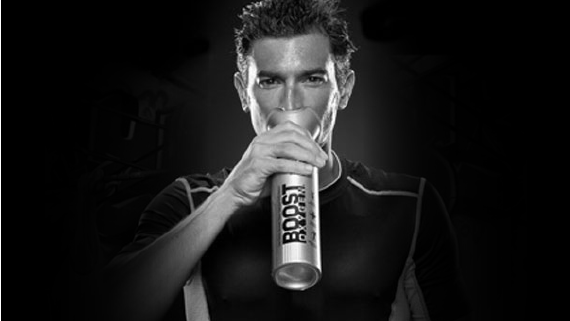
Currently, there are some lightweight cans of compressed oxygen for recreational use. These are advertised as: 22oz, 6 Liters, 150 breaths. At a normal rate of breathing, this will last 7.5-12.5 minutes.
With 95% pure oxygen, this is much more than the body needs. At 14,000 ft, the amount of oxygen needed is 36.97%. If a flow limit equivalent to this is introduced, the same can will last 19-32 minutes. This is almost three times as long at 350 breaths.
If one hour of time is needed, the specs could be doubled to 44oz. If the weight is too much for one person, multiple members of the party could carry smaller, lighter tanks.
Hydrogen Peroxide
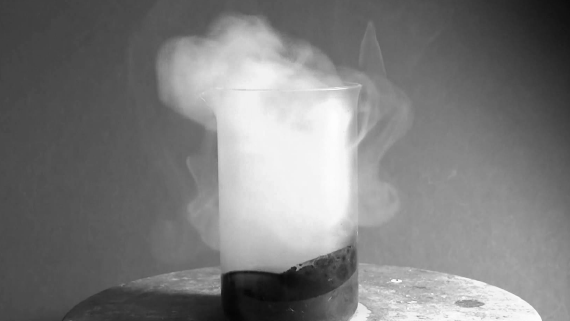
Hydrogen peroxide, or H2O2, naturally decomposes into water and oxygen. This takes a really long time, so a catalyst is required to speed up the process.
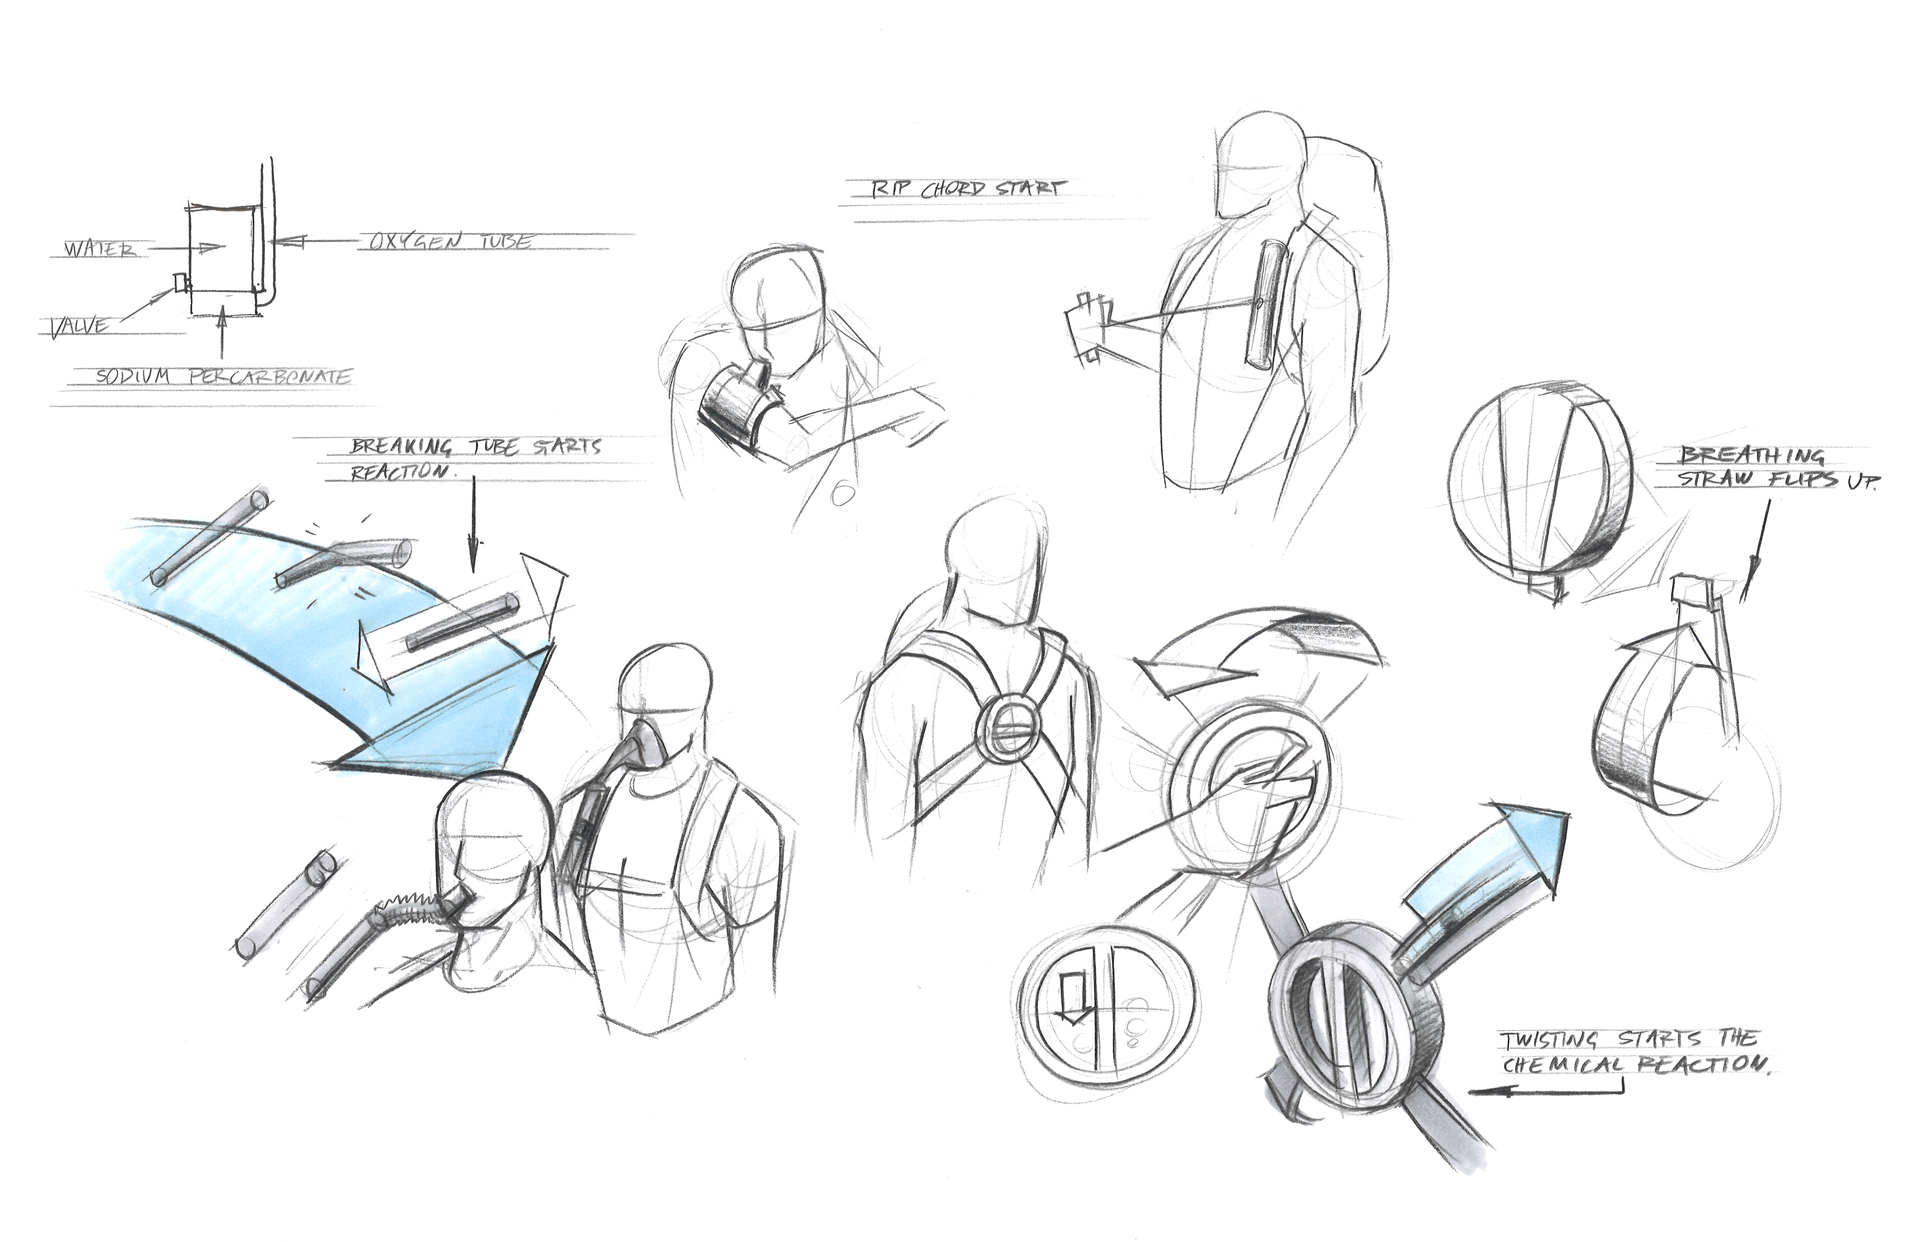
Sodium percarbonate can be used as an efficient and solid source of hydrogen peroxide. 10g of catalyzed sodium percarbonate (a tablespoon) produces more than 1 liter of oxygen gas. Hydrogen Link Inc. is a research group that makes a proprietary catalyst that they think is the most efficient.
Chemisorbtion
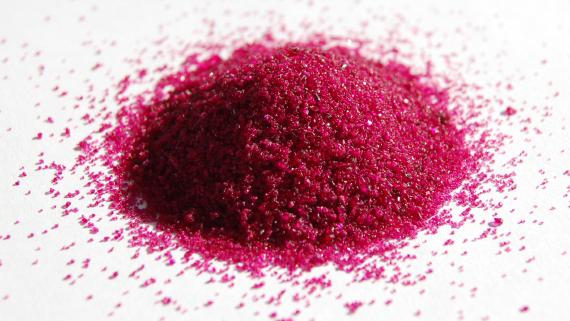
Researchers from the University of Southern Denmark have synthesized crystalline materials that can absorb and release oxygen like a sponge. The substance can bind oxygen in a concentration 160 times larger than that in the air around us. It can be compared to an oxygen tank but can store three times as much oxygen.
Just one spoon of the substance is enough to absorb all the oxygen in a room. The oxygen can be released by gently heating it or subjecting it to low pressure.
Concept Generation
How it Works
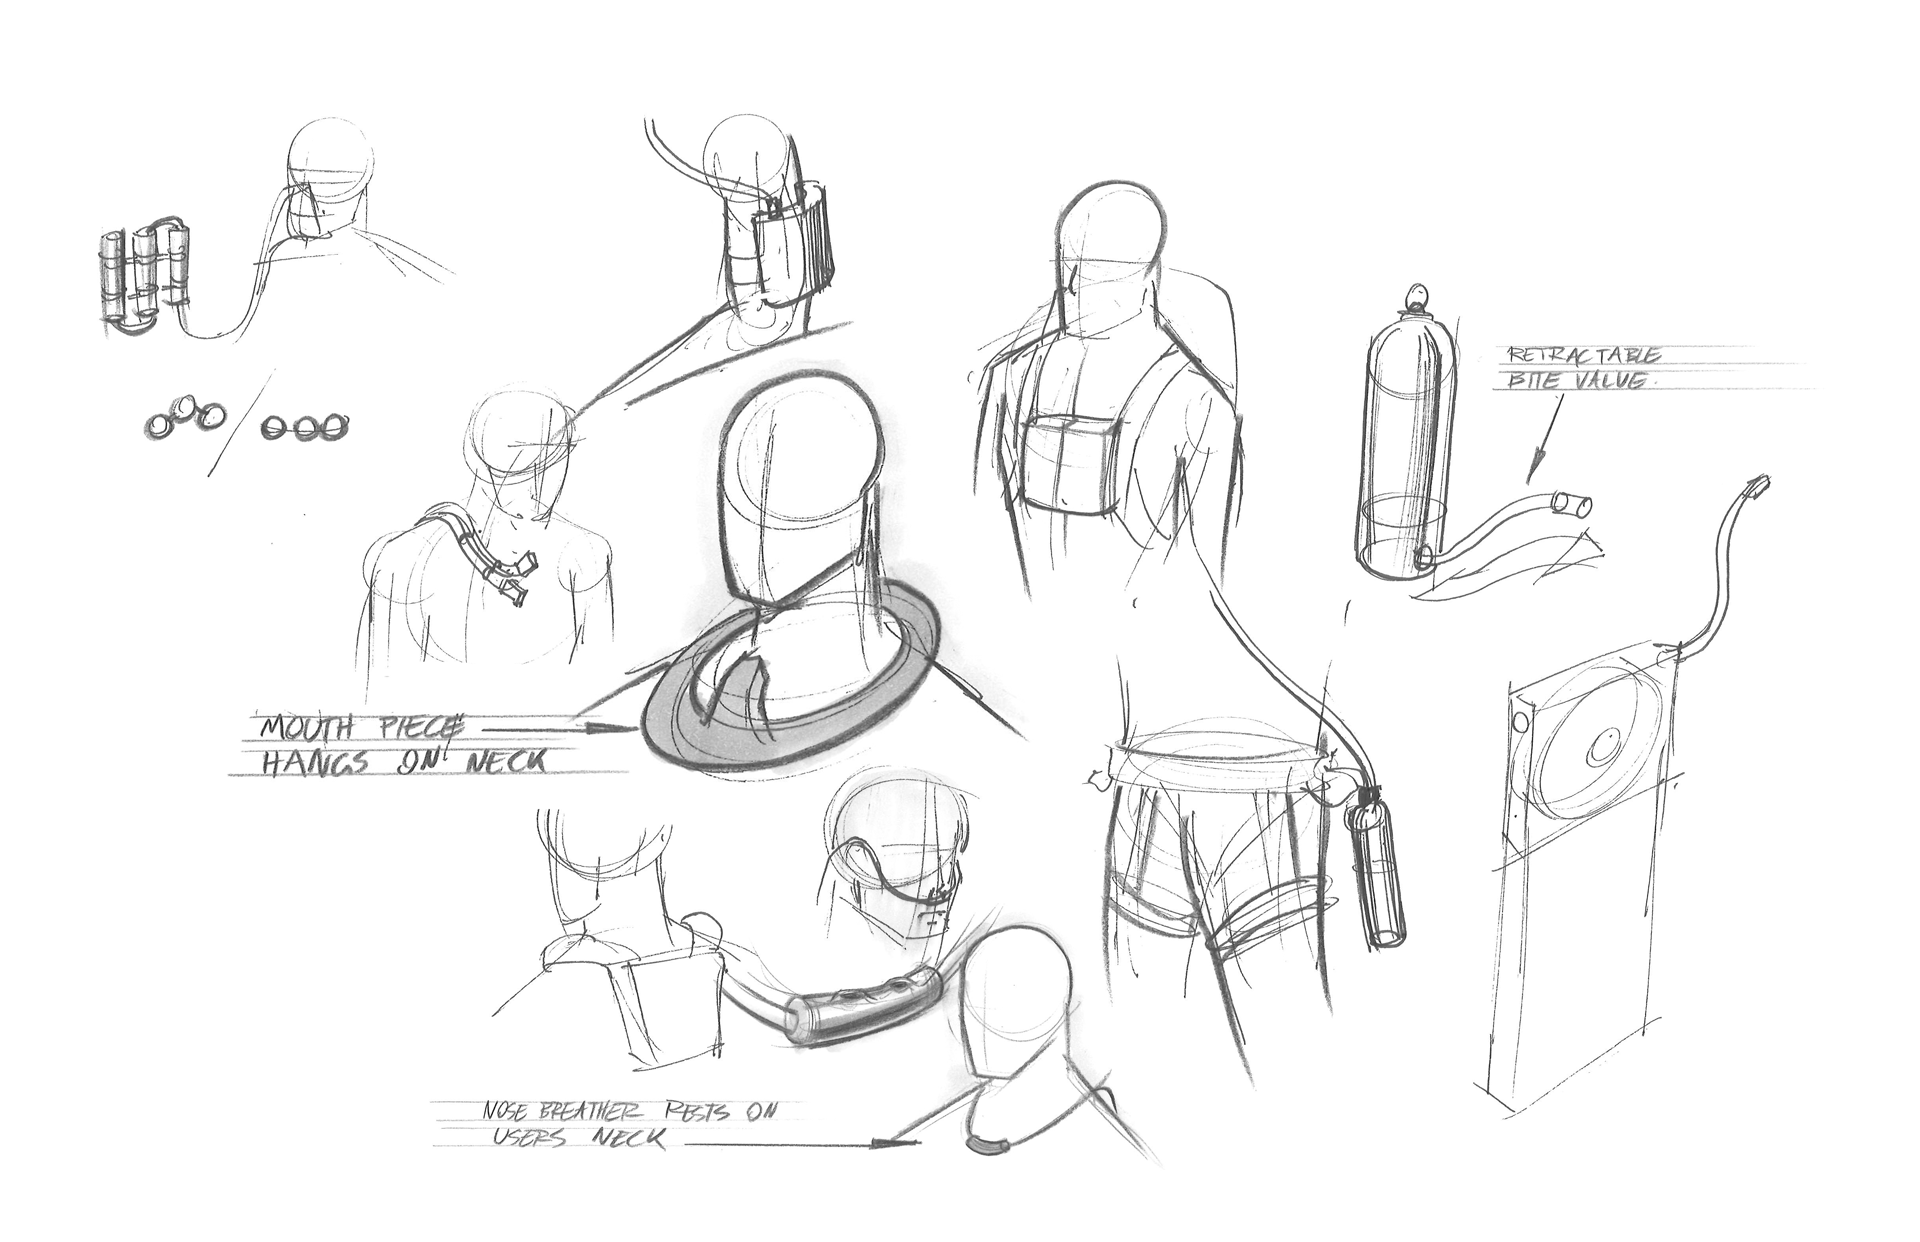
Oxygen Distribution
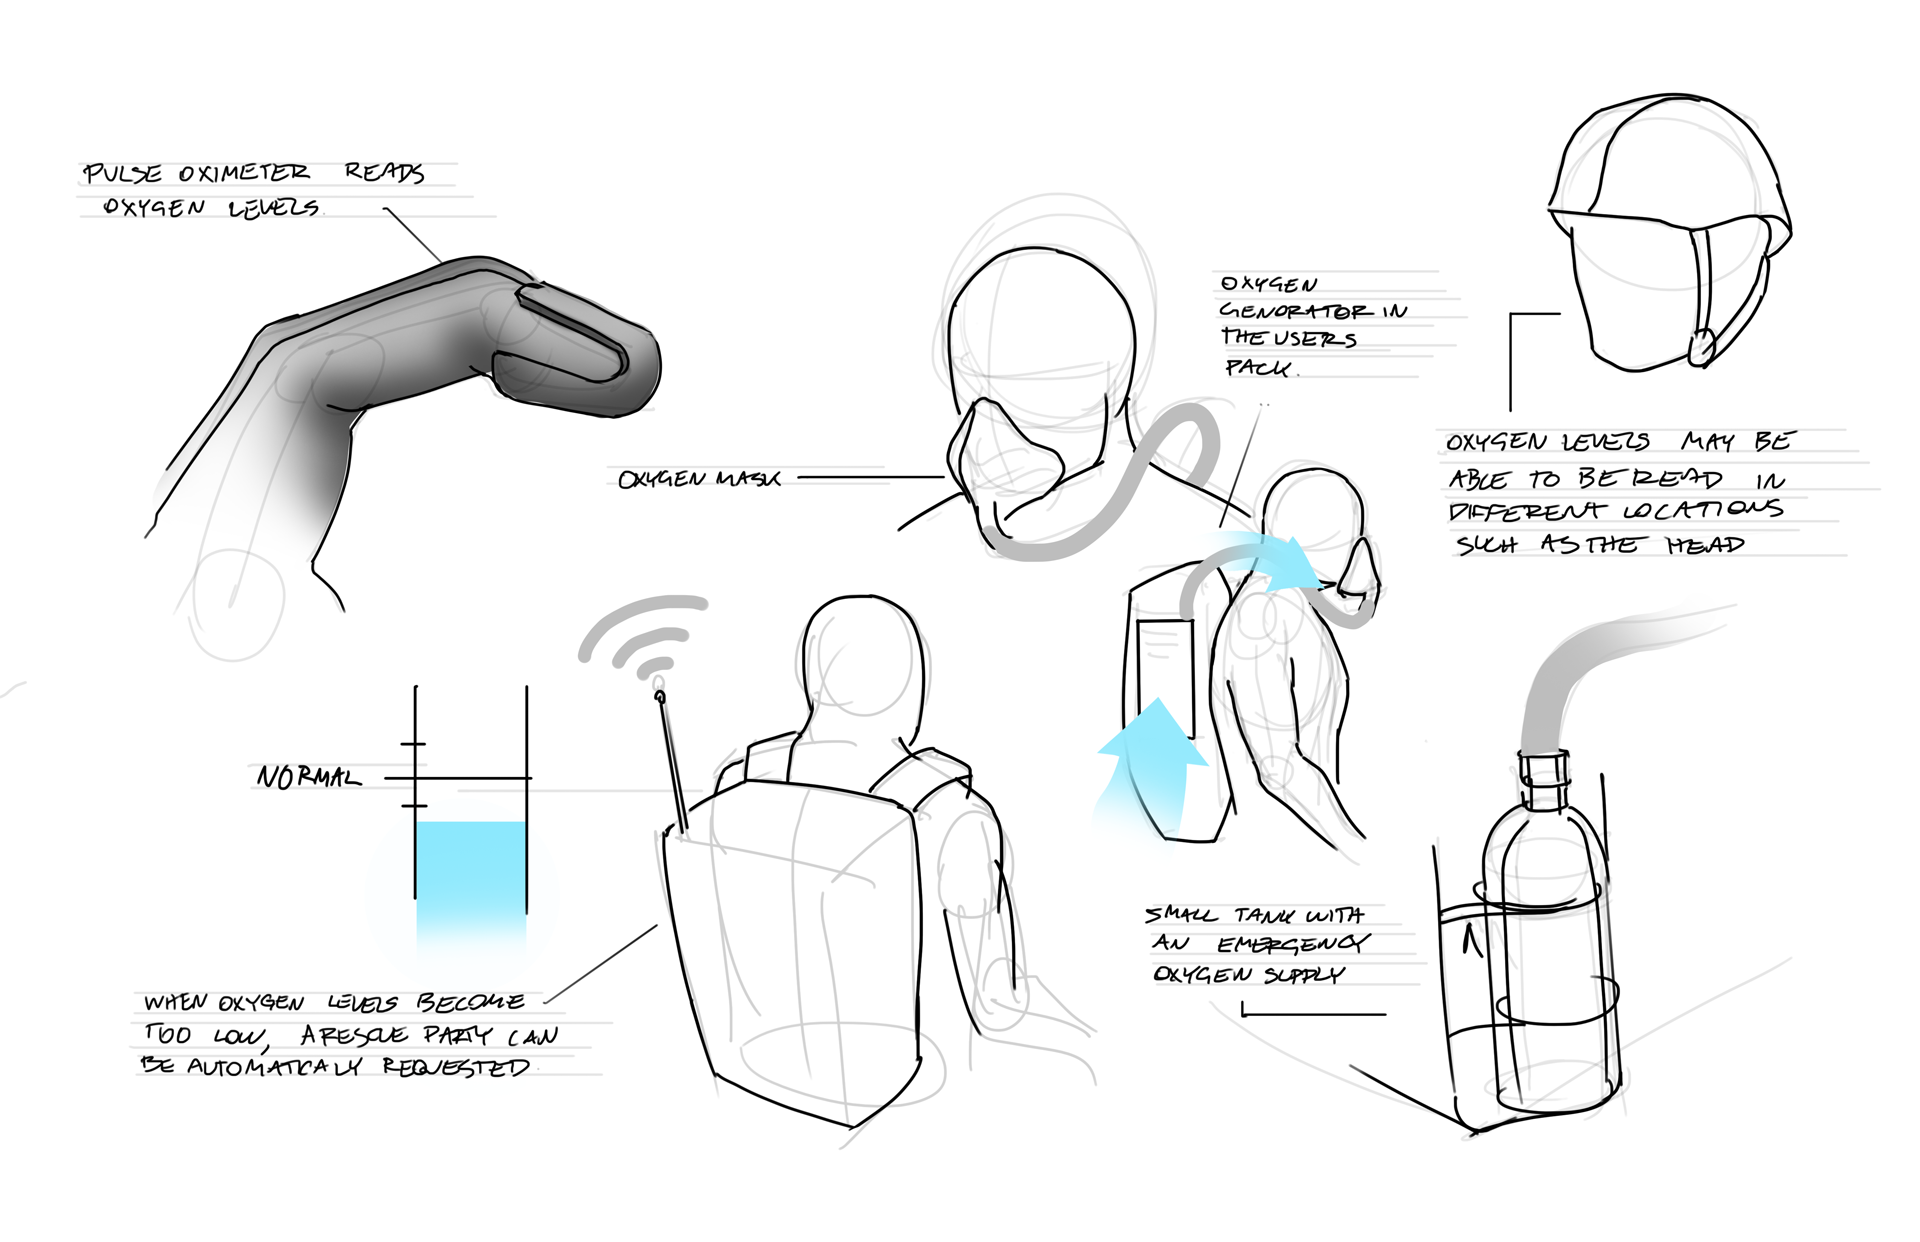
Early exploration of the relationship between monitoring, notifying, and supplying oxygen.
Hydrogen Peroxide Storage
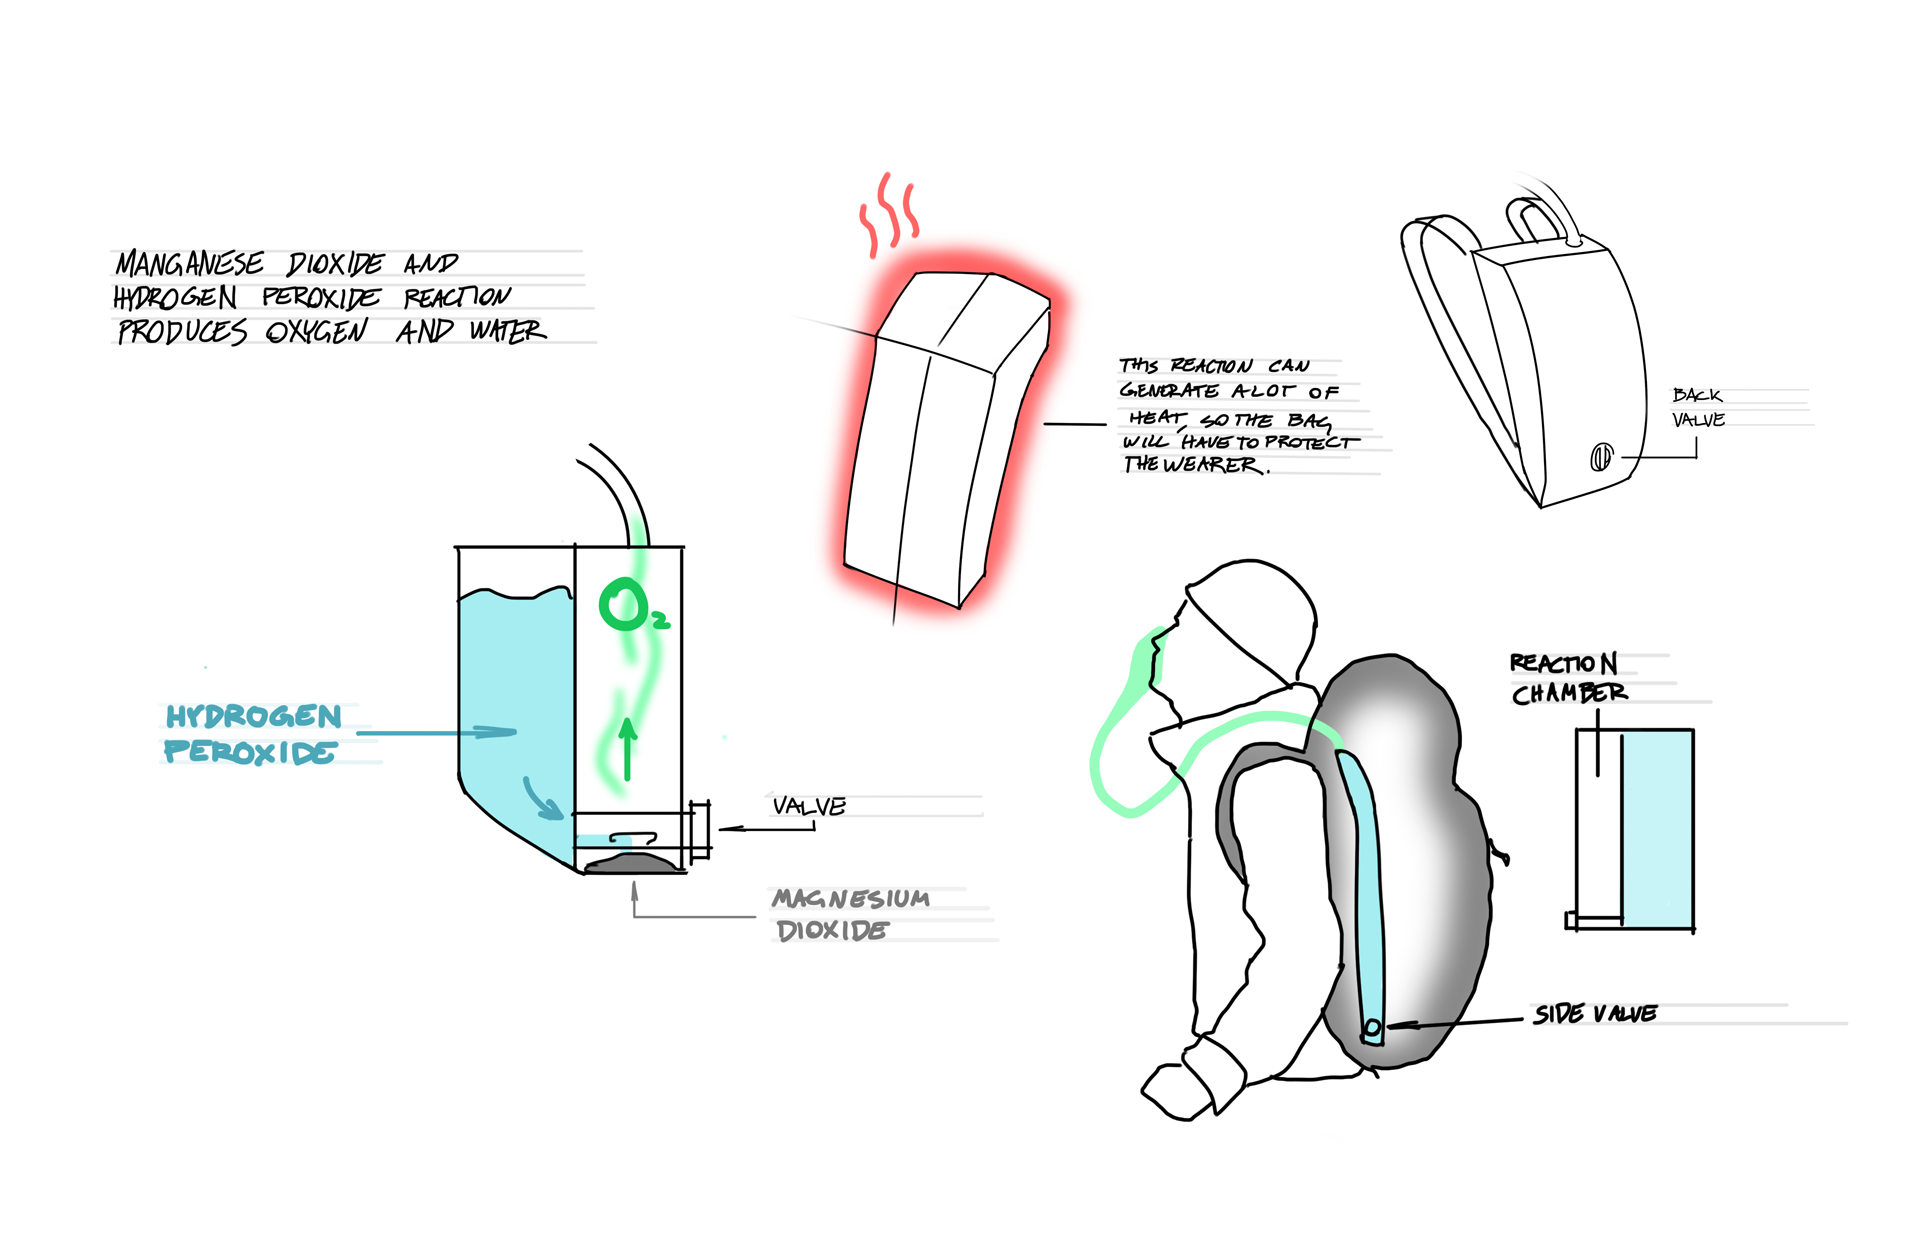
This concept explores how the breakdown of hydrogen peroxide into water and oxygen could be used to store oxygen.
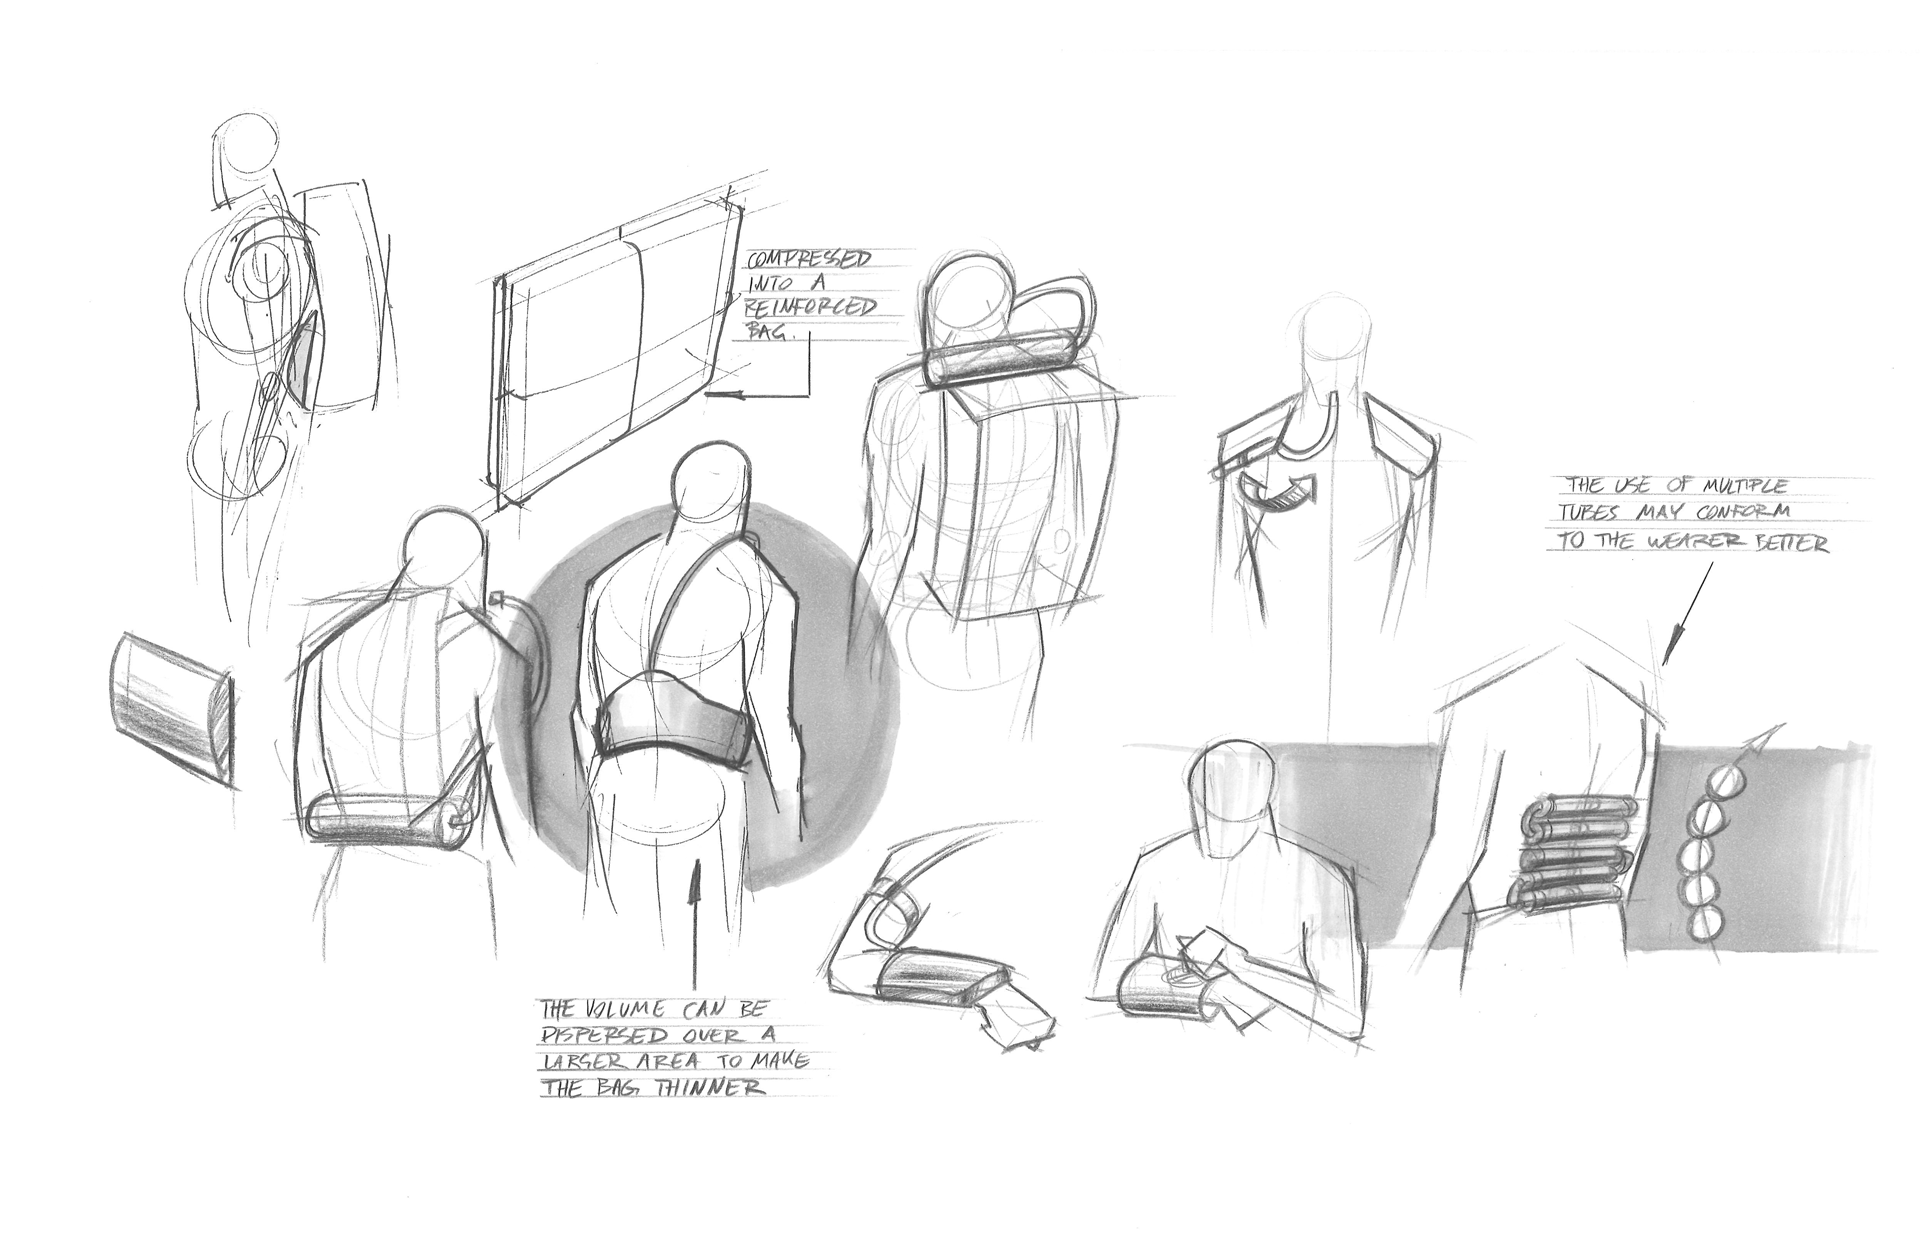
Compressed Oxygen
This concept explores how more efficiently used compressed oxygen bottles could be carried and distributed.
Chest Piece Release
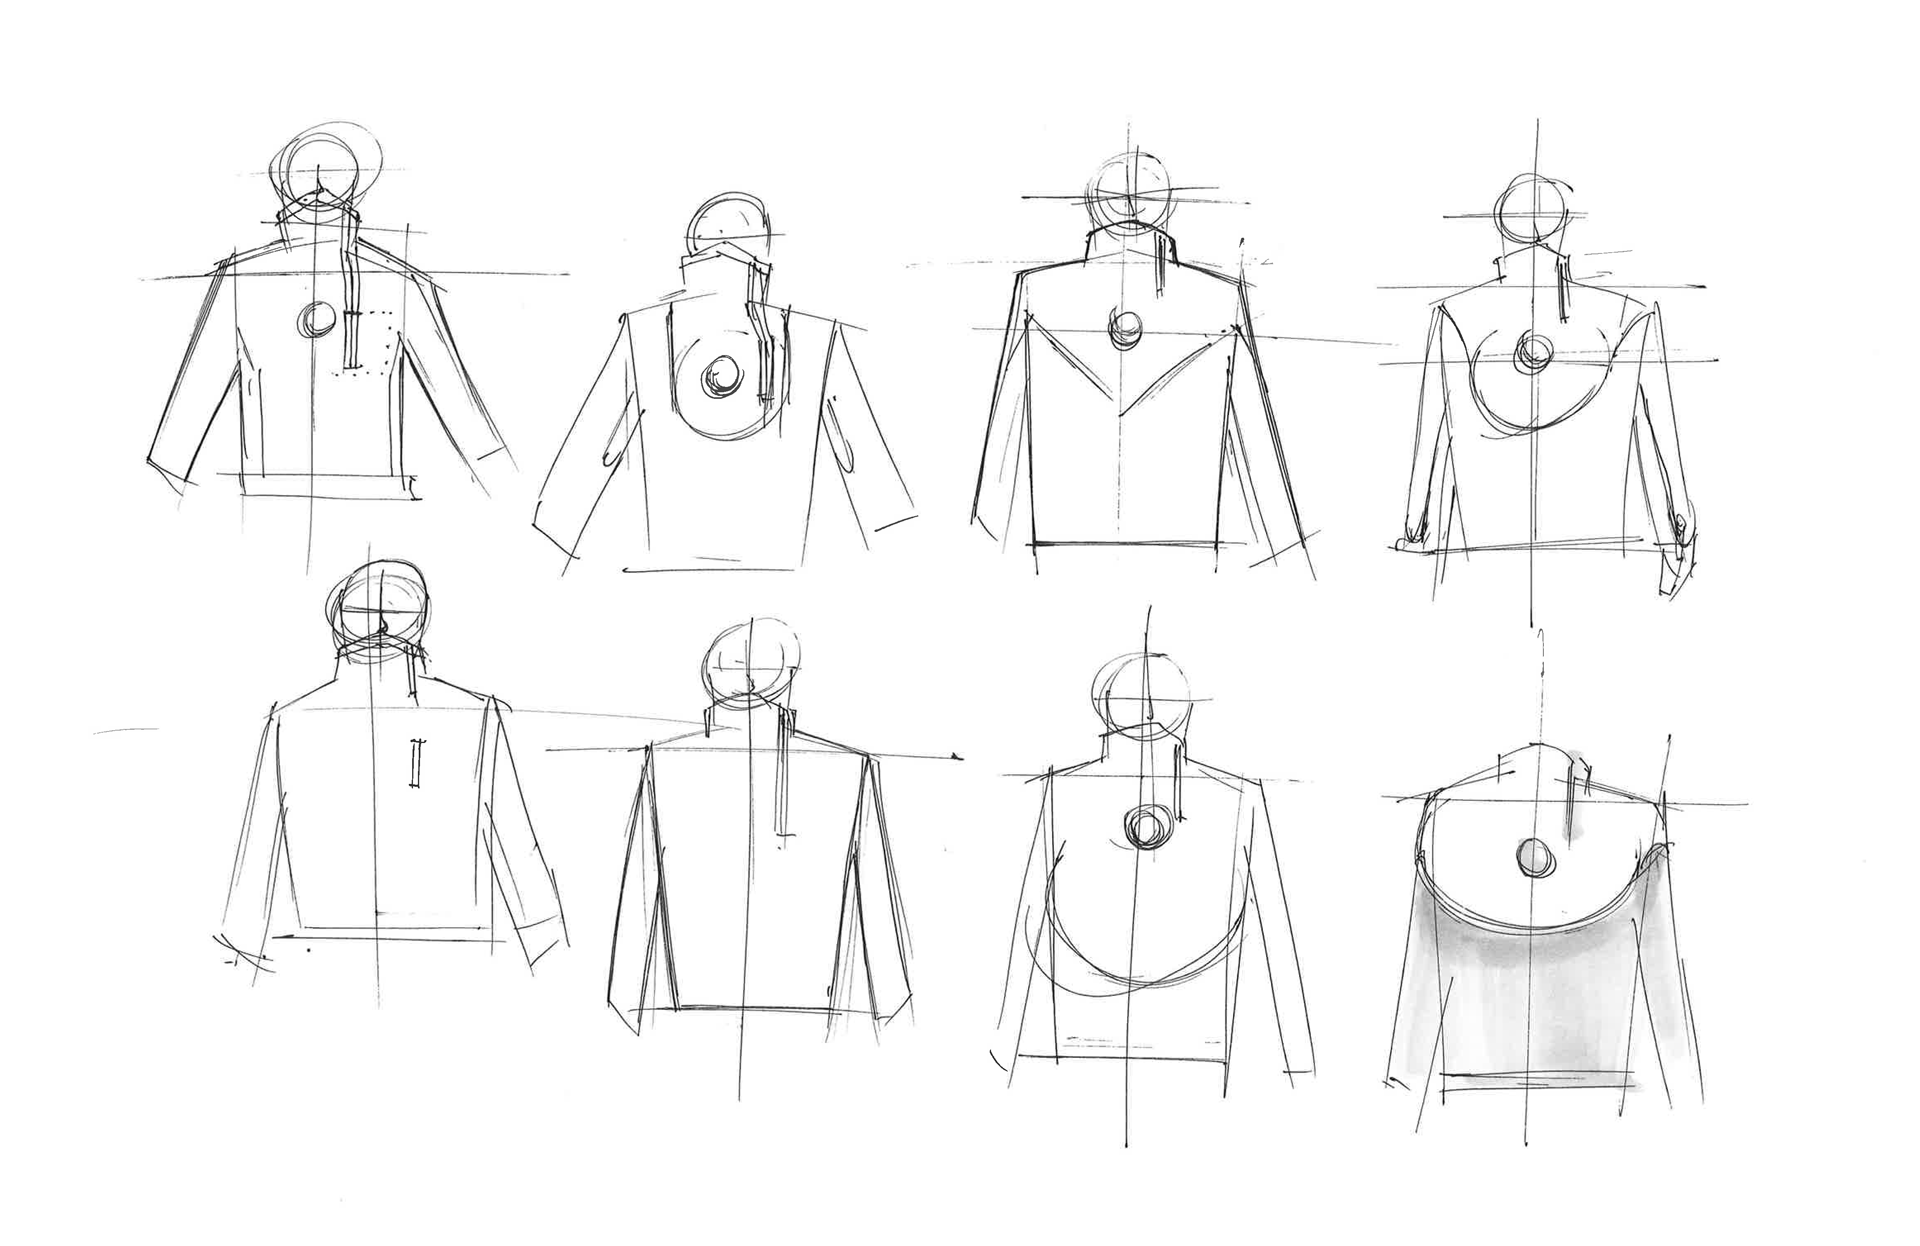
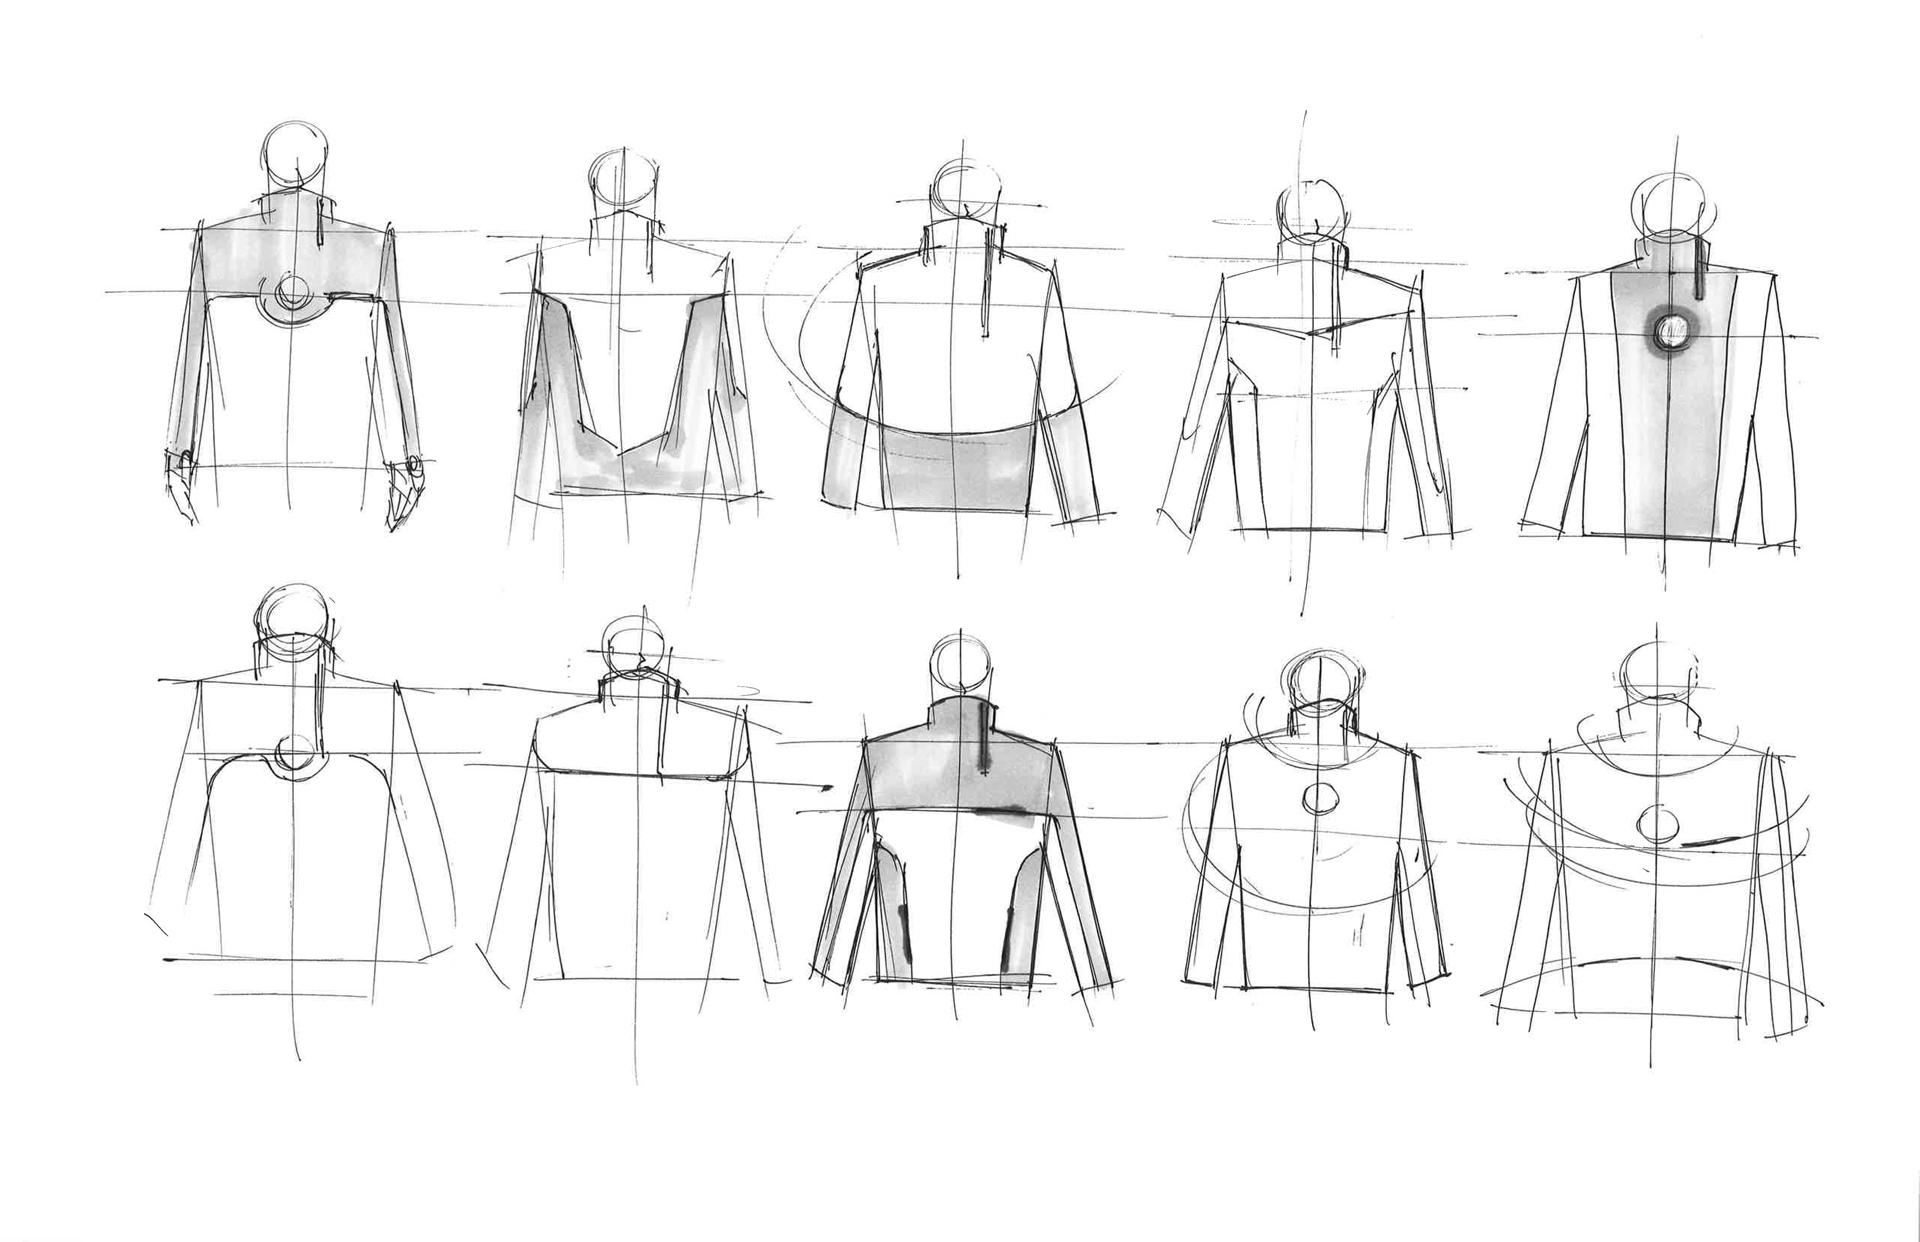
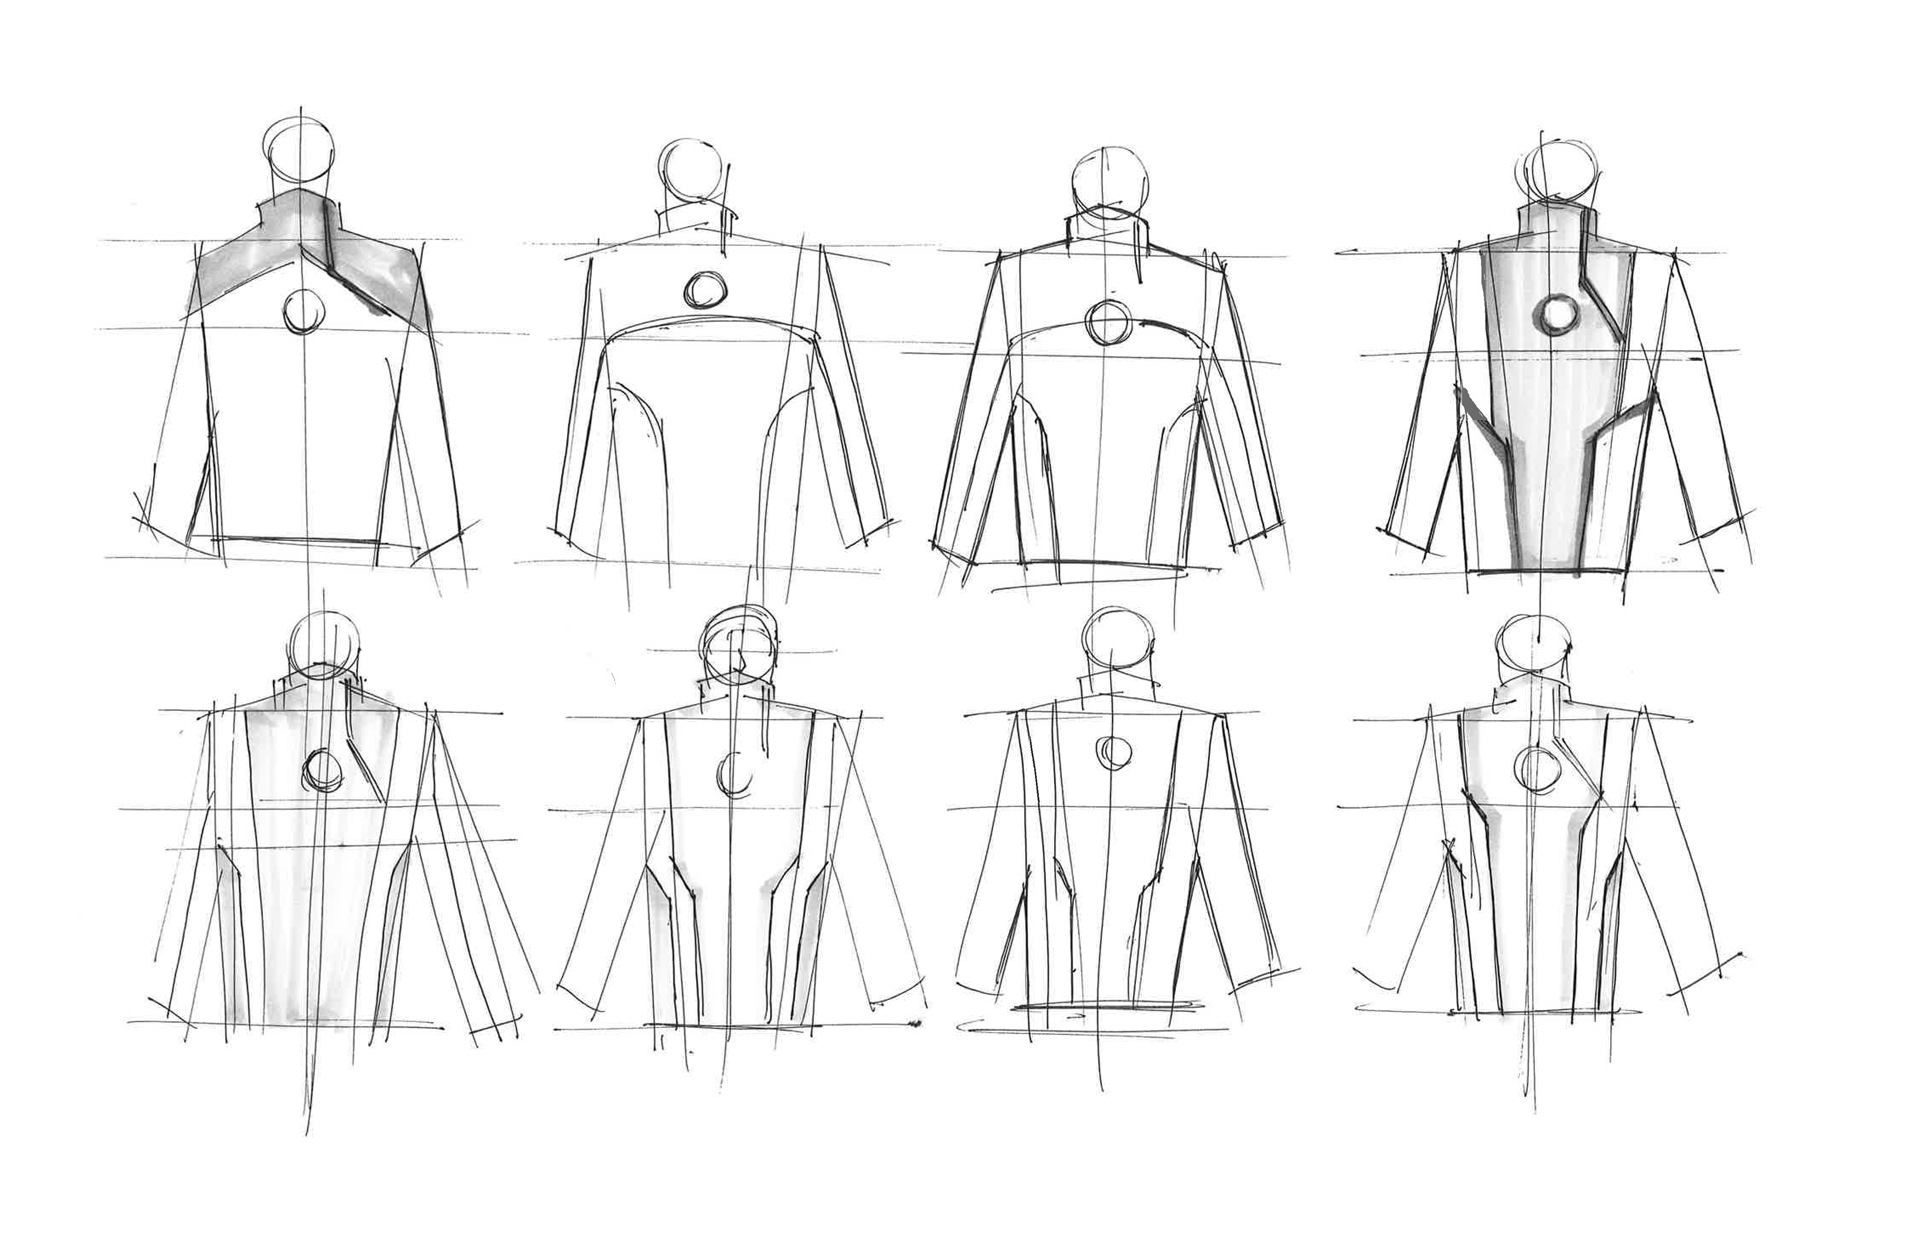
The release of oxygen could take place on the chest. This area seems to be most out of the way while still remaining easily accessible.
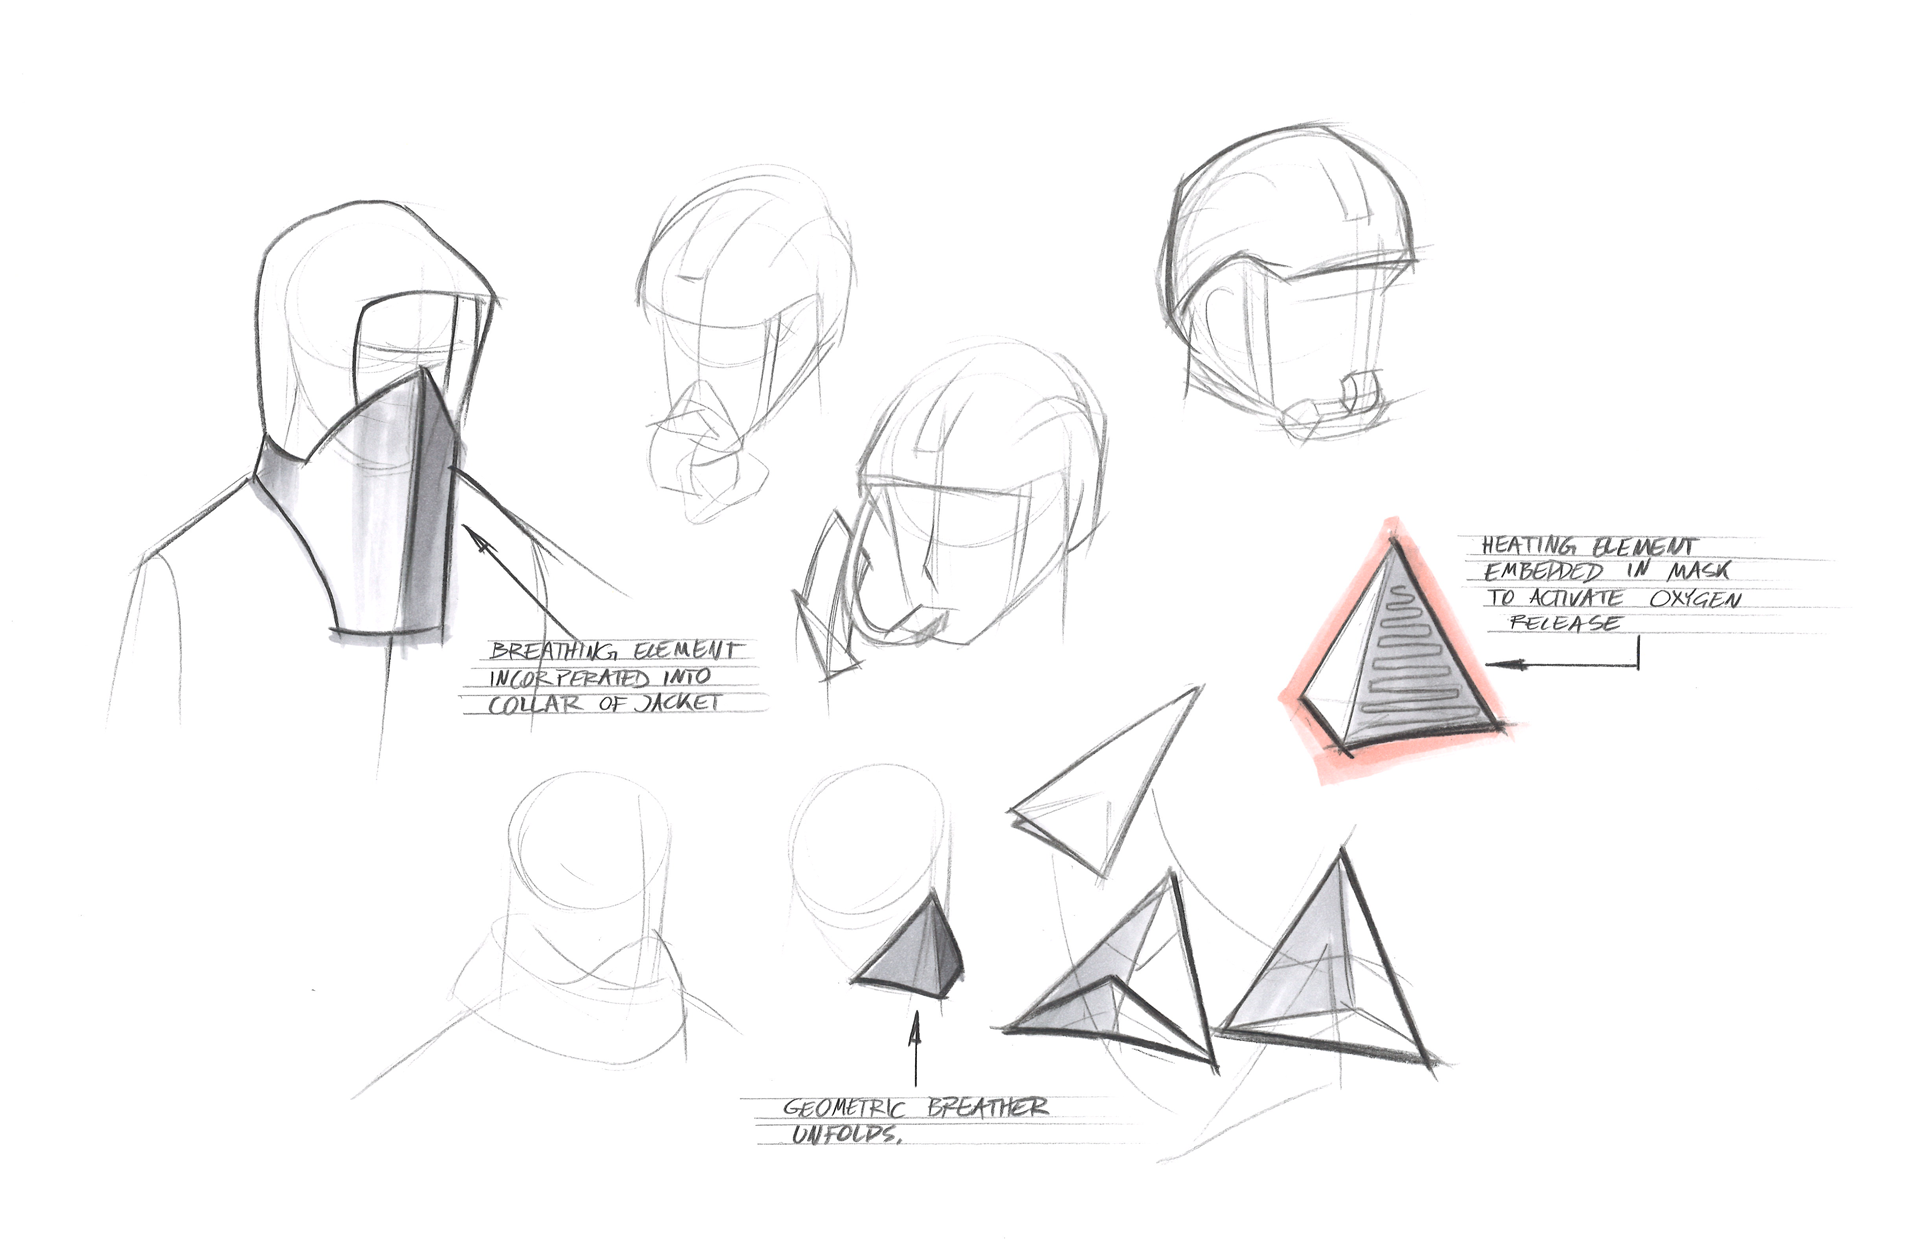
Folding Mask
The oxygen absorbing material could be stored directly in a mask. However, this could be cumbersome when not being used.
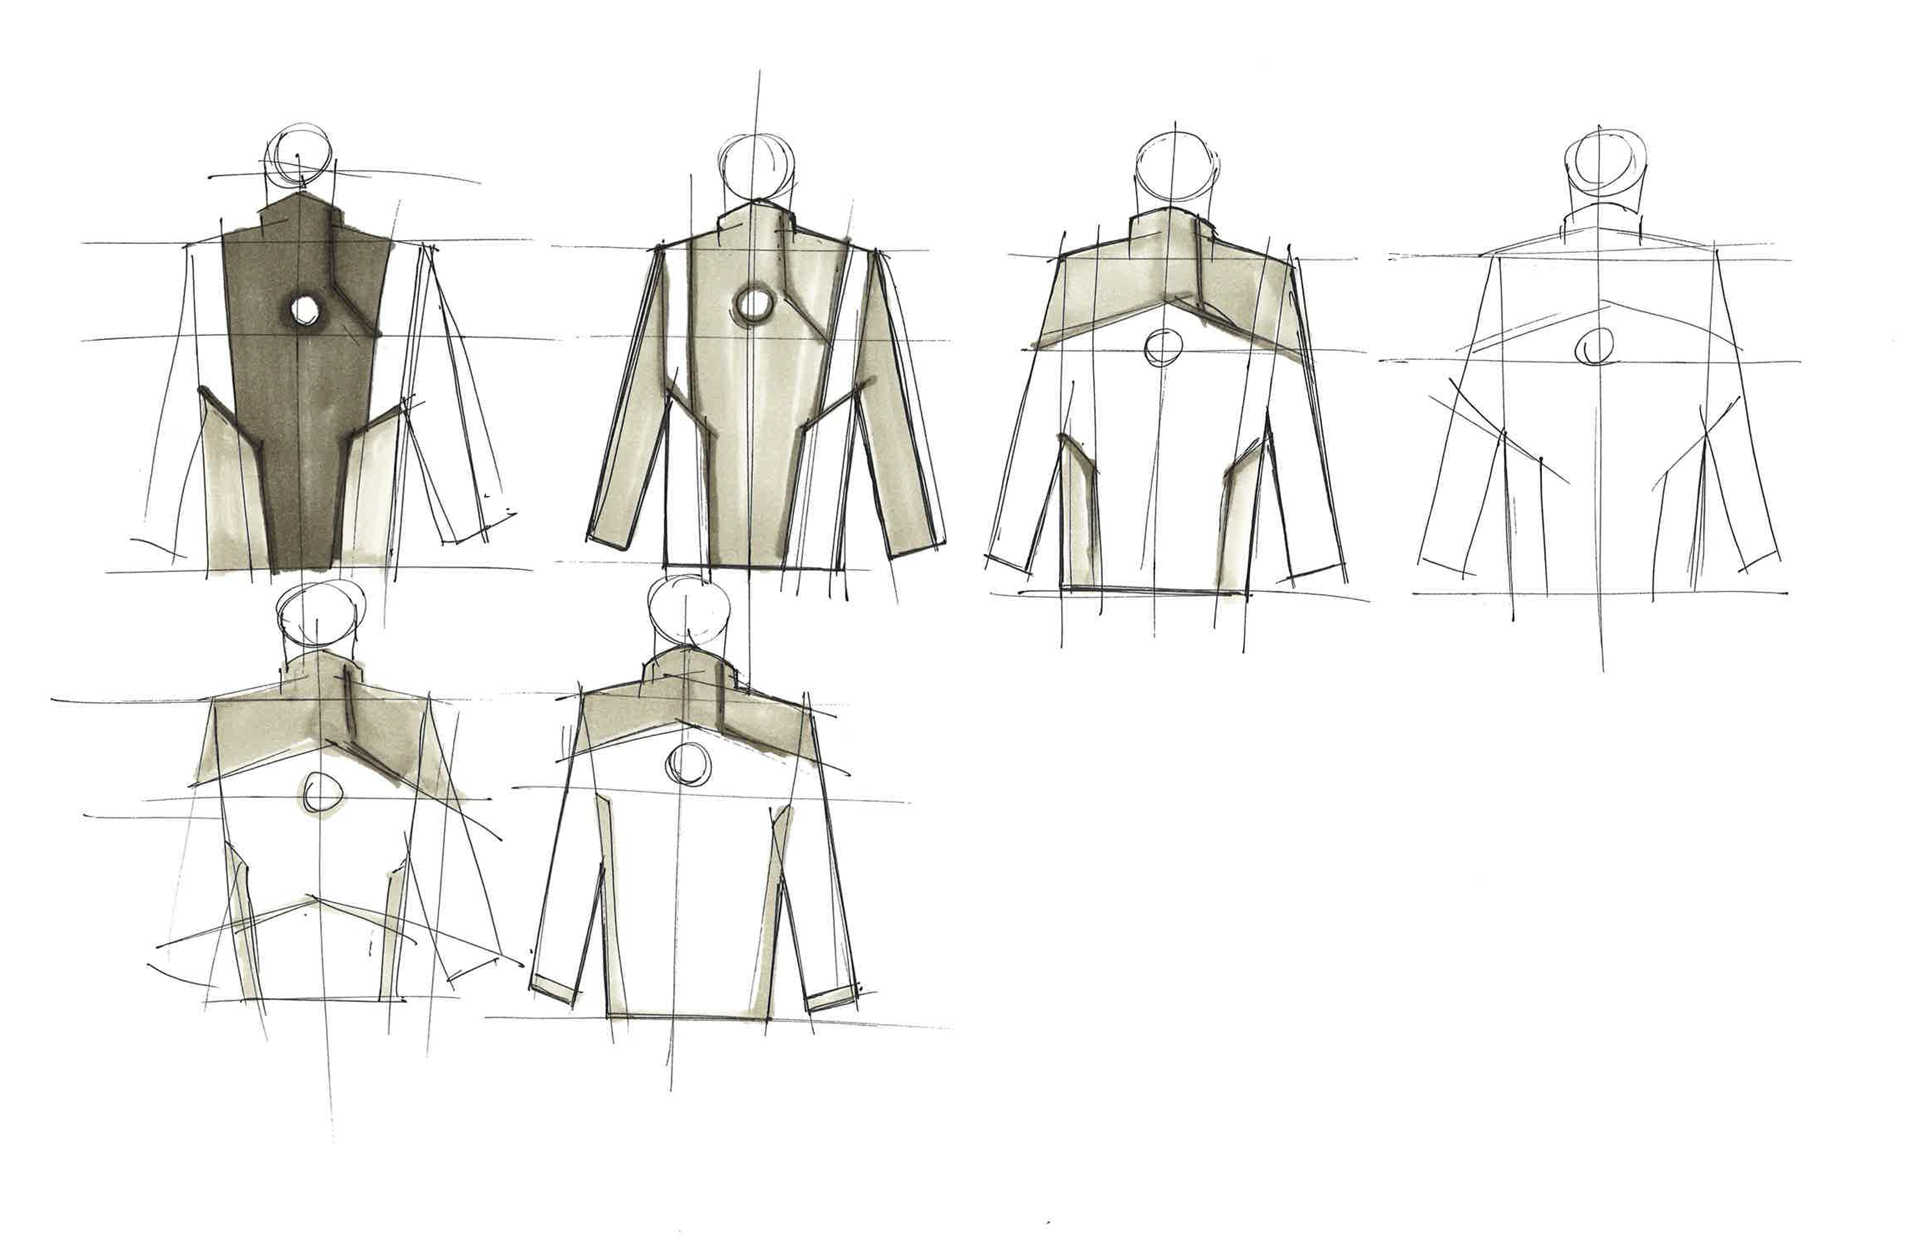
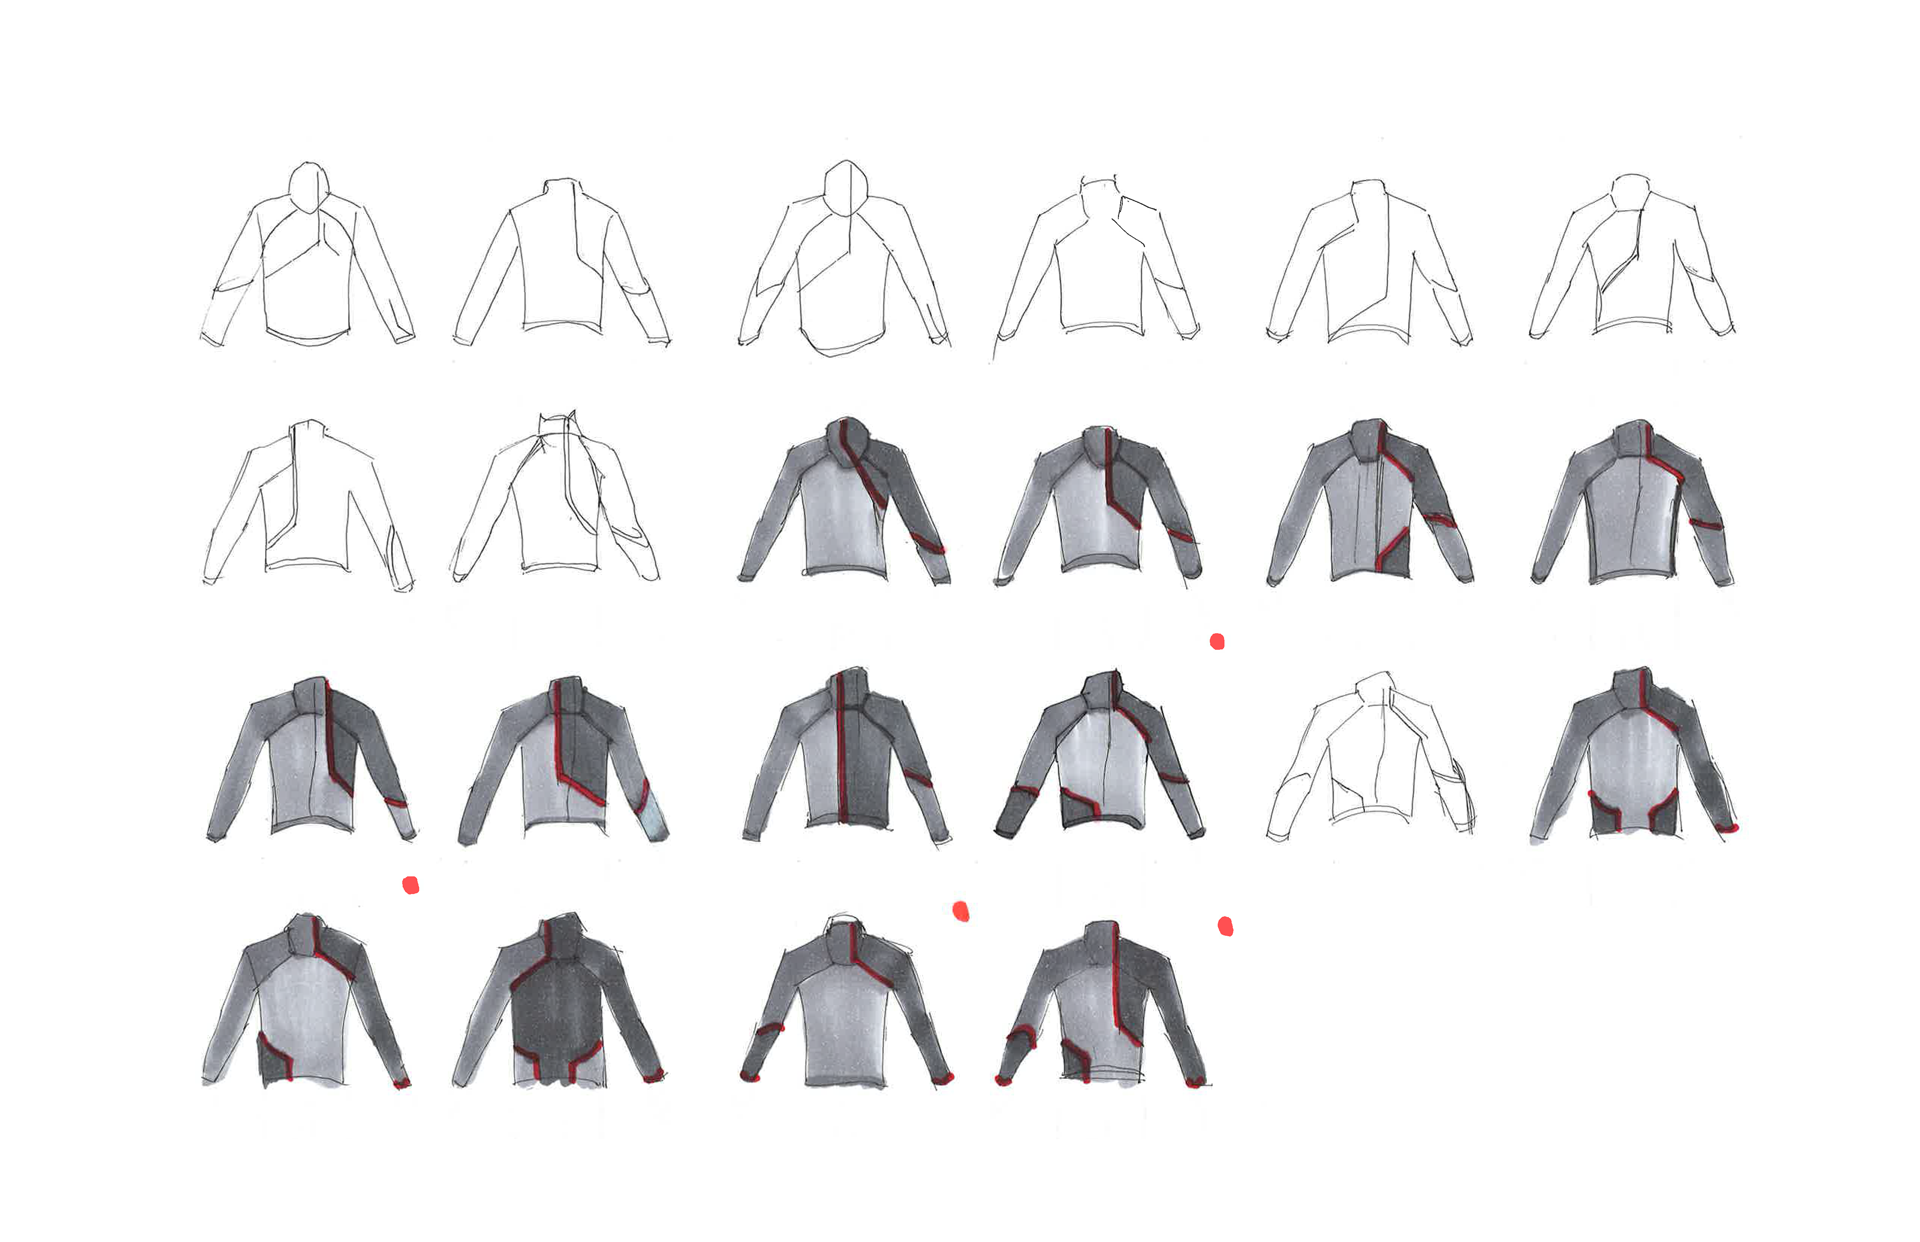
Clothing Integration
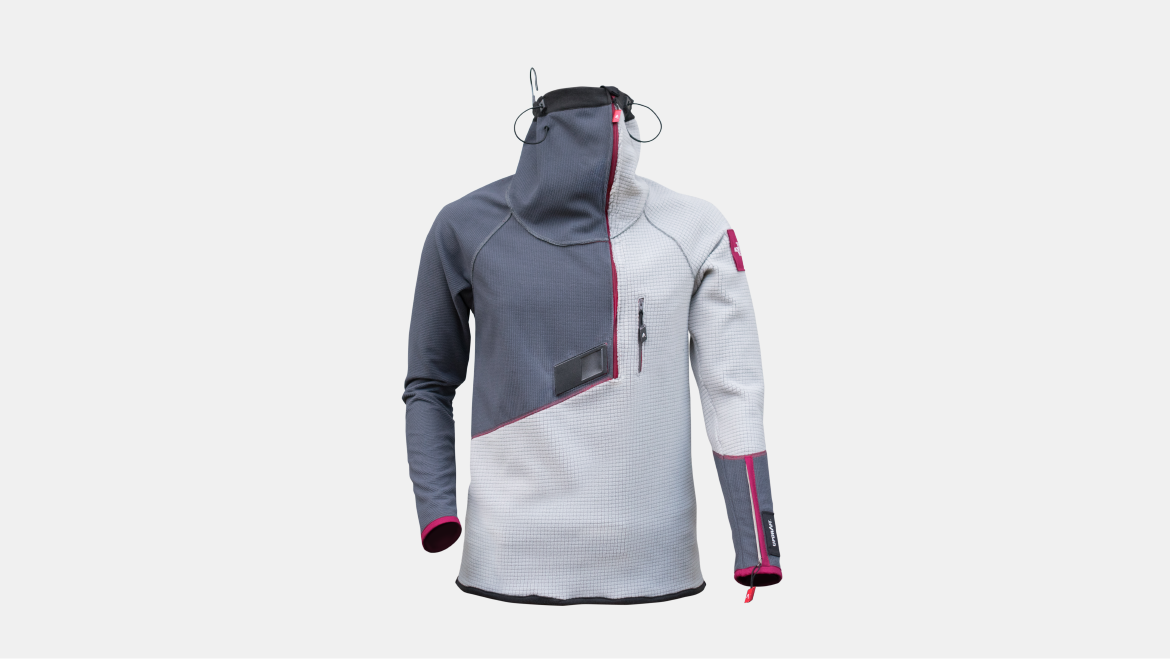
After discovering that users always wear their fleece layer when climbing, I began to explore how I could integrate the oxygen delivery and storage into this article of clothing.
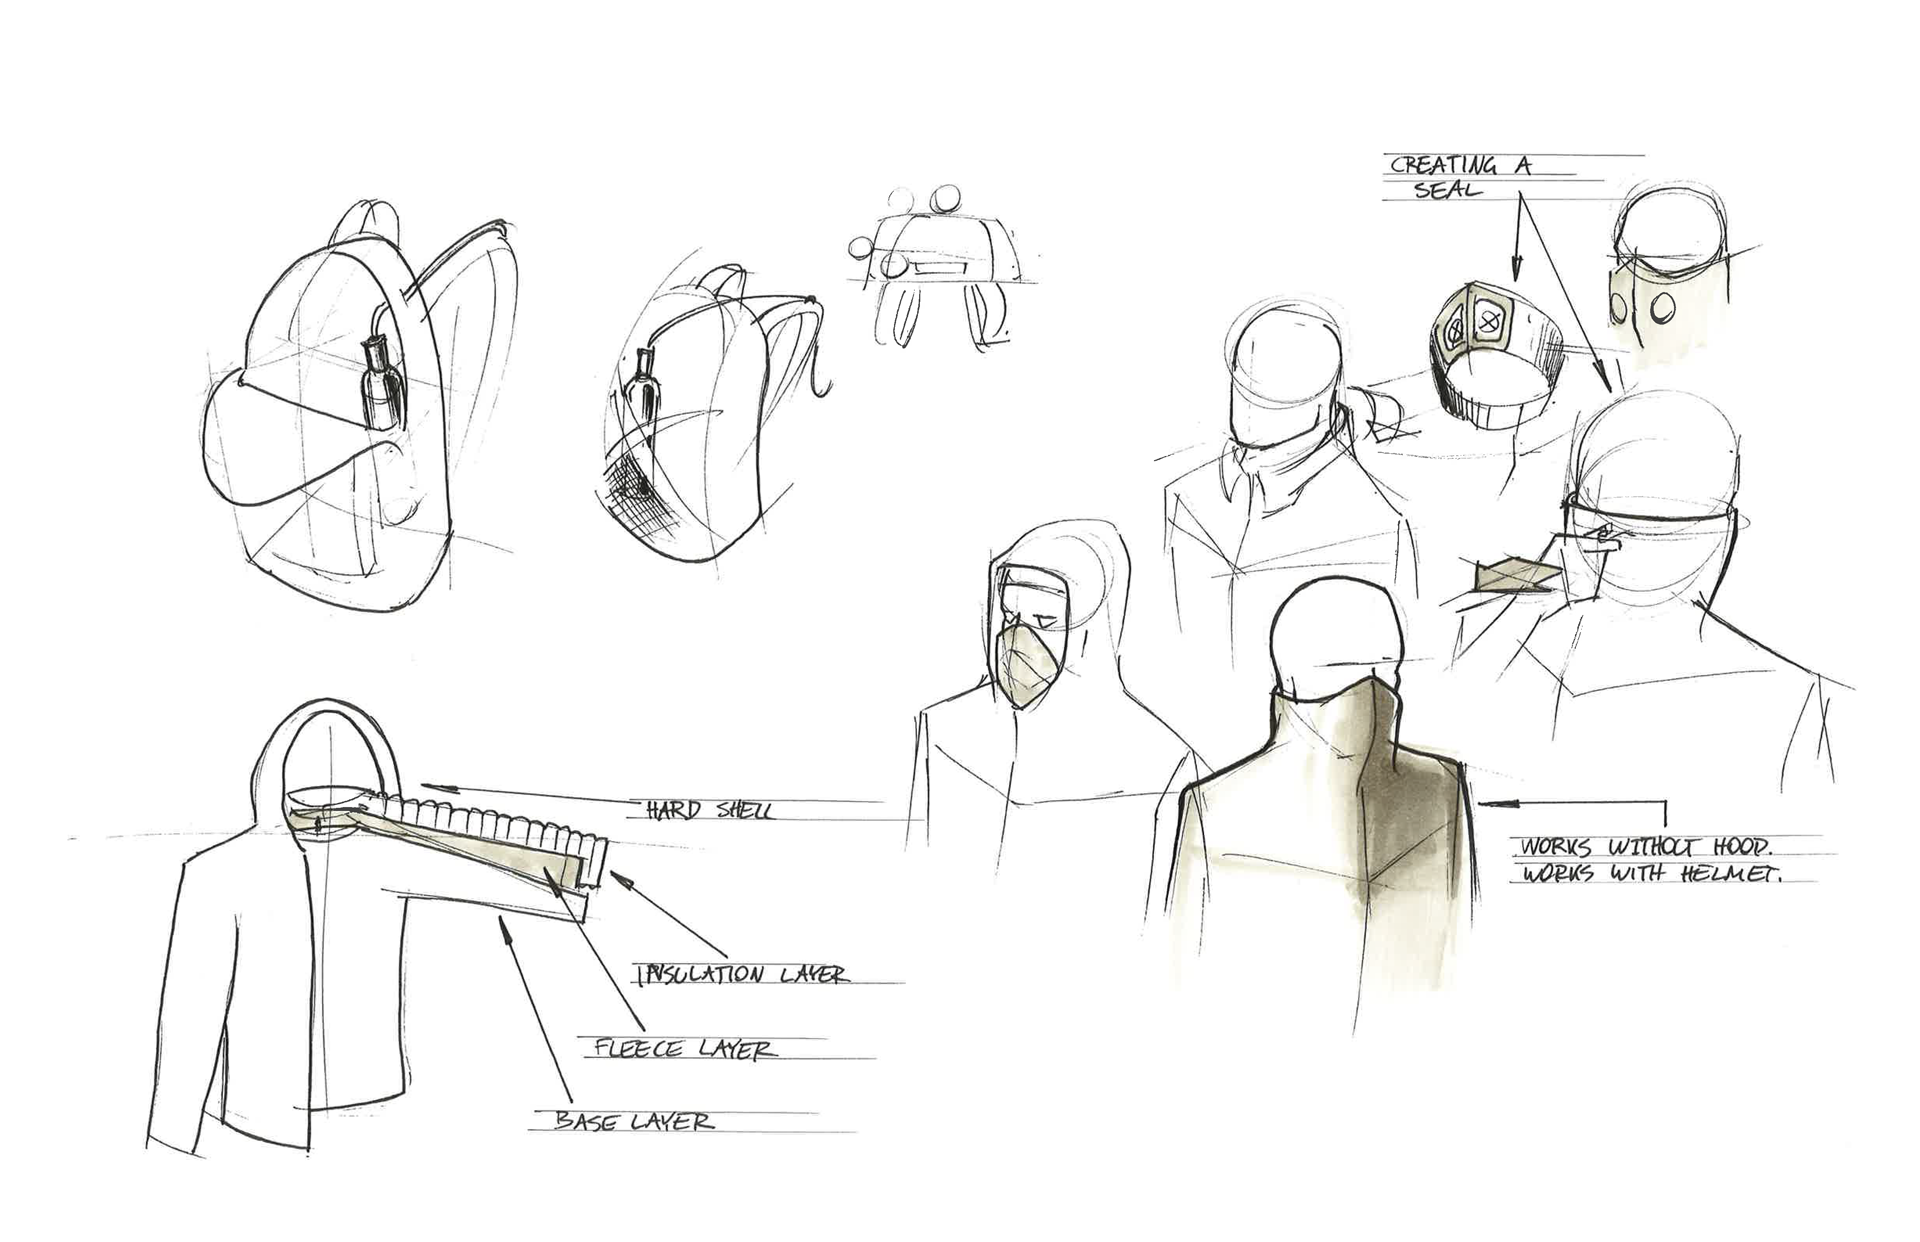
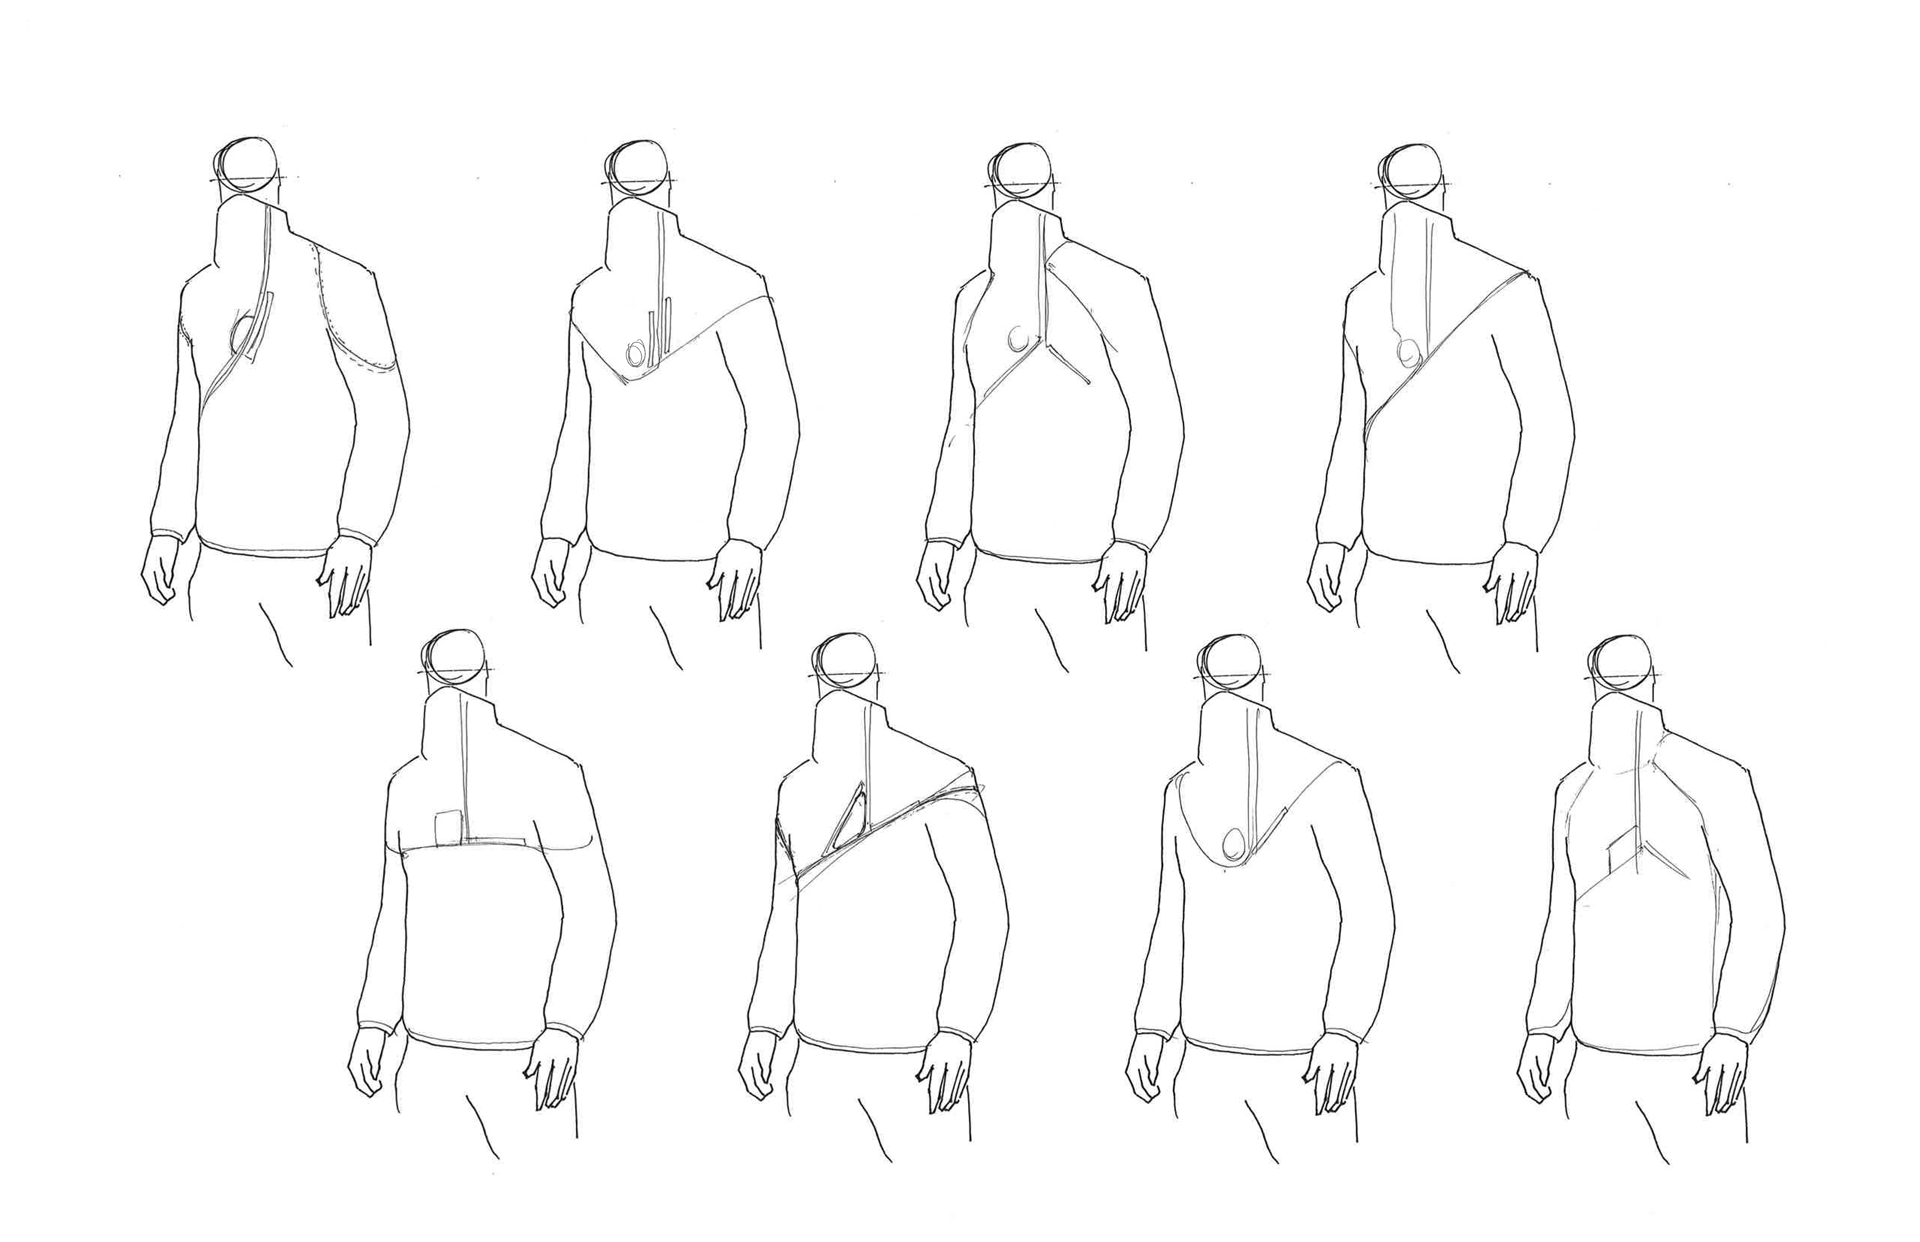
Asymmetrical Zipper
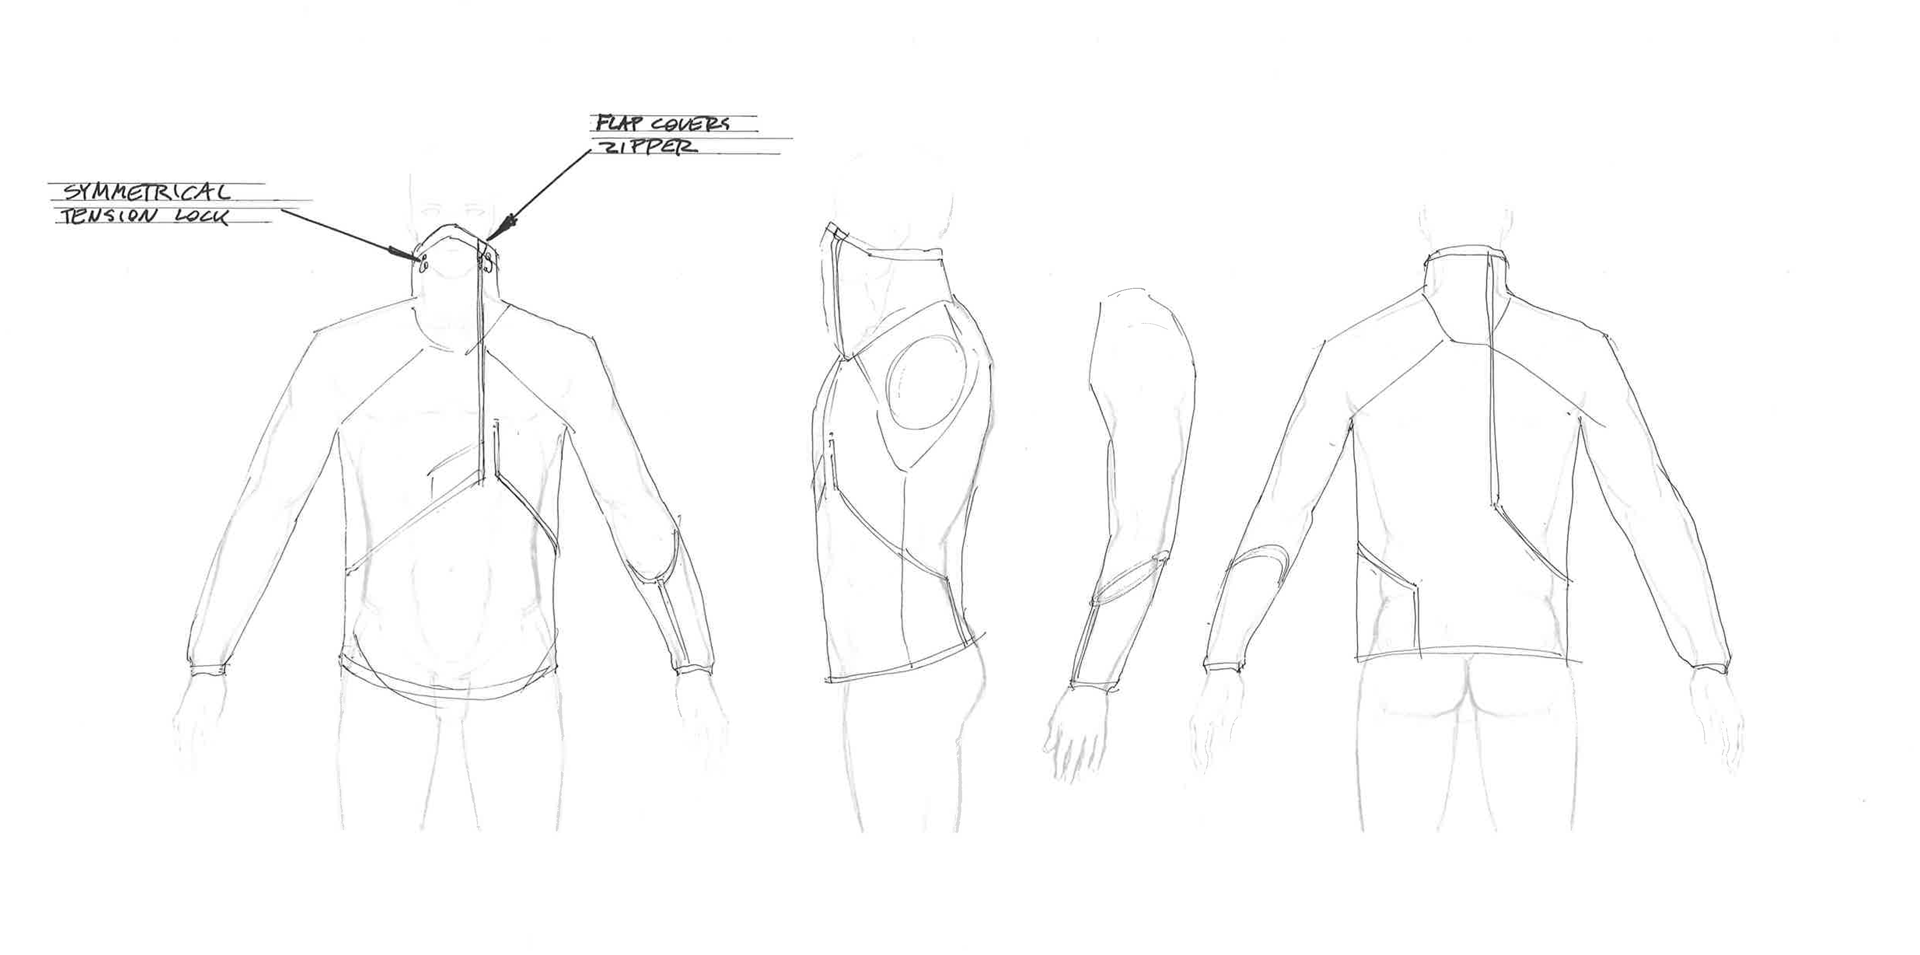
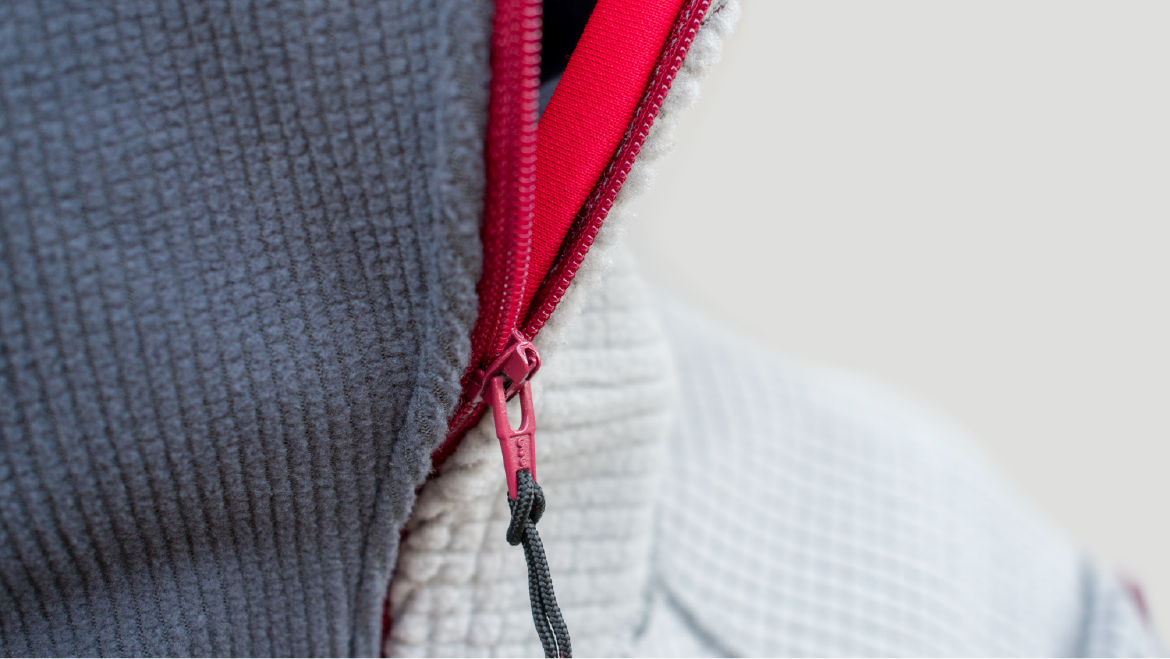
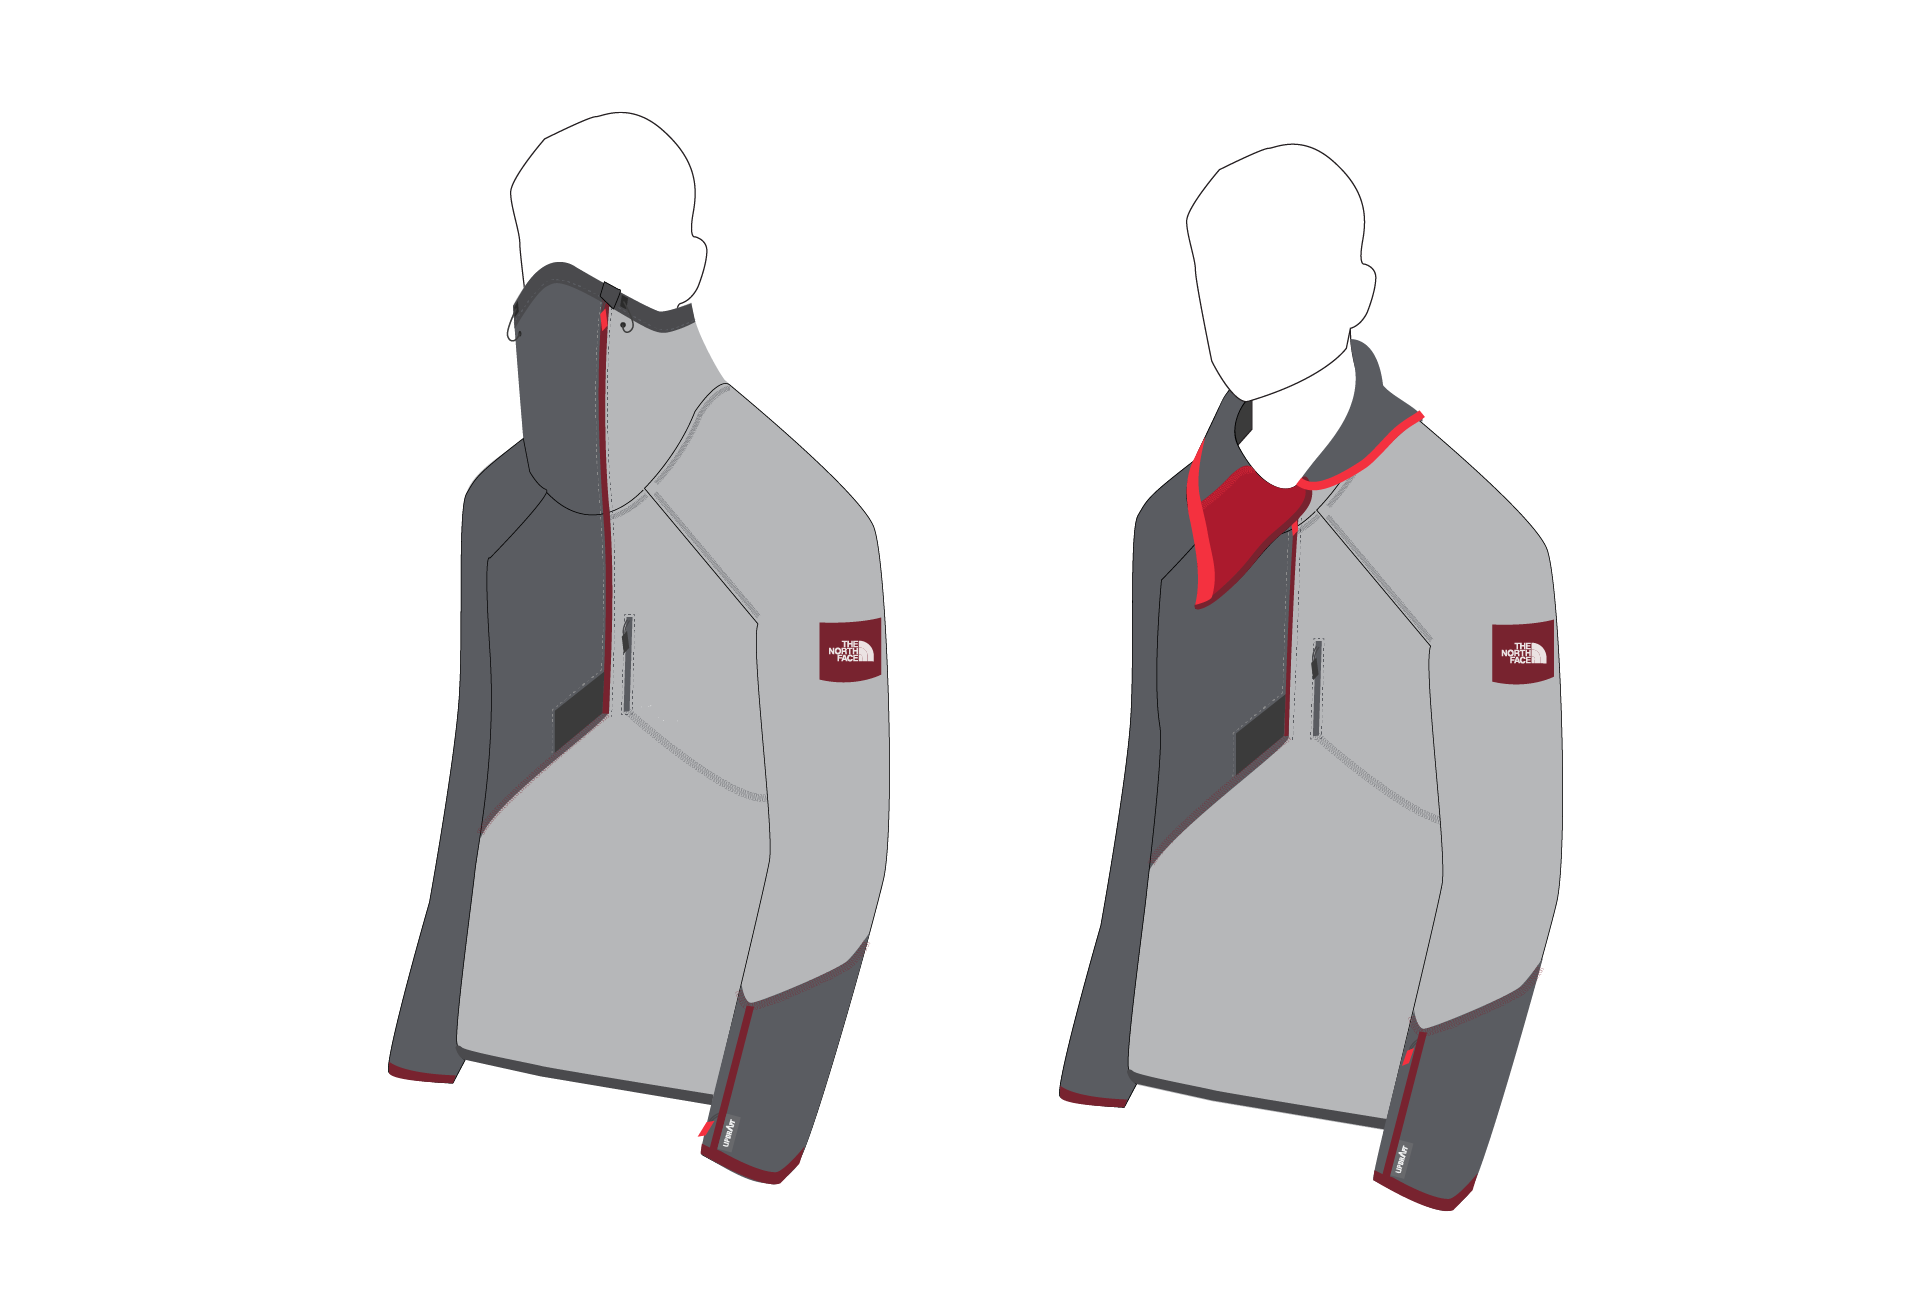
To create a more defined seal around the face, the zipper was moved to the side. This also allows the mask to lay out of the way when not in use.
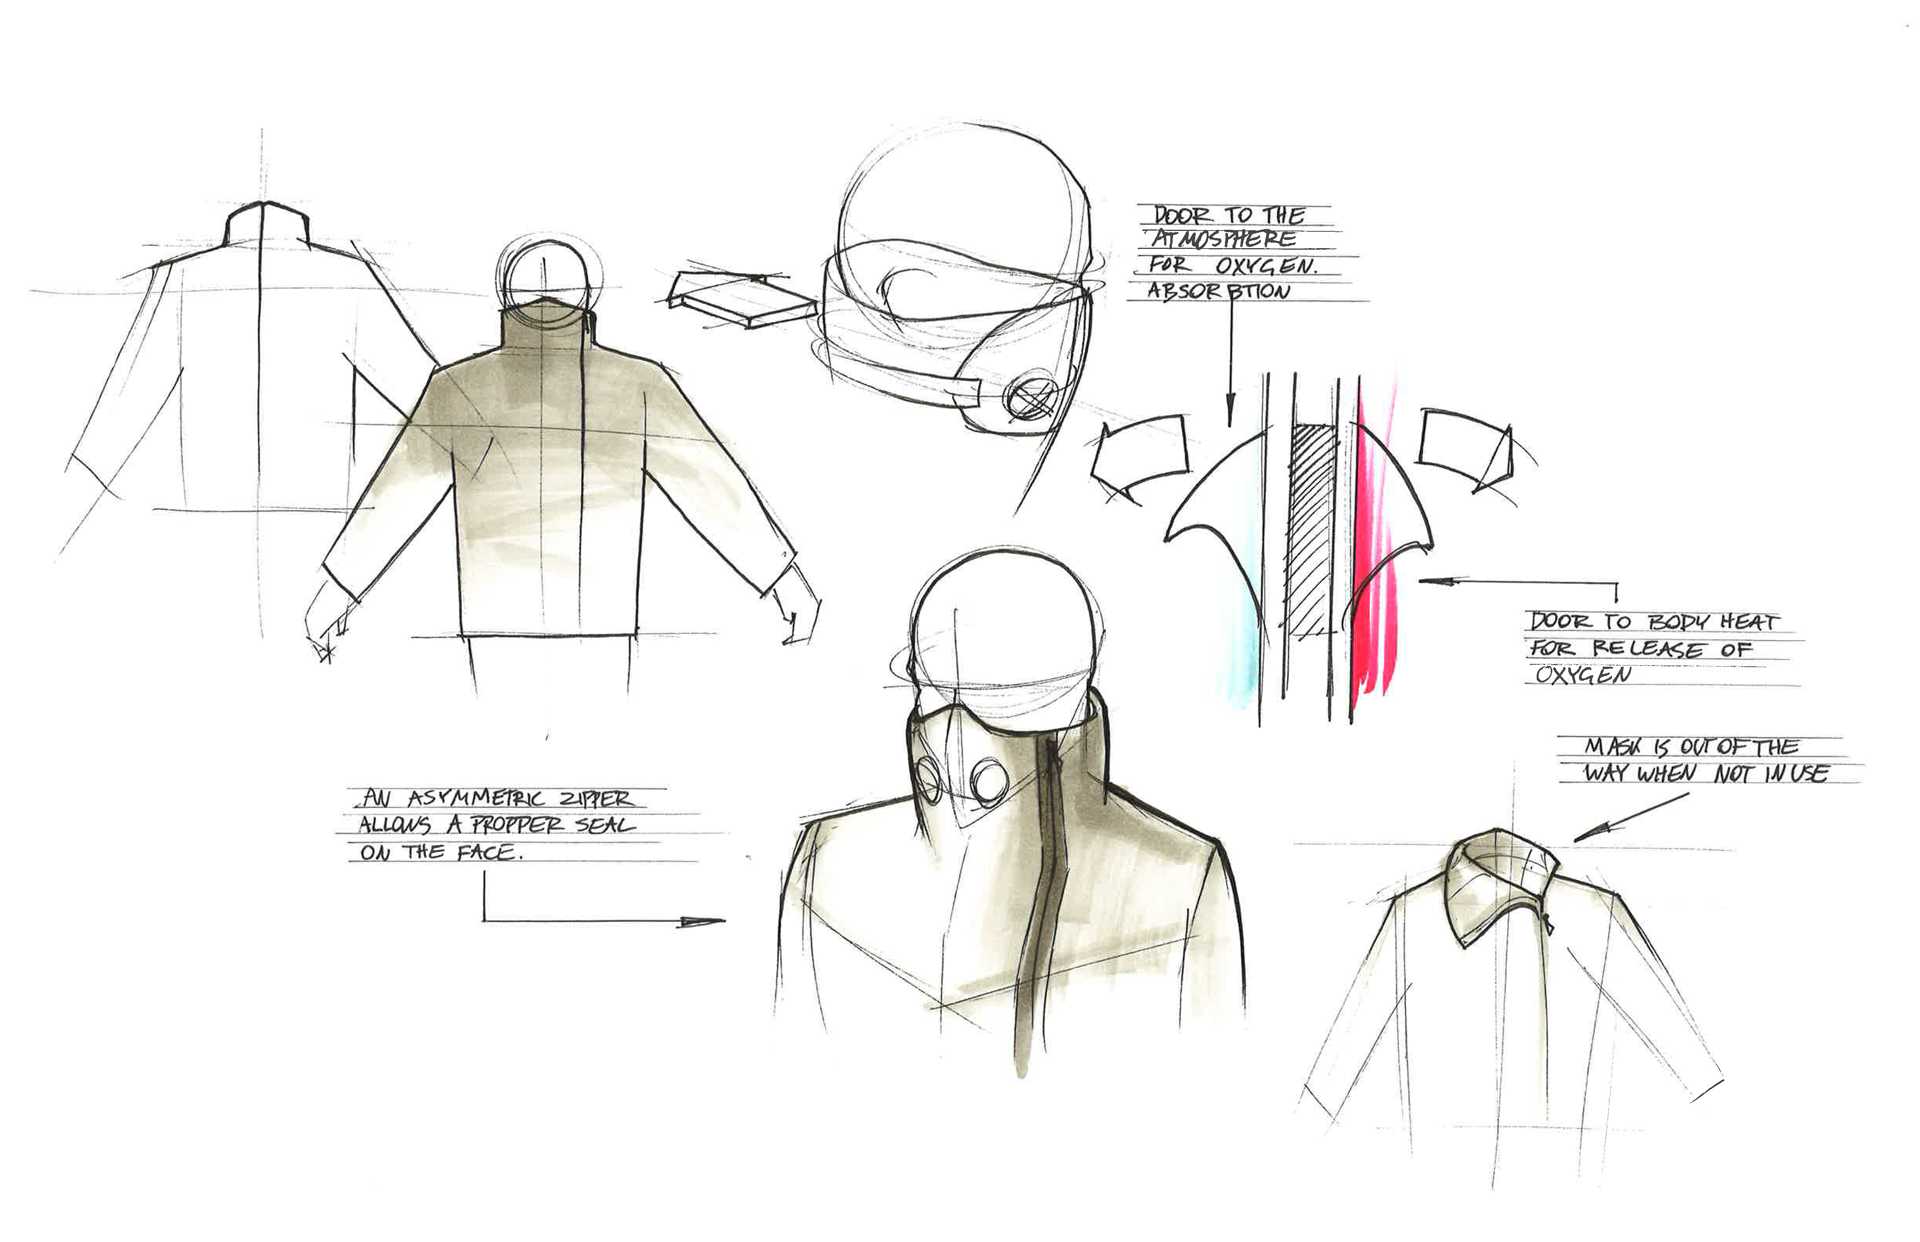
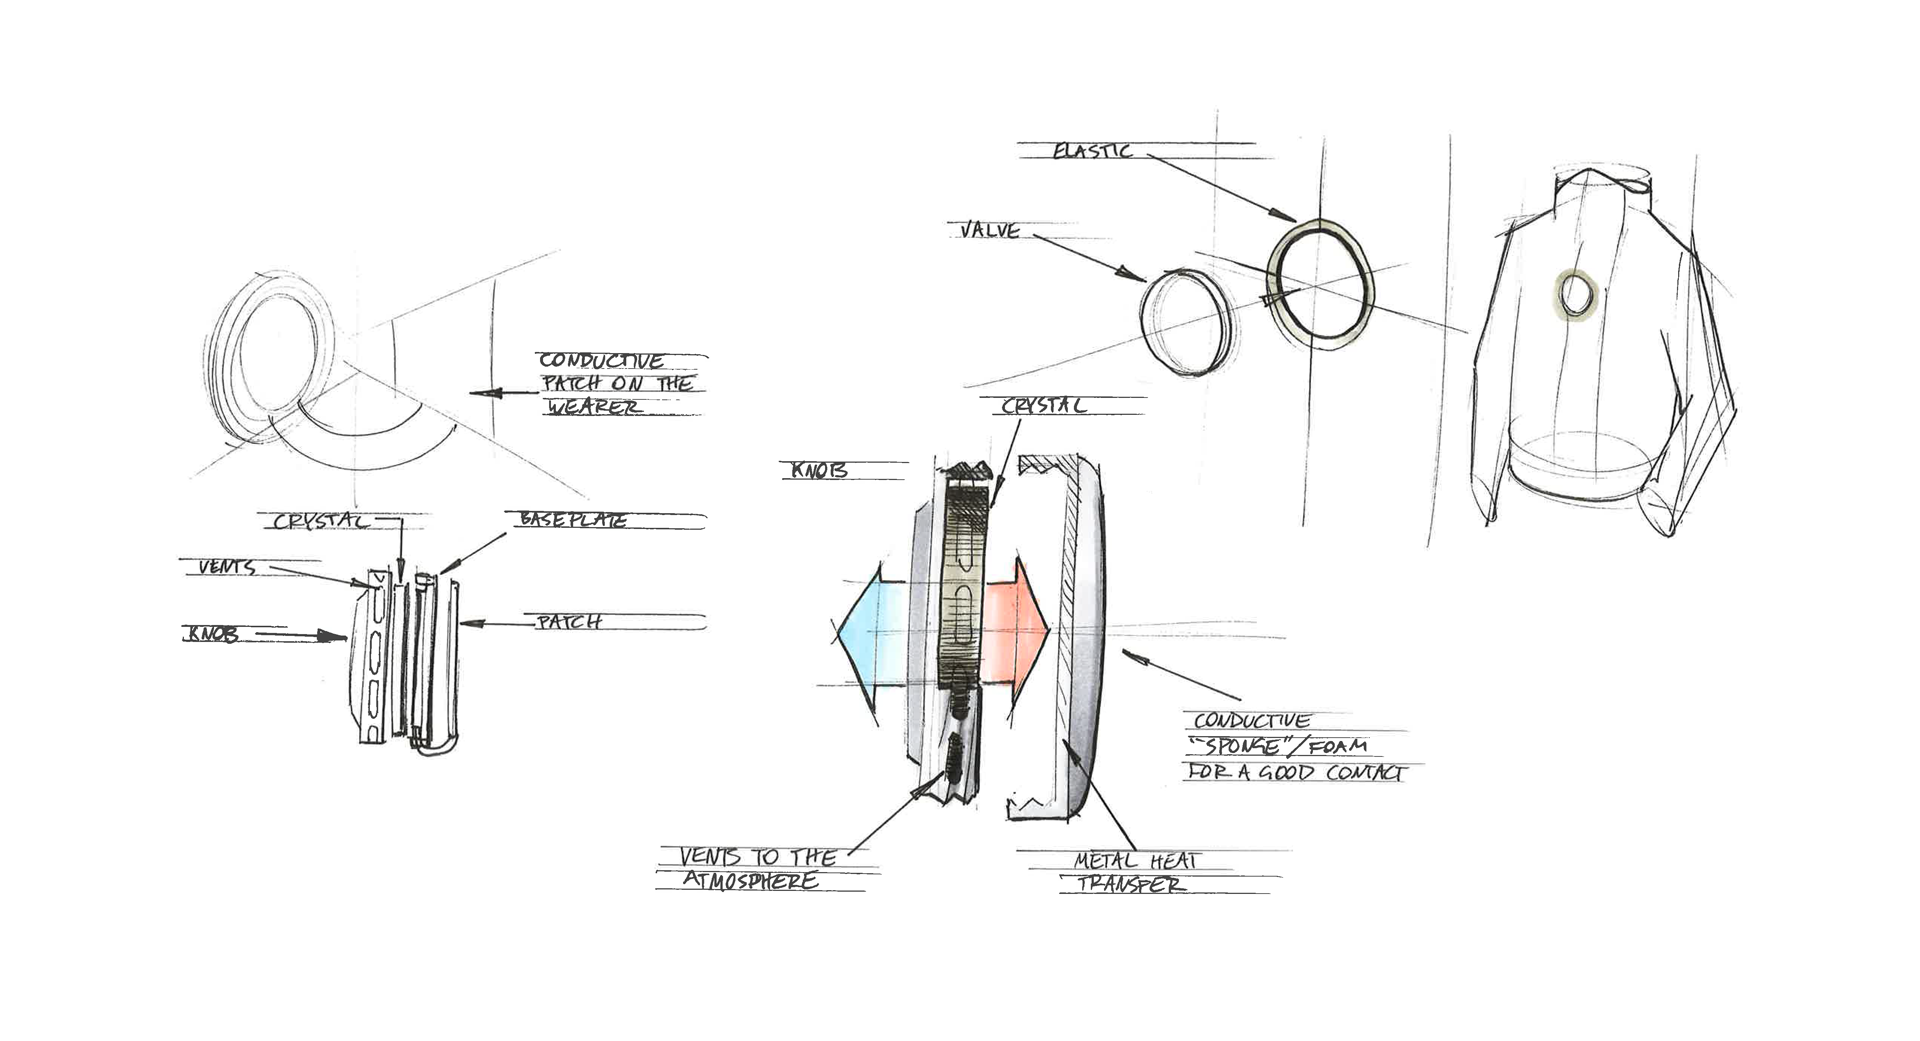
Oxygen Concentrator
This device needs to have access to the atmosphere in order to absorb oxygen from it. It also needs to have access to heat so that it can release oxygen.
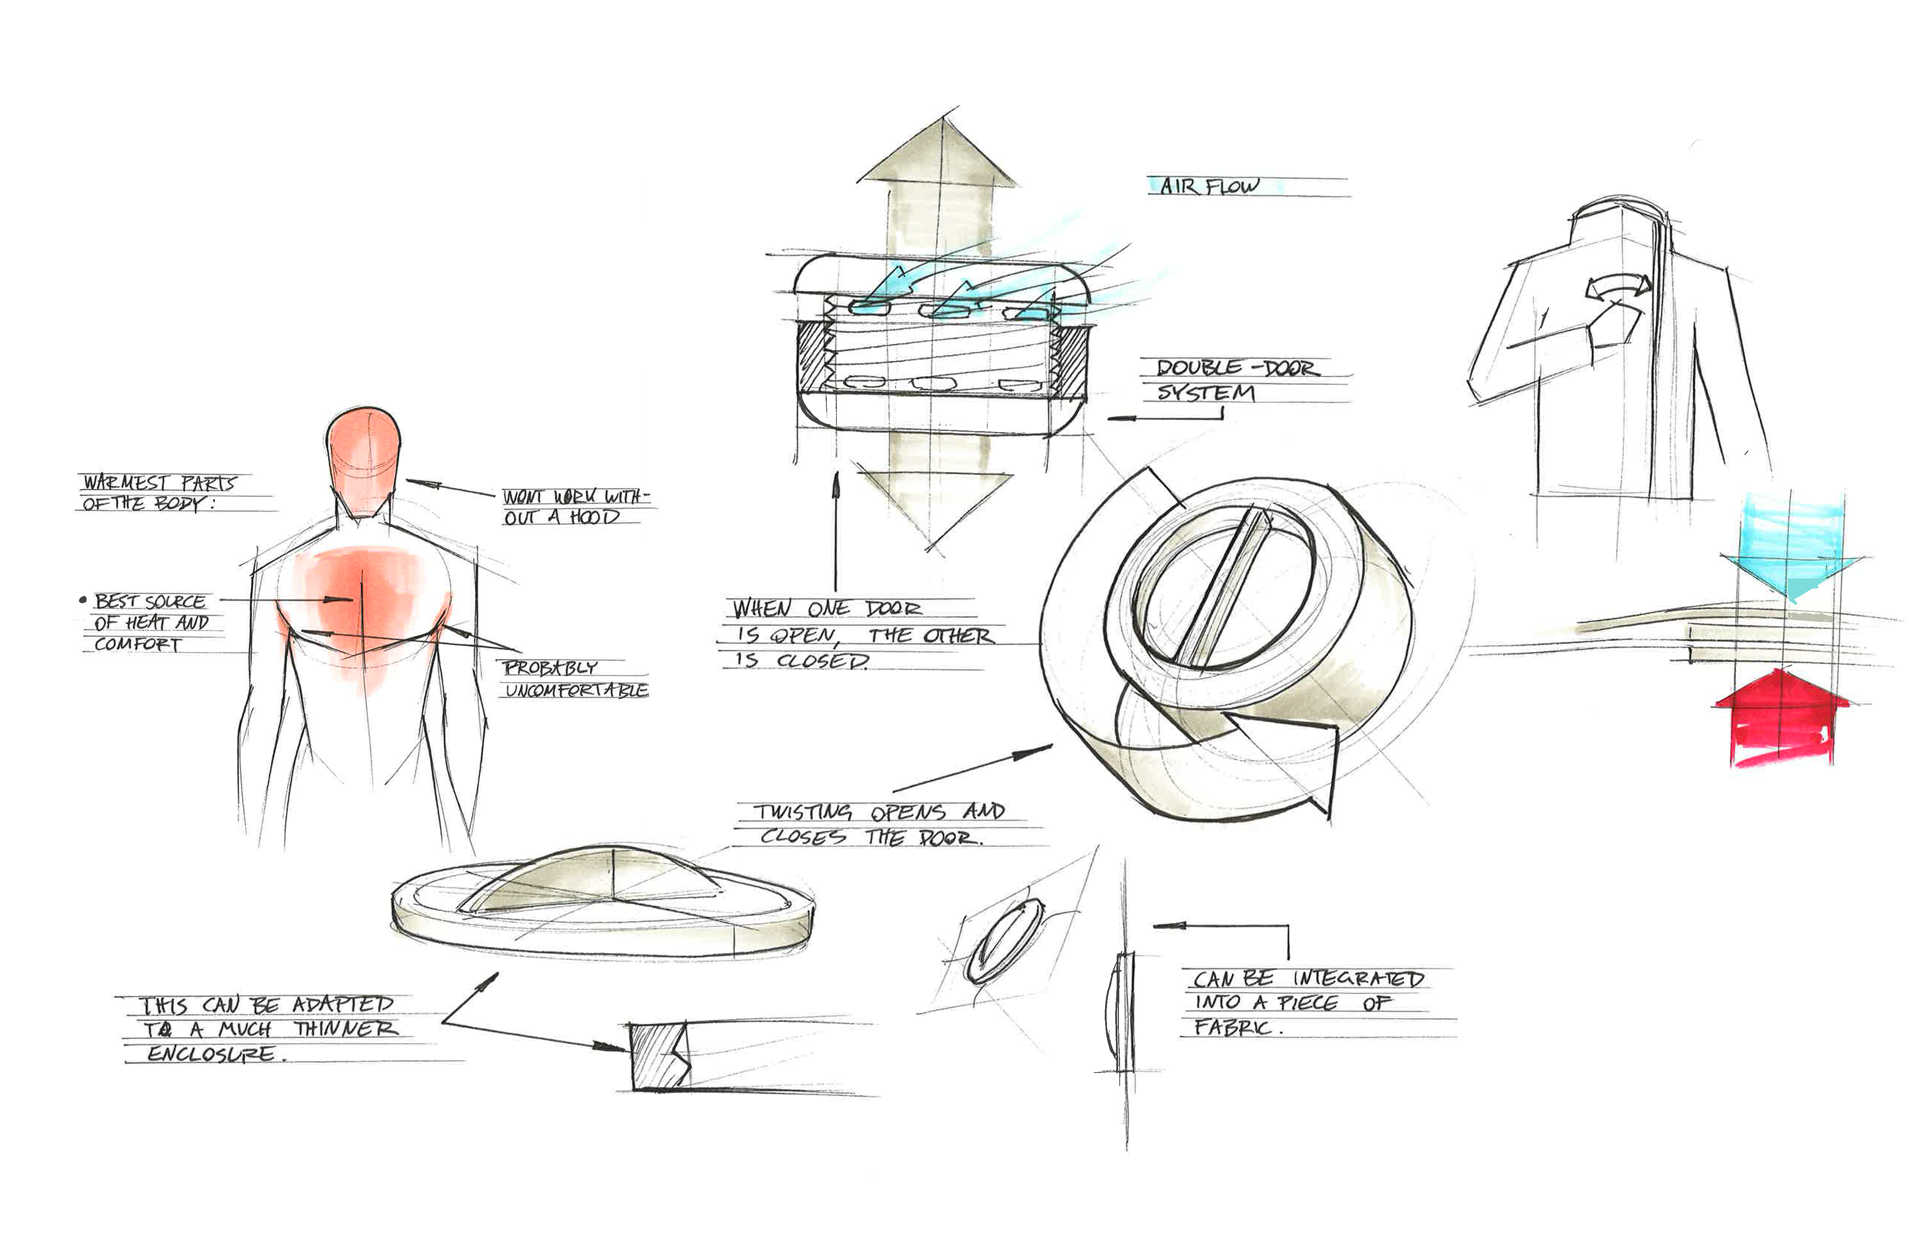
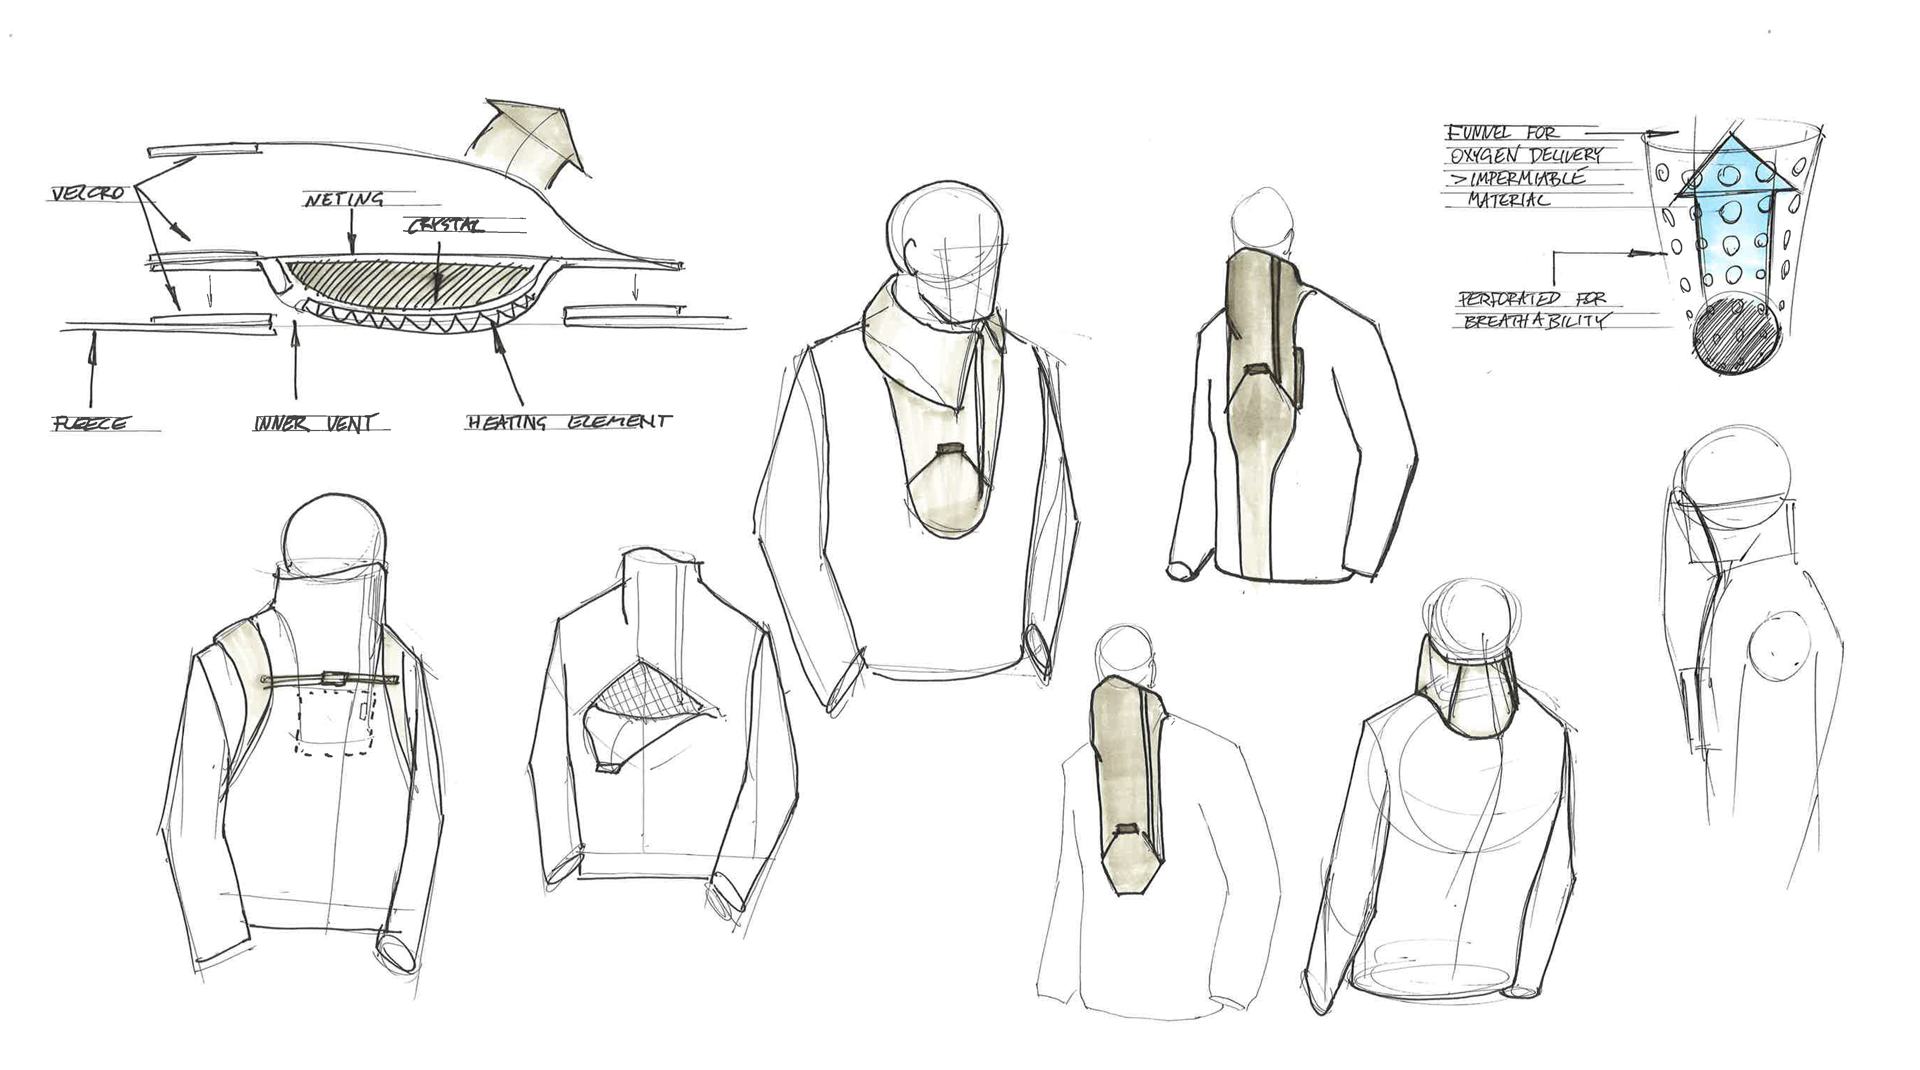
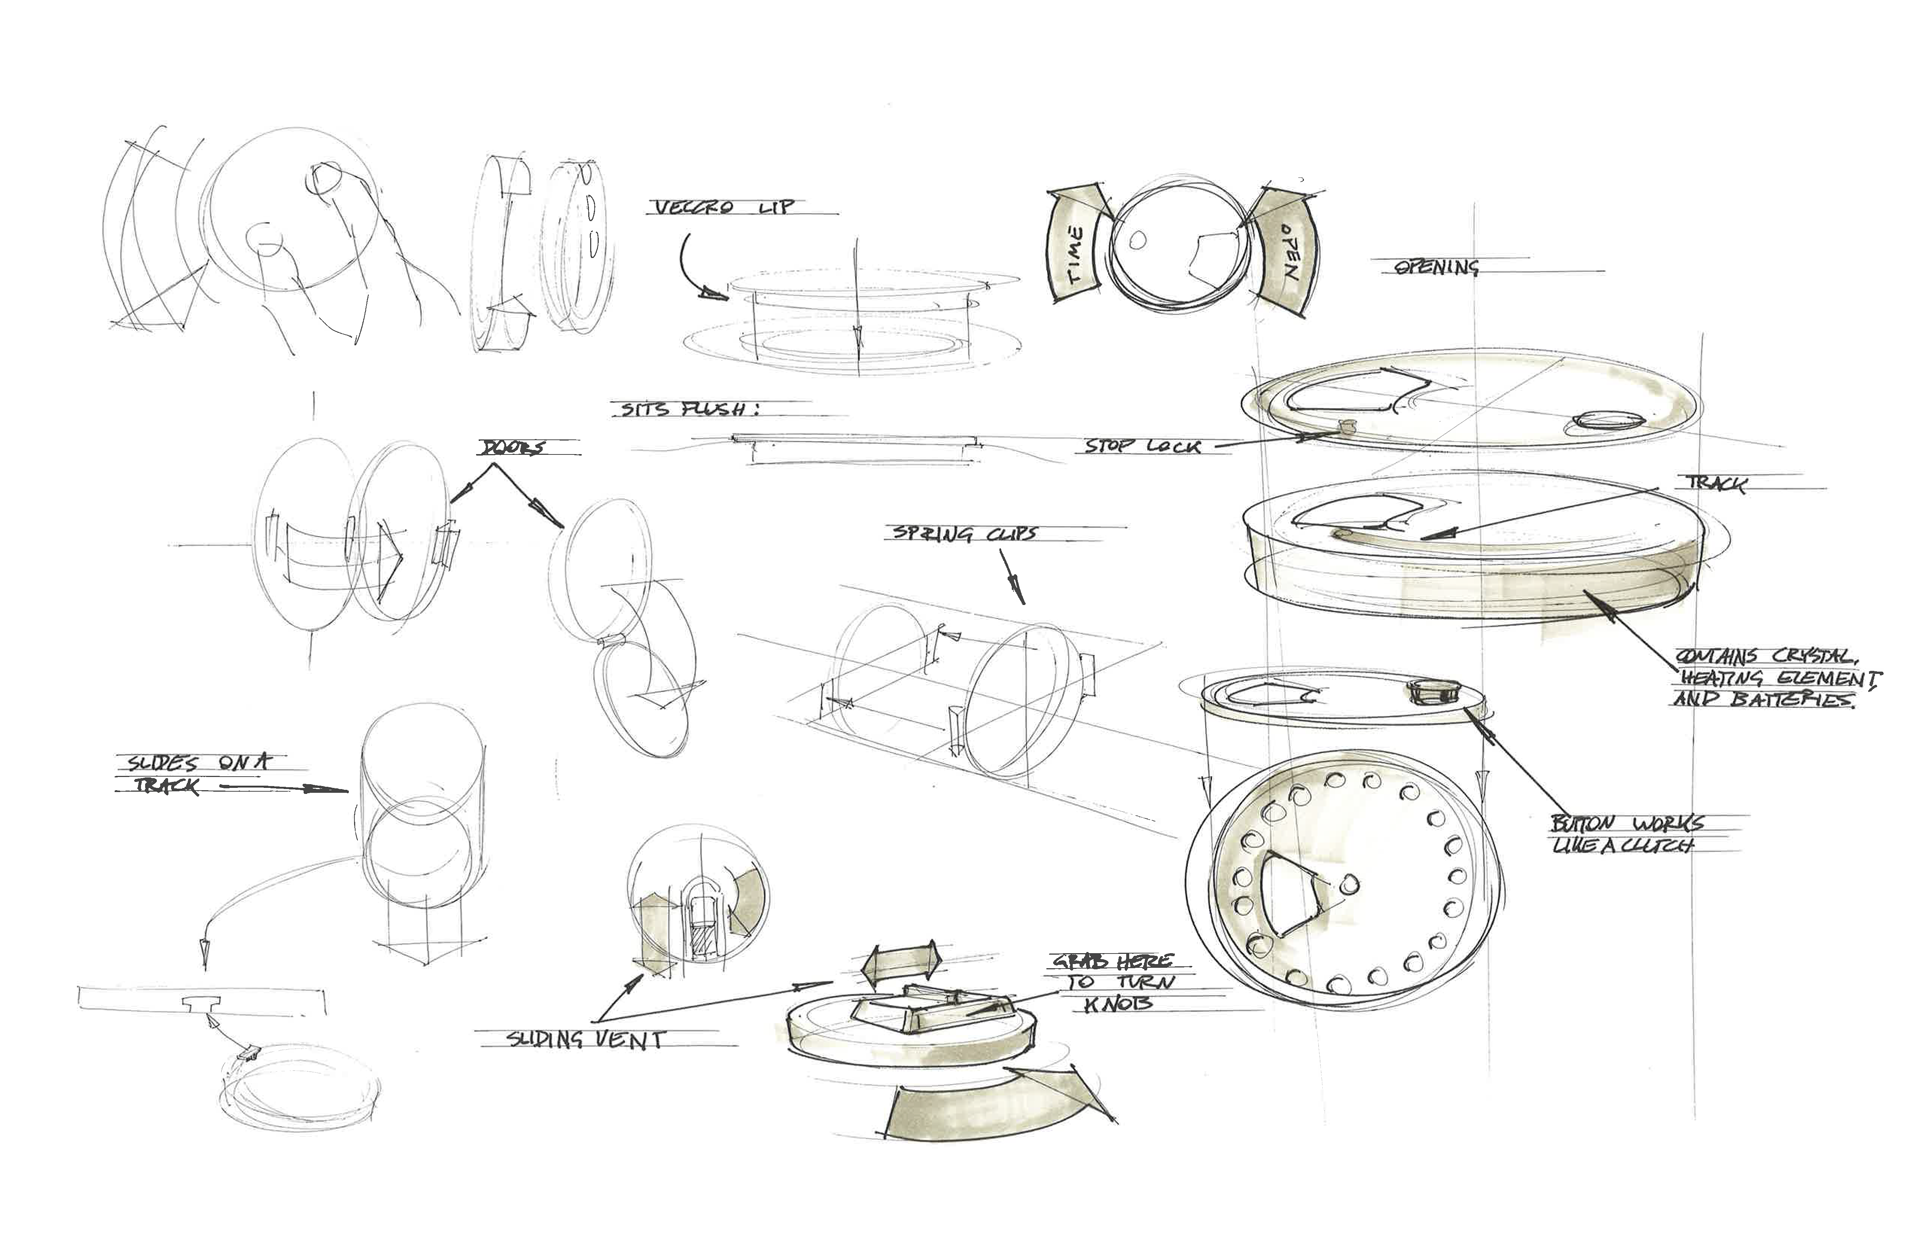
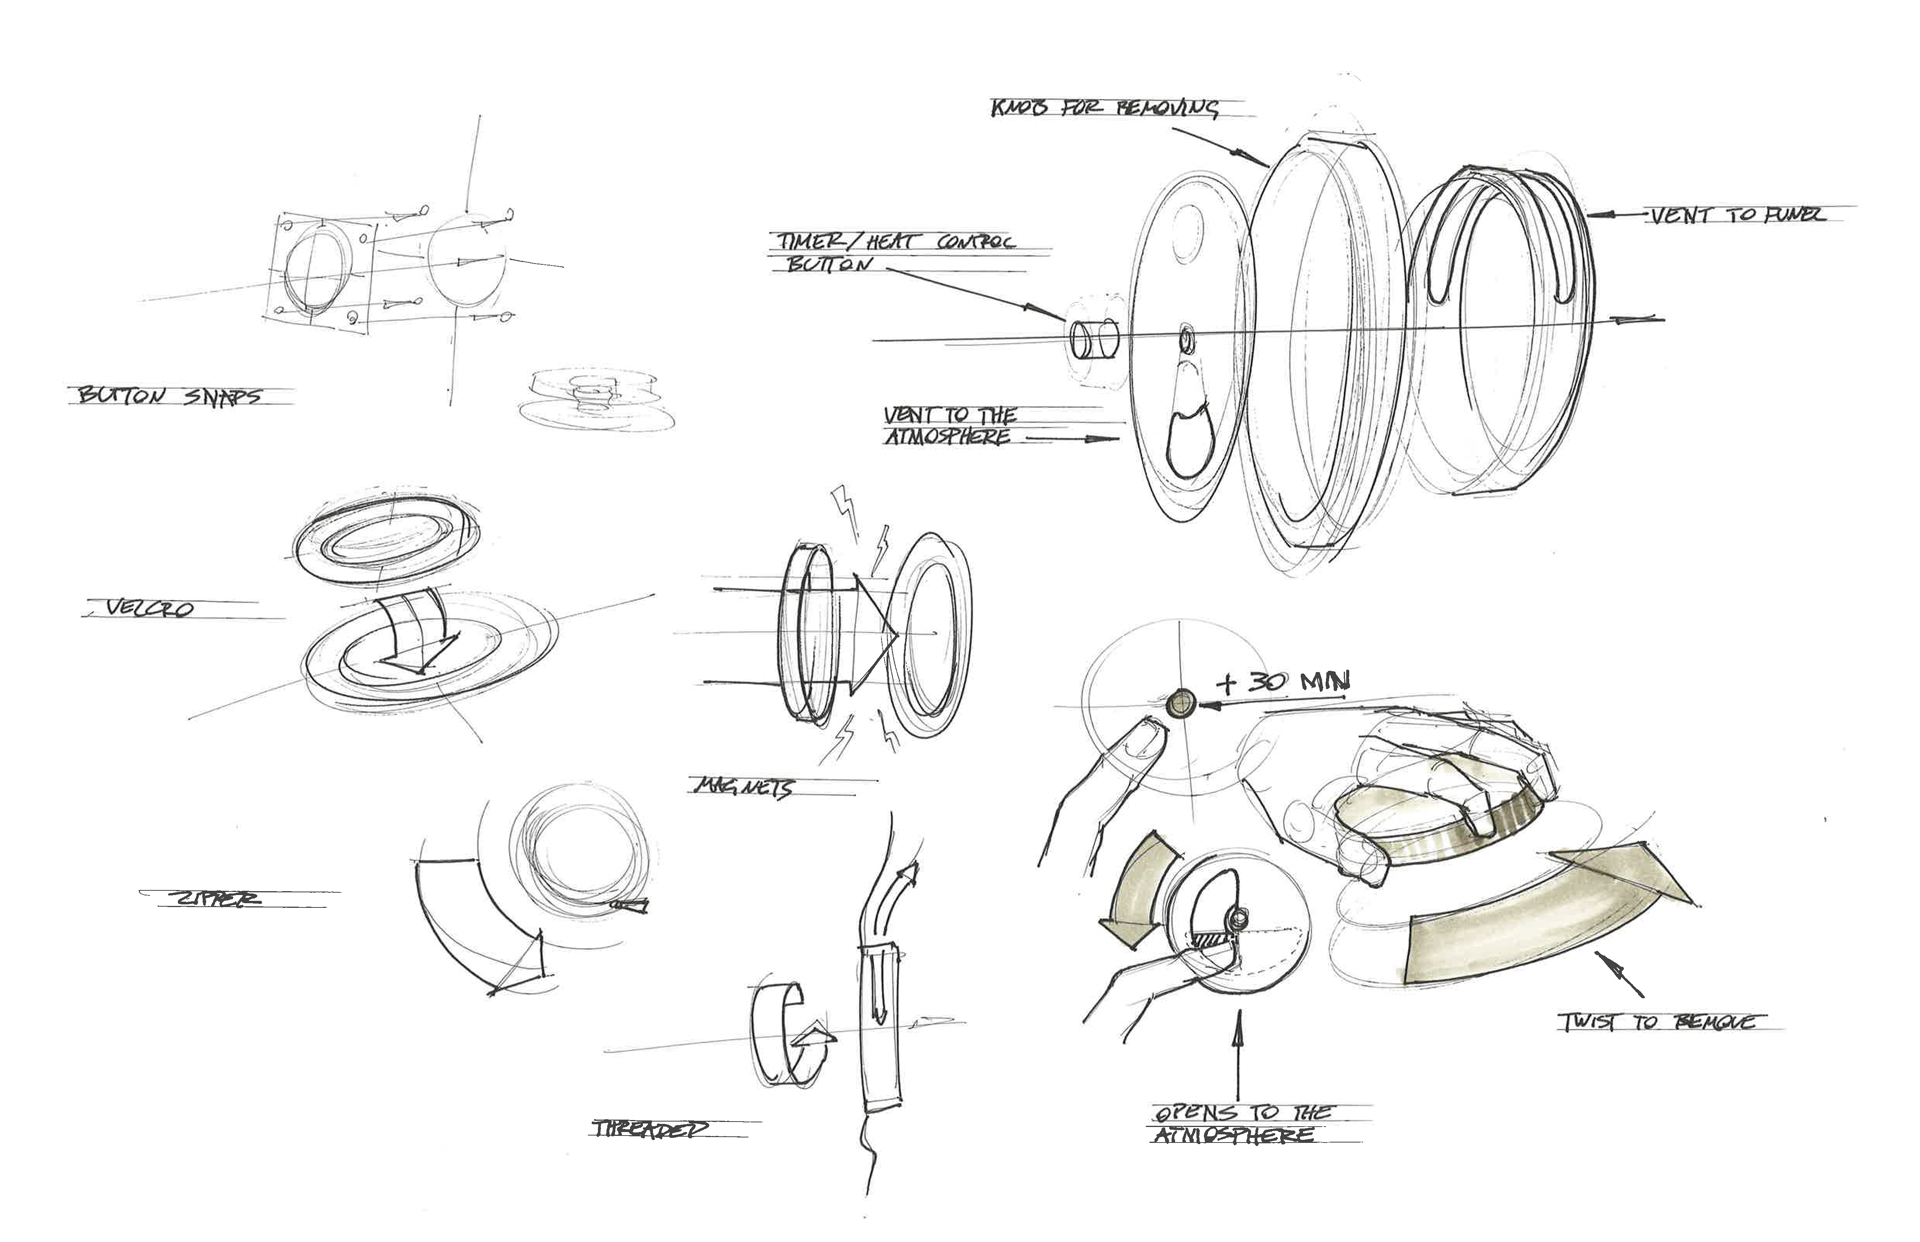
Here, I further explore both mechanical and soft solutions for the oxygen concentrator.
Here, I explore different ways the concentrator would open or close.
The Oximeter
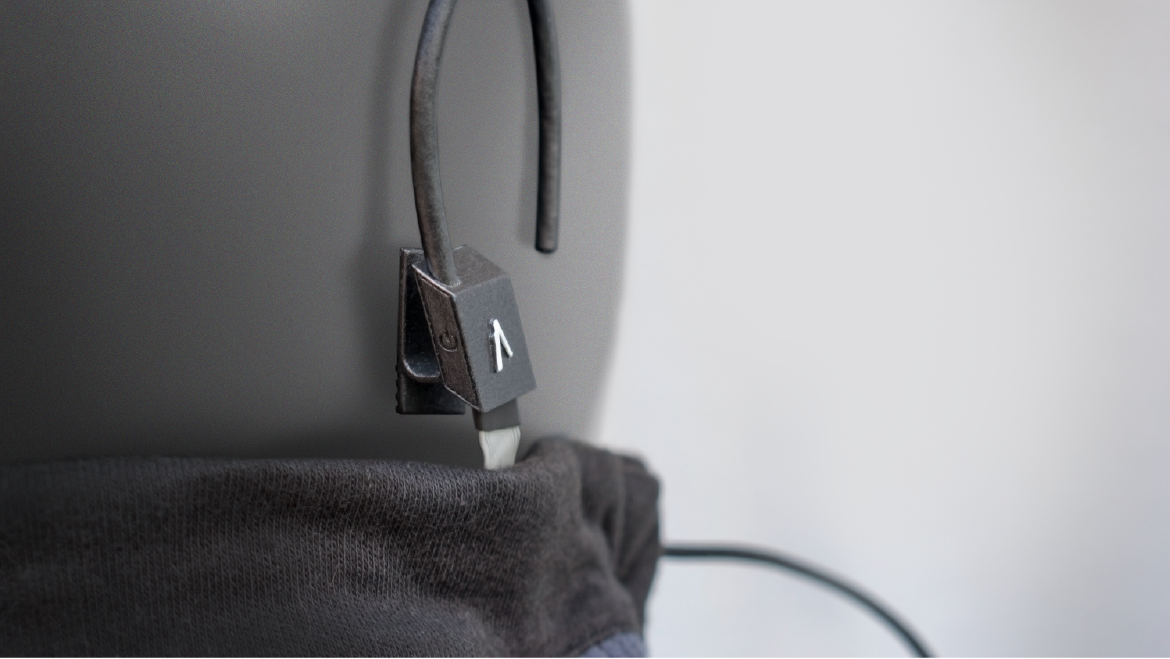
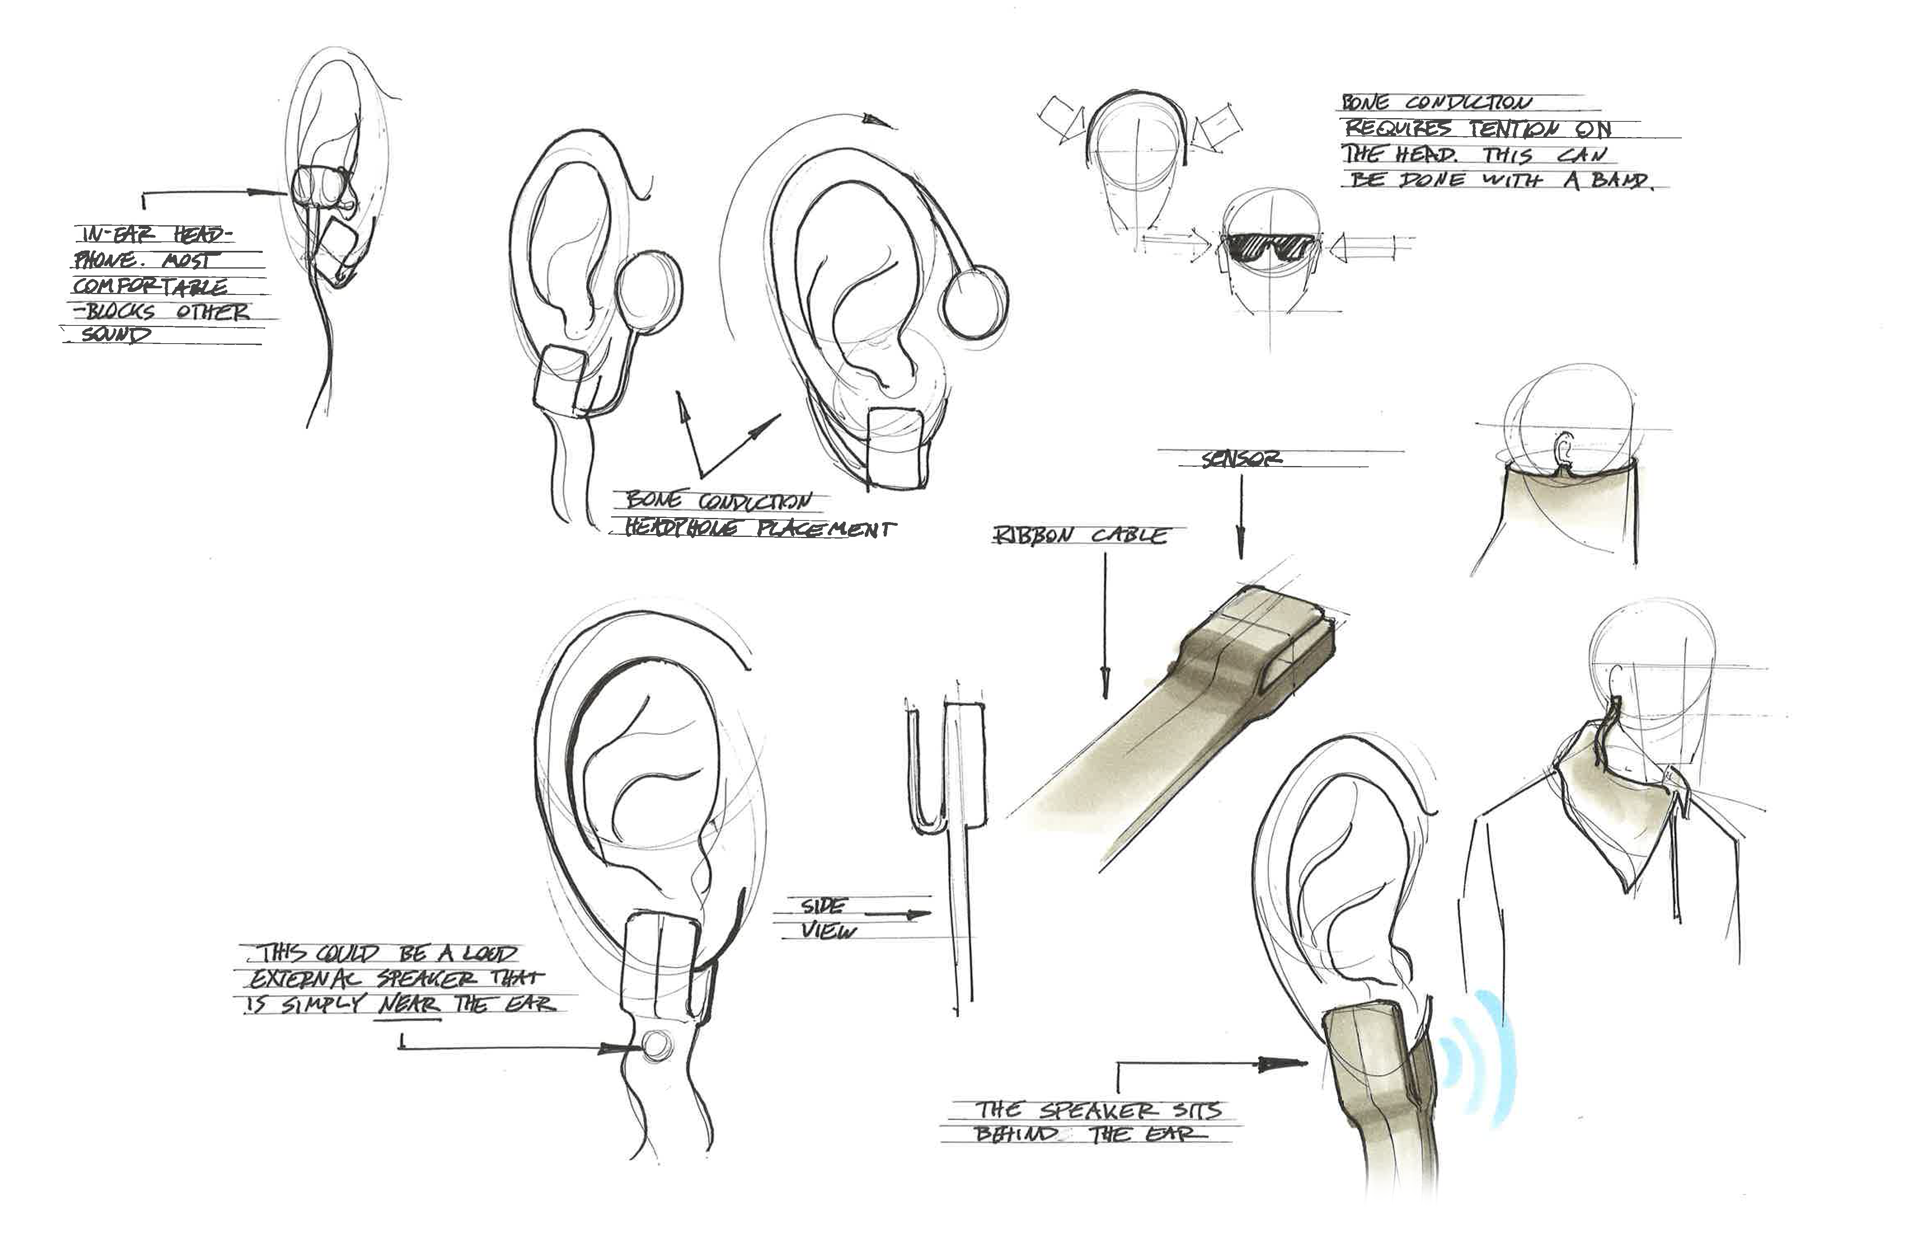
The oximeter uses infra red light and a photo sensor to monitor blood oxygen levels. The IR light to pass through the skin before it hits the photo sensor to collect this data. Because of this, It needs to be located on either the ear, the finger, or the nose.
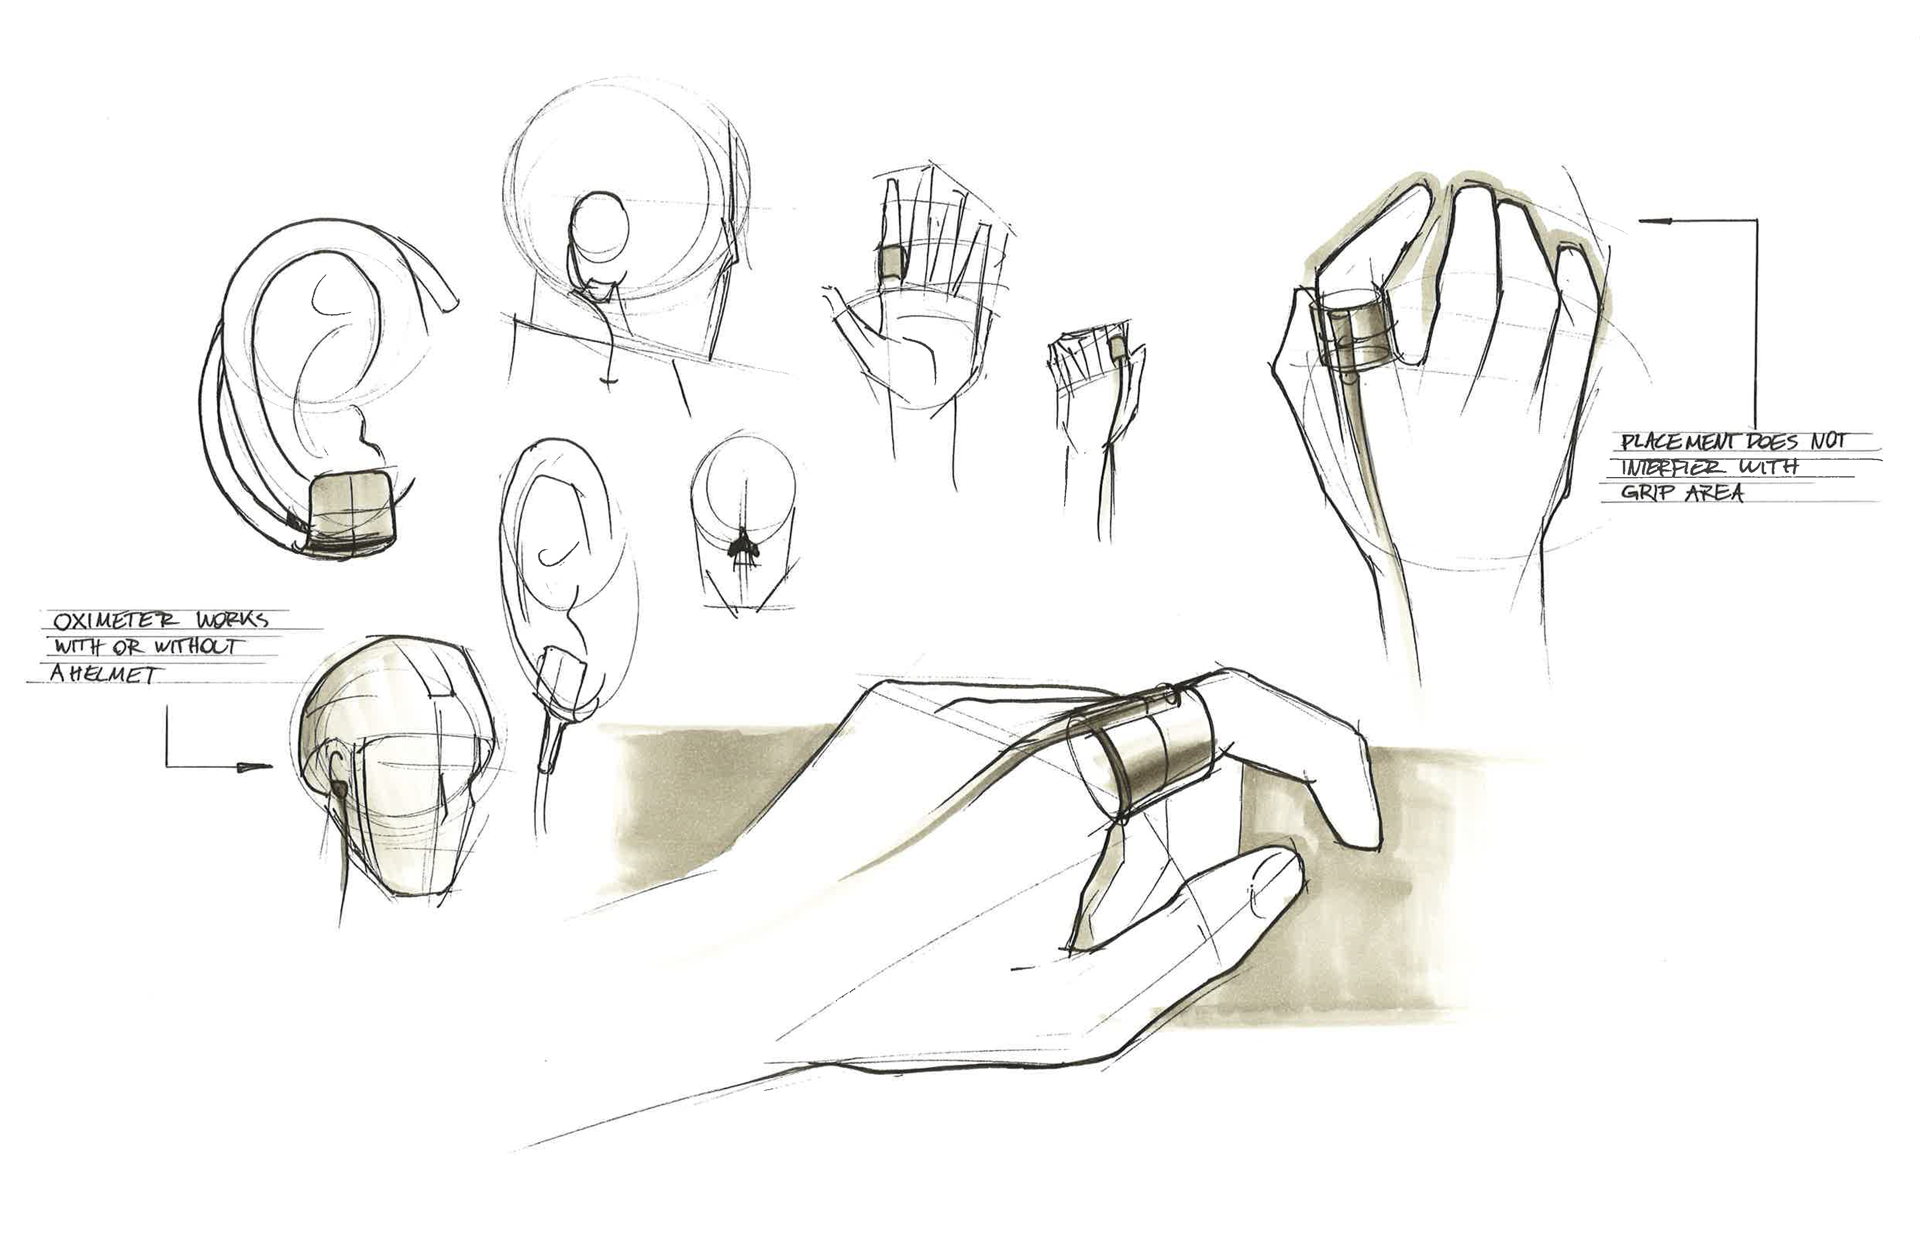
The ear would be the best location for the oximeter as it does not interfere with the climber's grip, it is not uncomfortable, and can be used to emit an audio notification as well.
User Scenario
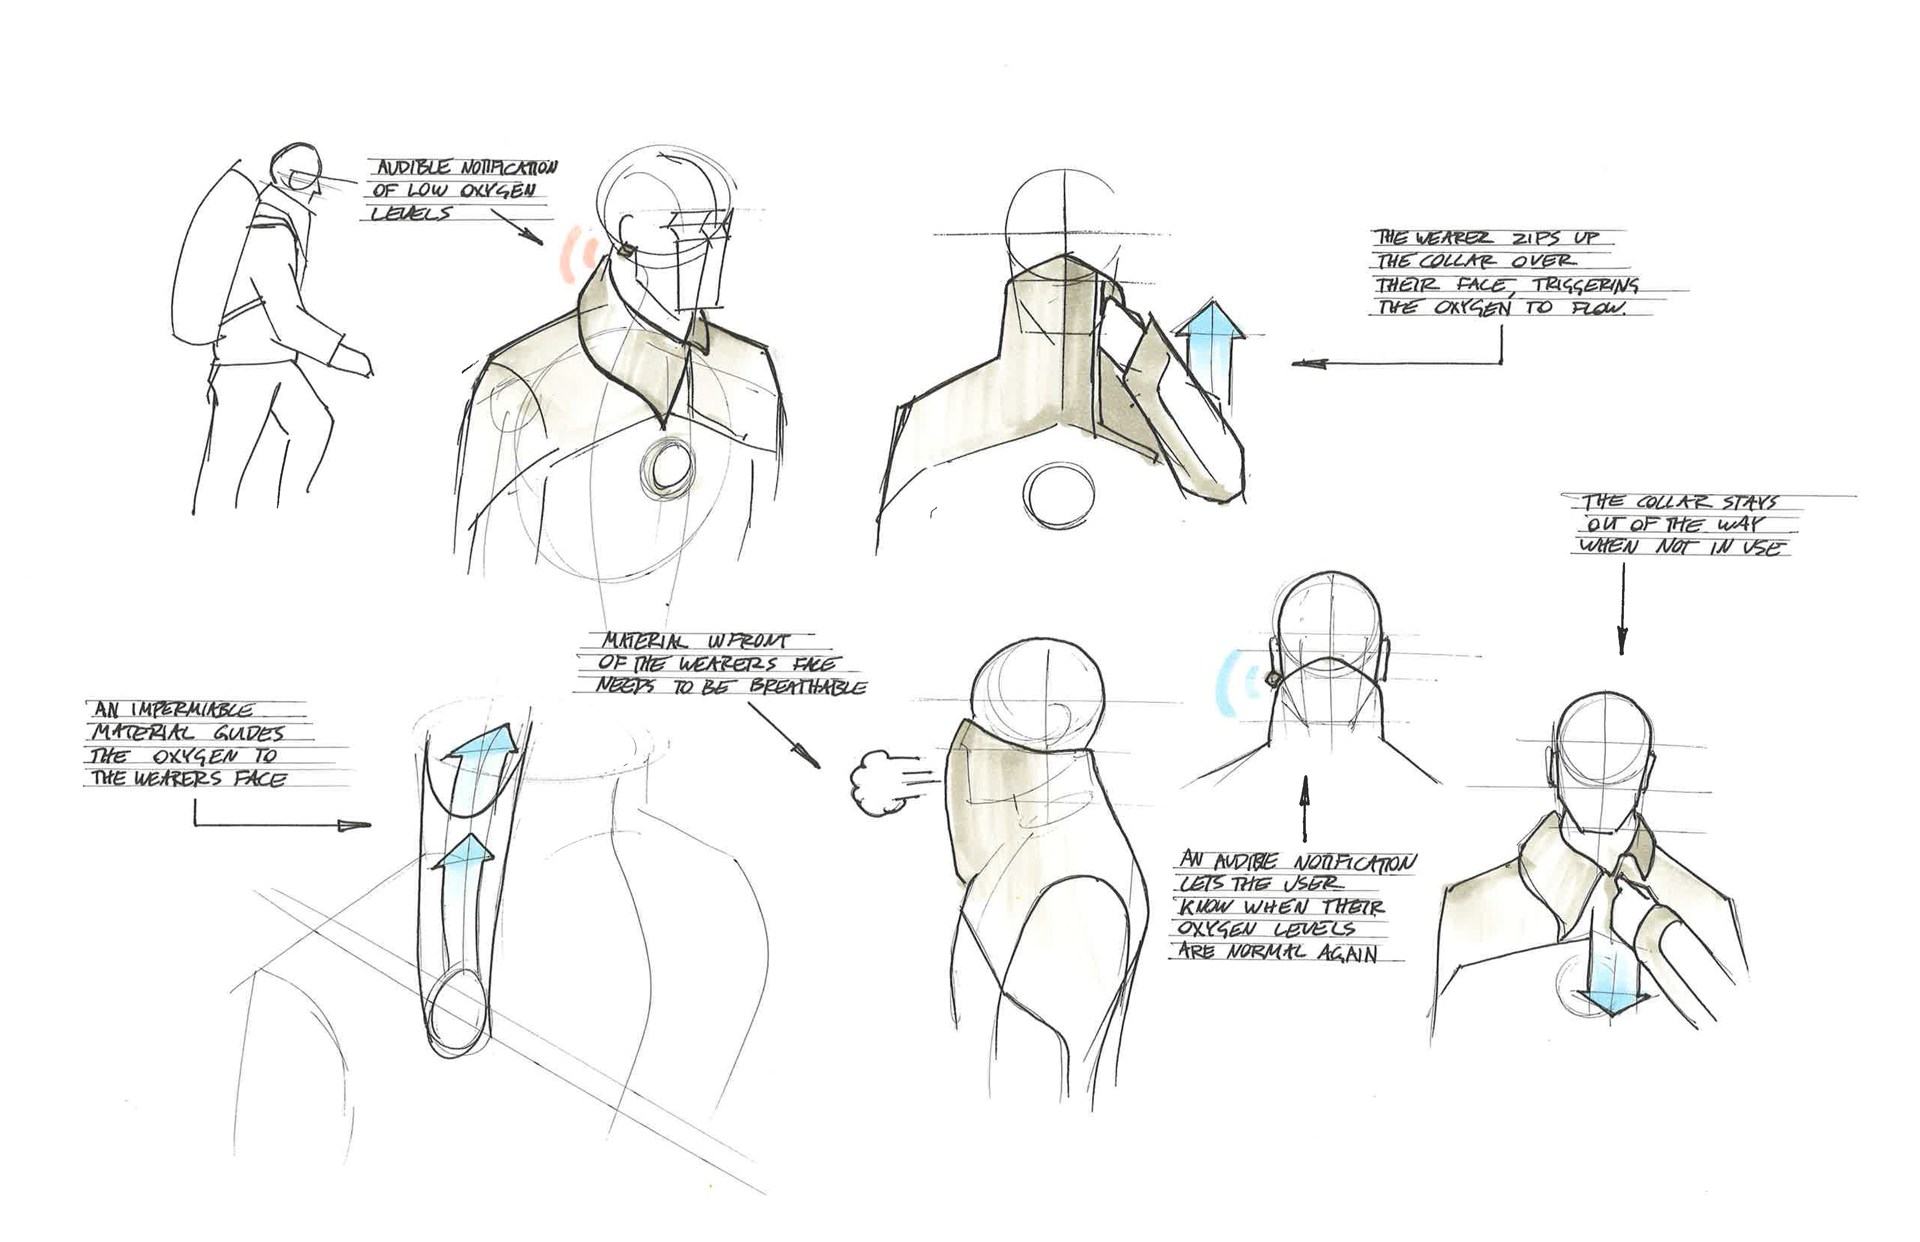
This is an earlier version of a user scenario showing how the system would be used.
Mockups
Sewing the Collar
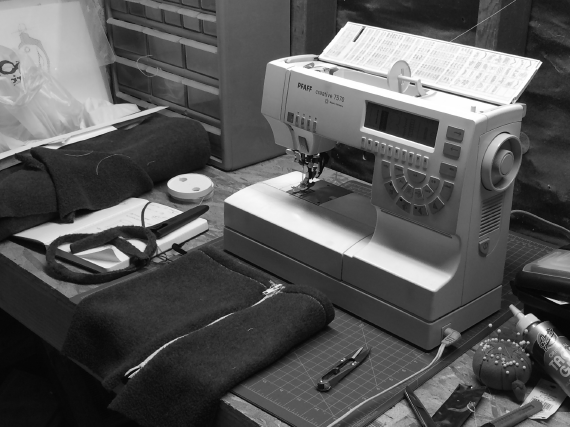
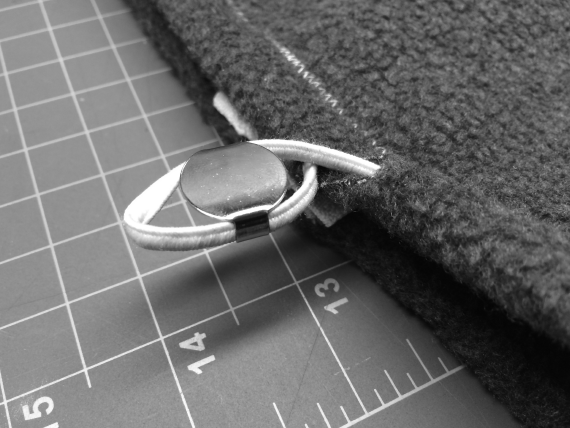
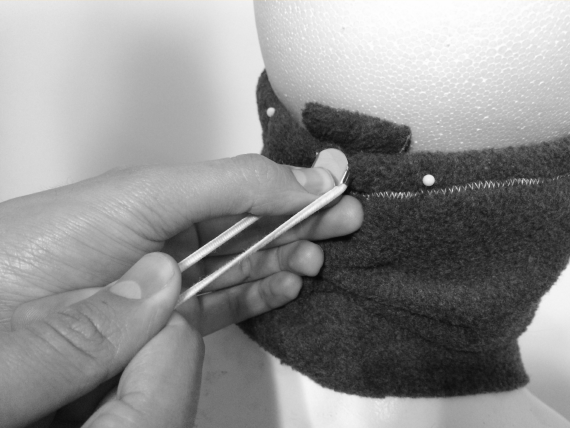
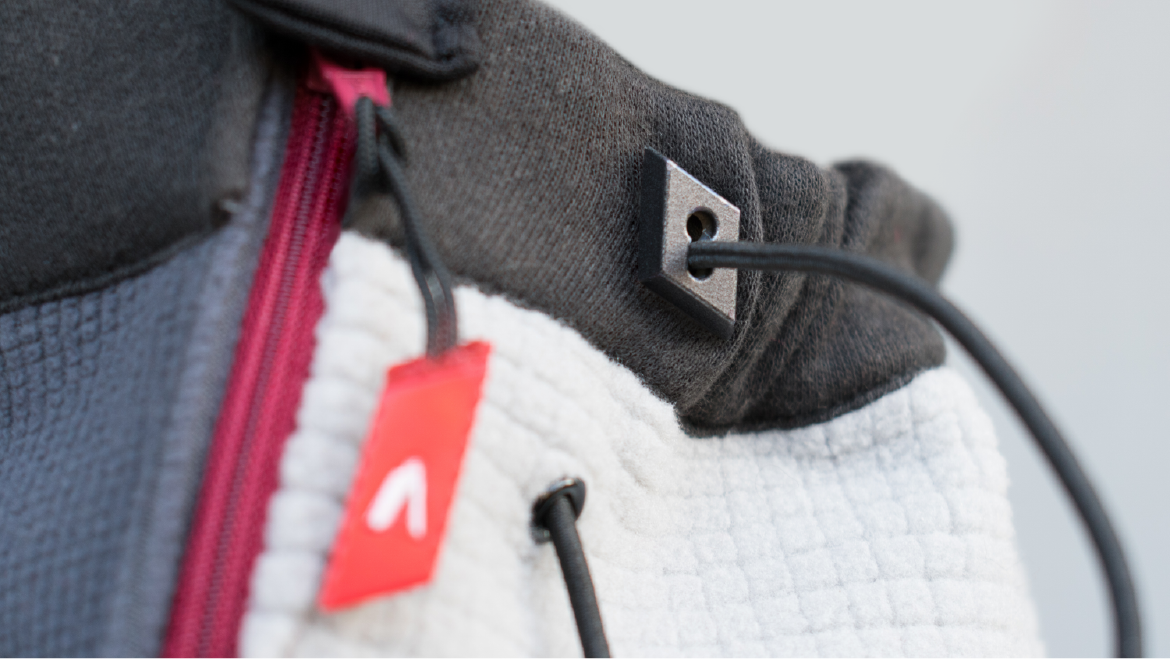
To refine the mockup of the collar of the jacket, I started working with fleece similar to what would be used in the final version. I started by including a zipper and an elastic cord. The cord needed to be adjustable so I used a bolo clasp to lock the tension of the chord.
Stiffening the Collar
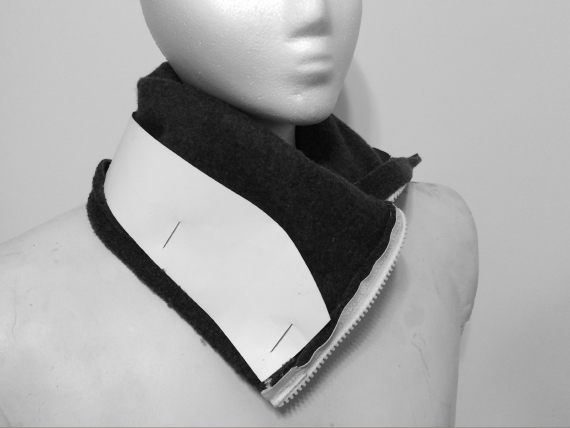
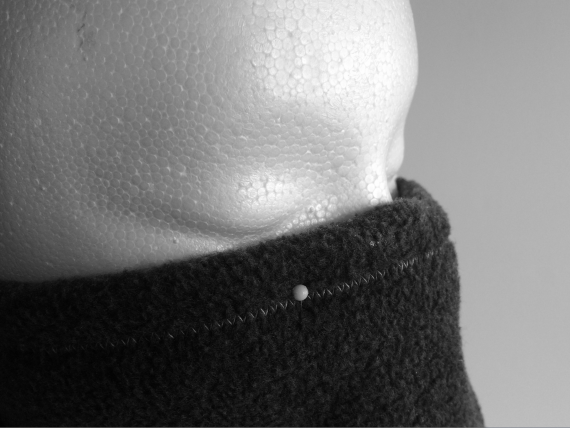
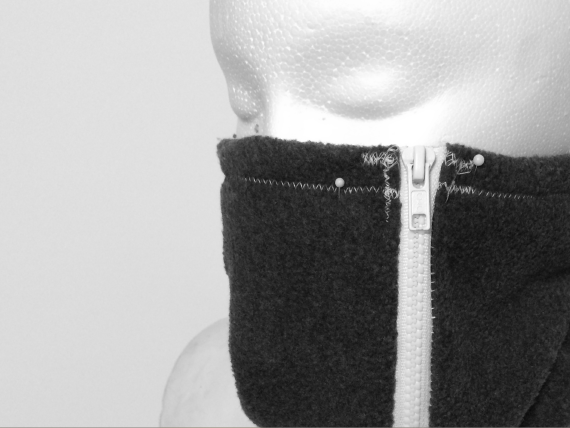
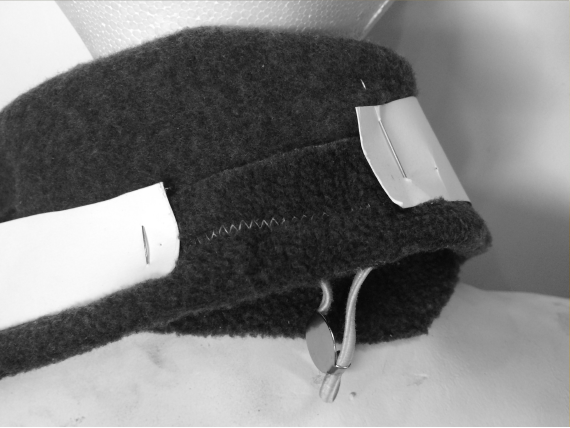
The elastic band was fairly comfortable to wear. It did a good job of keeping the collar up and over my nose. For the collar to unzip and lay down nicely when not in use, I included some thick paper to stiffen the material. This works similarly to the way stiff collars on dress shirts lay down.
Refining for Comfort
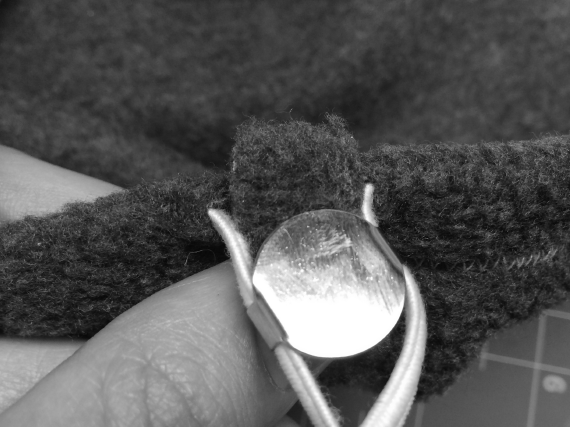
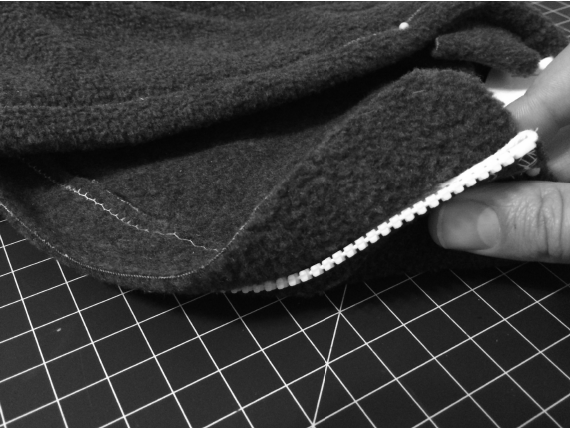
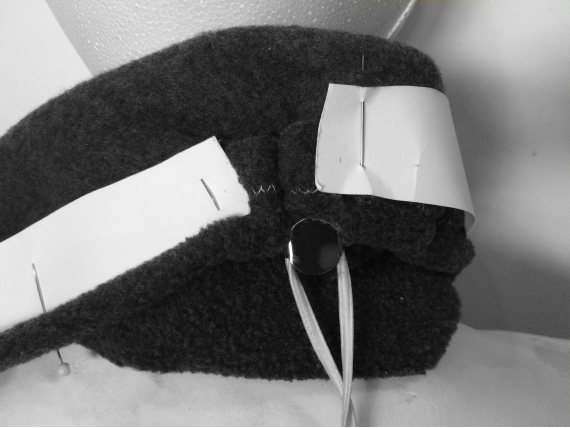
I noticed that the tension clasp was poking into the back of my head. I added some extra fabric here to cushion that area of my neck. Next, I noticed that the zipper was chaffing against my face, so I added a flap that would act as a barrier between the zipper and my face.
Originally the thick paper wrapped all the way around the collar. I found that when the elastic was tightened, the paper began to bunch up. This was very uncomfortable, so I cut away a section of it in the back. Now, the fabric has a specific area to freely bunch up without interfering with the paper.
The Air Channel
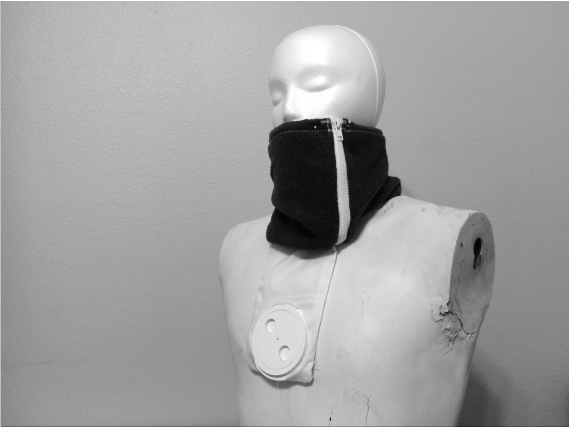
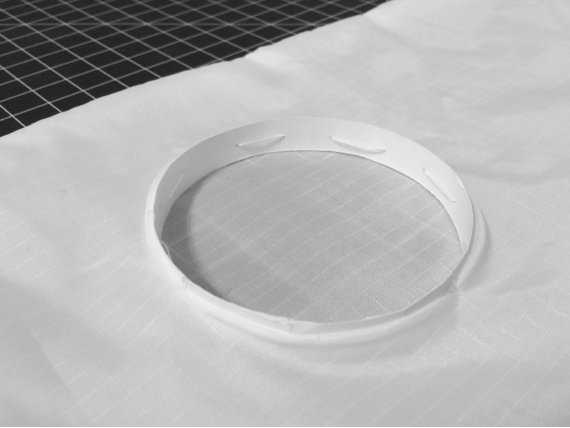
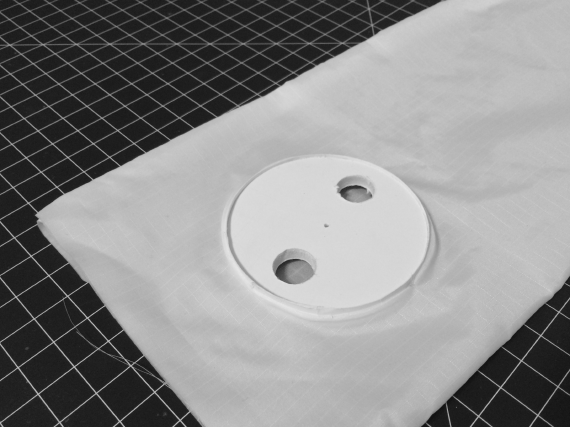
Next, I began to think about how the oxygen production device would be incorporated into the garment. This piece would have to be removable so that the jacket could be washed. Originally, I thought that elastic would accomplish this. However, I learned that the elastic may bunch up and feel uncomfortable on the chest.
This is why I decided to go with a hard part that could be sewn into the jacket. The device could still be removed by unscrewing it. The device would have to be encased in a fabric that would funnel the oxygen up to the user's face. I found that this airway needs to be extra long to allow full range of motion in the neck. It also needs to either be perforated or made out of a more breathable material so that the wearer doesn’t suffocate.
The Ear Piece
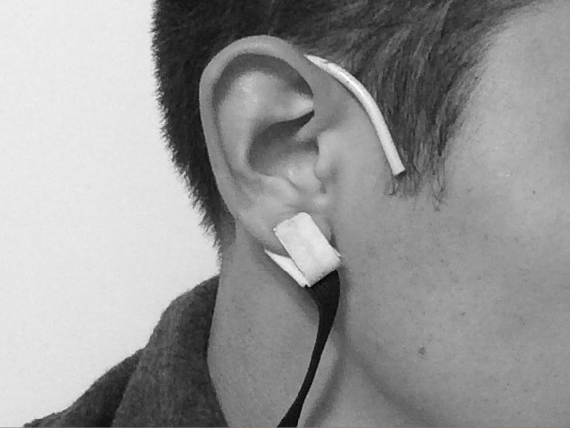
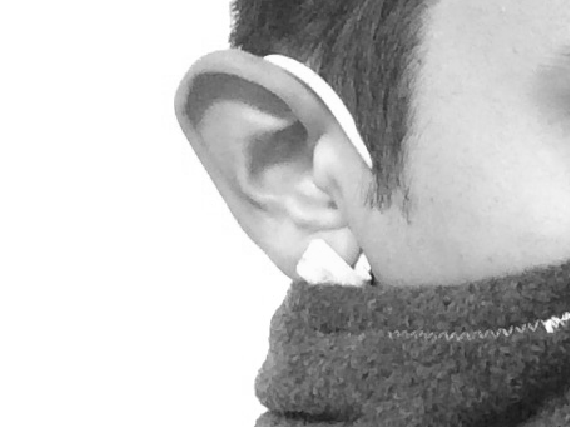
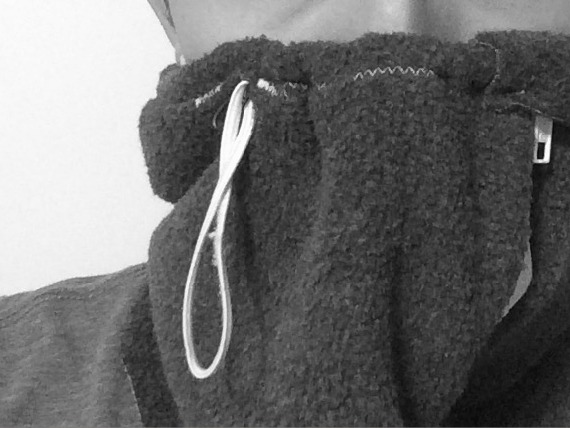
Next, I mocked up the oximeter and how it would be integrated into the collar. For it to be worn while the user has the collar down, it had to be attached to the garment near the shoulders. The earpiece required a hook that wrapped around the ear to keep it secure when the collar was cinched up. Before the addition of this hook, the earpiece would easily fall off.
Then, I tried changing the position of the tension band to ease of reach. First, the band was placed directly in front of the nose. In this position, the hard tension clasp was pressing into my nose. This made wearing the mask uncomfortable. Then, I moved the band over to the side of the face. This was much more comfortable as the hard clasp was pressing against my cheek instead of the bone on my nose. The problem with this is that the fabric now bunches up on your face. I then mocked up the oximeter and how it would be integrated into the collar. For it to be worn while the user has the collar down, it had to be attached to the garment near the shoulders. The earpiece required a hook that wrapped around the ear to keep it secure when the collar was cinched up. Before the addition of this hook, the earpiece would easily fall off.
Color and Materials
Material Colors
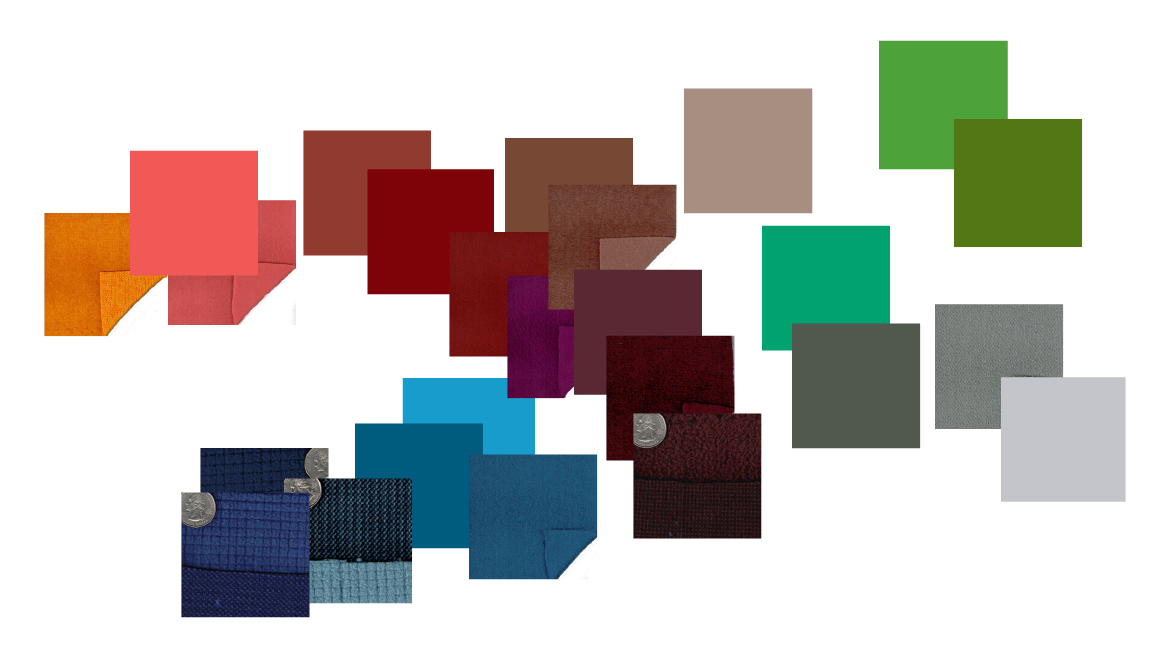
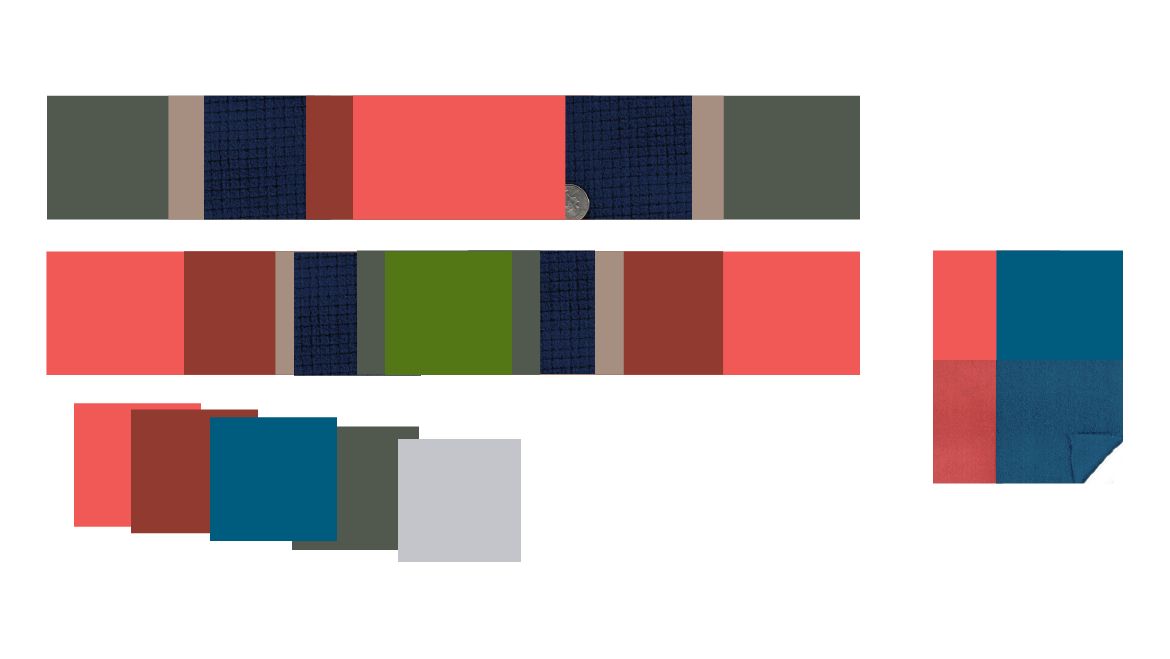
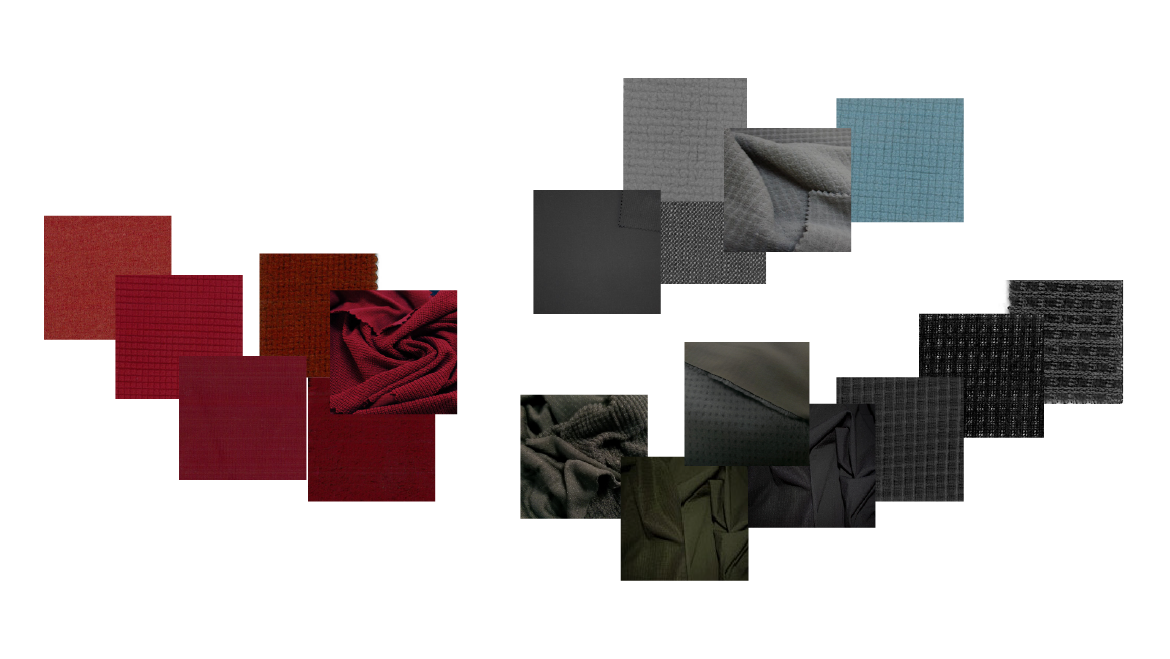
When selecting the final materials, I started by gathering digital swatches from many different suppliers.
Color Trends 2016, 2017
Next, I compared these swatches to the projected outdoor gear color trends for 2016-2017.
Refining Material and Colors
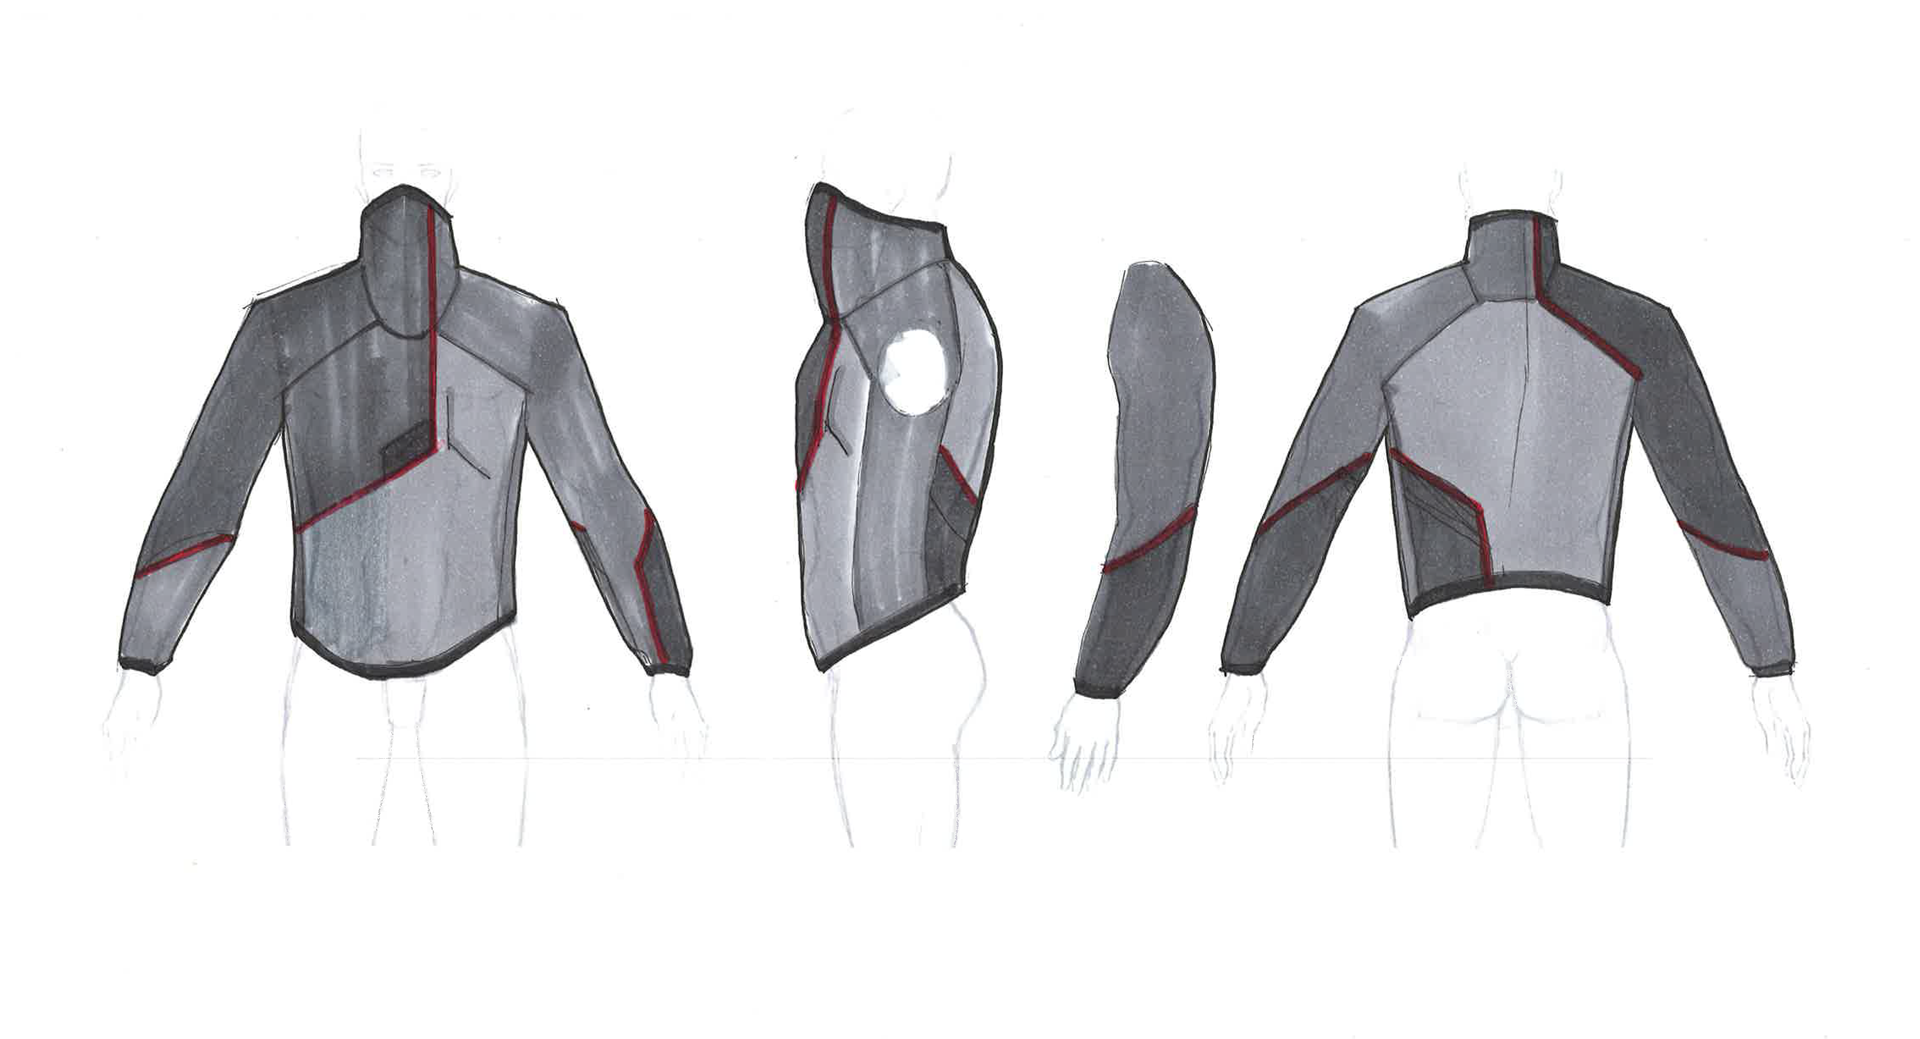
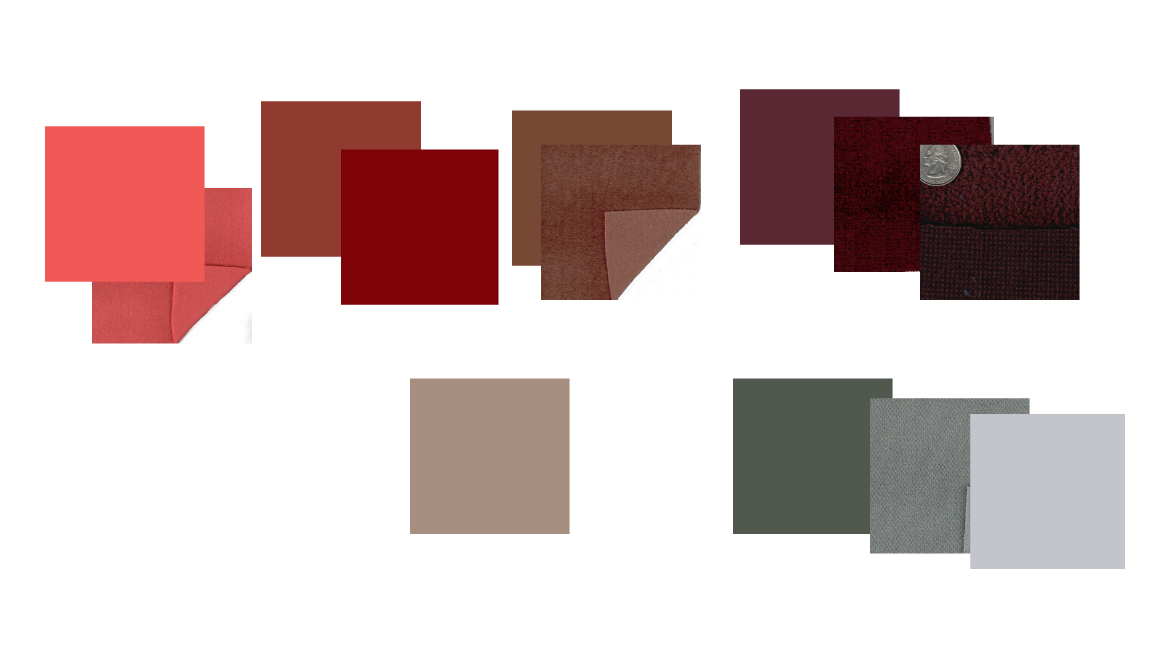
After looking at the color trends report, I decided to pick out some of the reds as they would pop out against the cool gray granite stone of the Sierra Nevada.
These reds can also be paired with gray fabric for a similar contrast.
Materials from Rocky Woods:
Materials from Fabric Line:
Color Matching
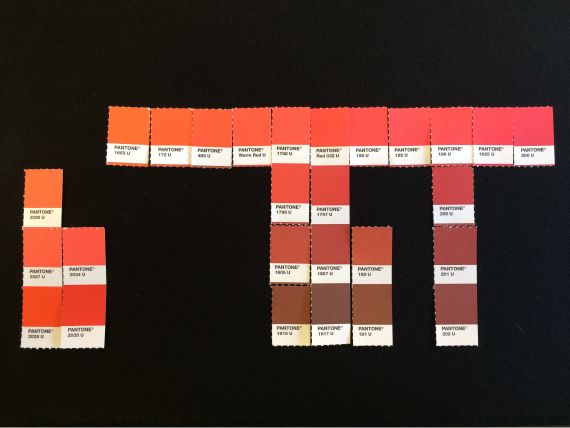
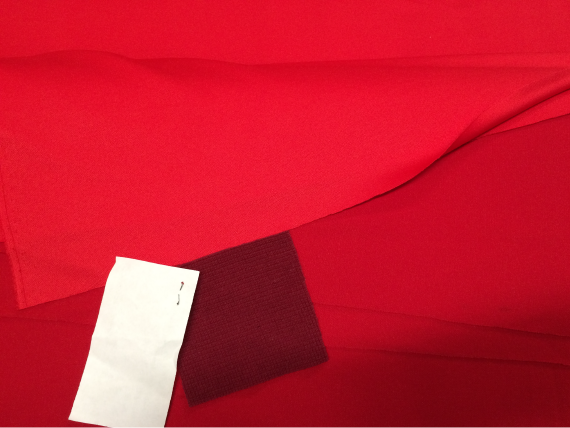
Using Pantone chips that share similar color formulas, I can start to pick out fabrics that match digital color comps. These reds will be used for accents and lining.
Soft Electronics
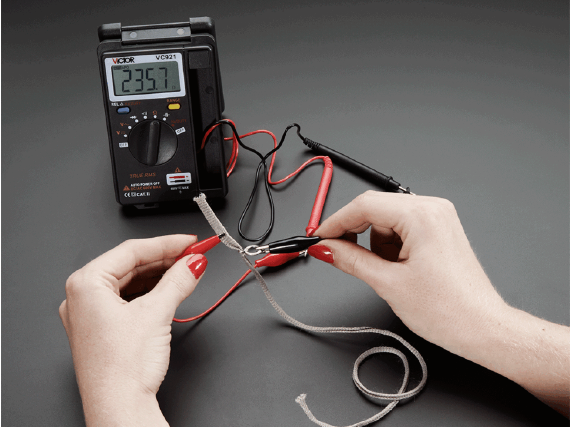
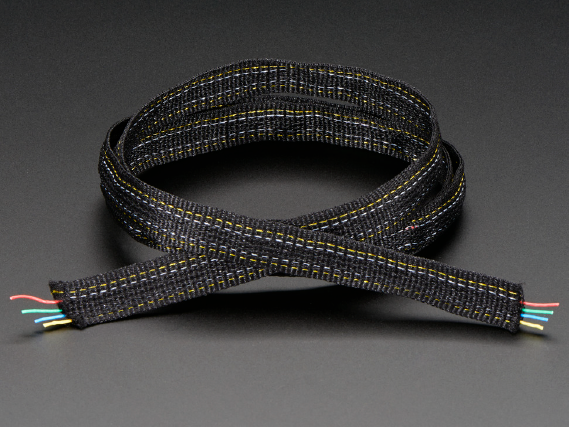
Adafruit sells a soft potentiometer as well as many other electronics designed specifically for wearables.
This makes it possible to make the oxygen production device much more comfortable for the user to wear.
Details
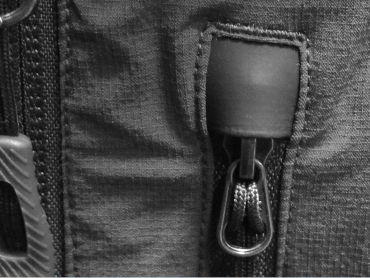
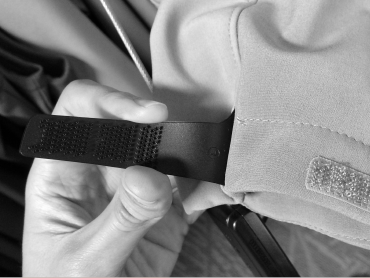
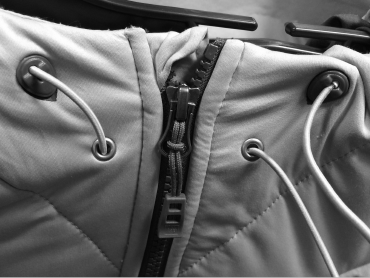
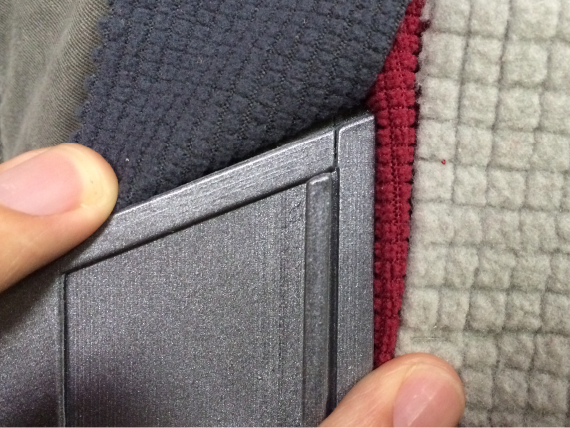
Looking around REI, I found some interesting hardware being used in fleece jackets.
I also found a jacket with a very simple, easy to use tension lock system for tightening up the collar and the hood.
I also found a jacket with a very simple, easy to use tension lock system for tightening up the collar and the hood.
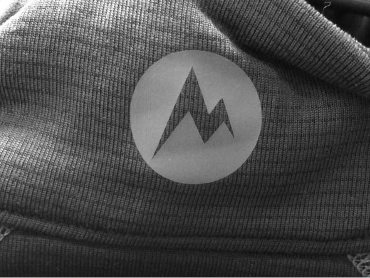
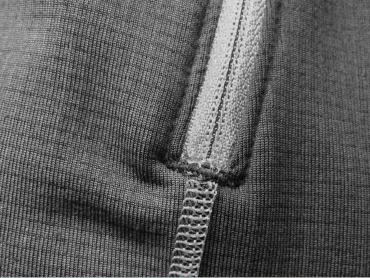
Next, I was looking for opportunities to apply graphics.
Next, I was looking for opportunities to apply graphics.
Depending on the type of fleece, graphics can be screen printed.
Lastly, I noticed some interesting details in the form of a seam that leads into a colorful pocket.
Final Construction
Construction Pattern
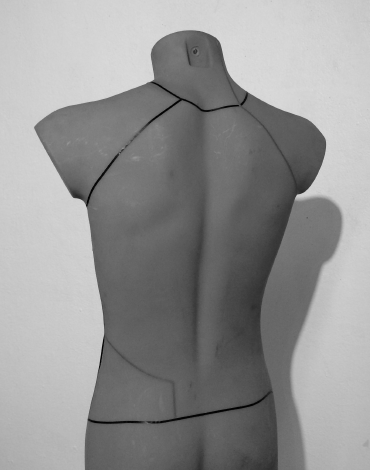
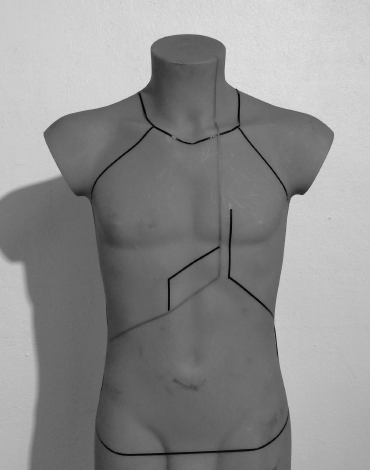
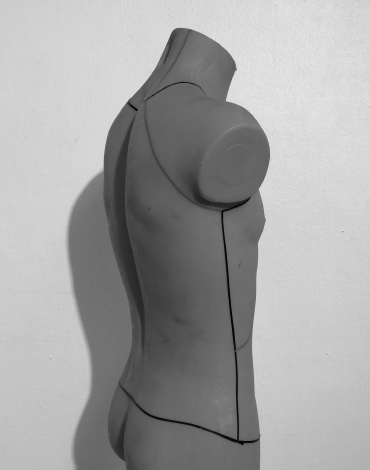
To figure out some of the aesthetic patterning, I draped tape lines on a mannequin. This made it much easier to see how the lines were wrapping around the form.
Screen Printing
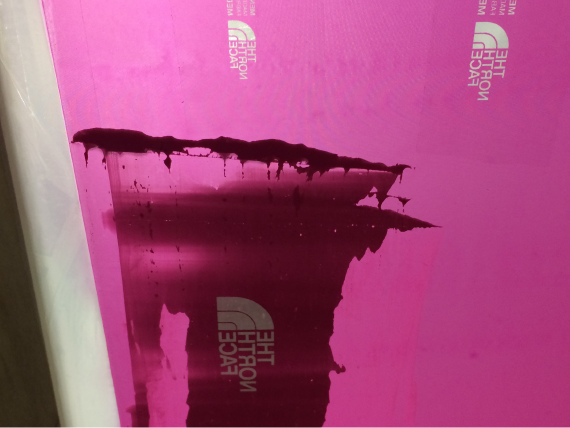
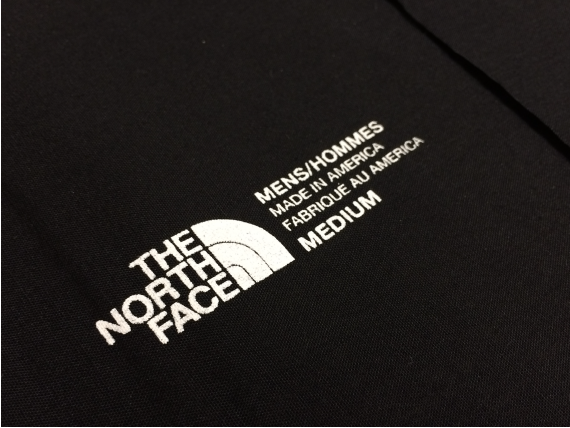
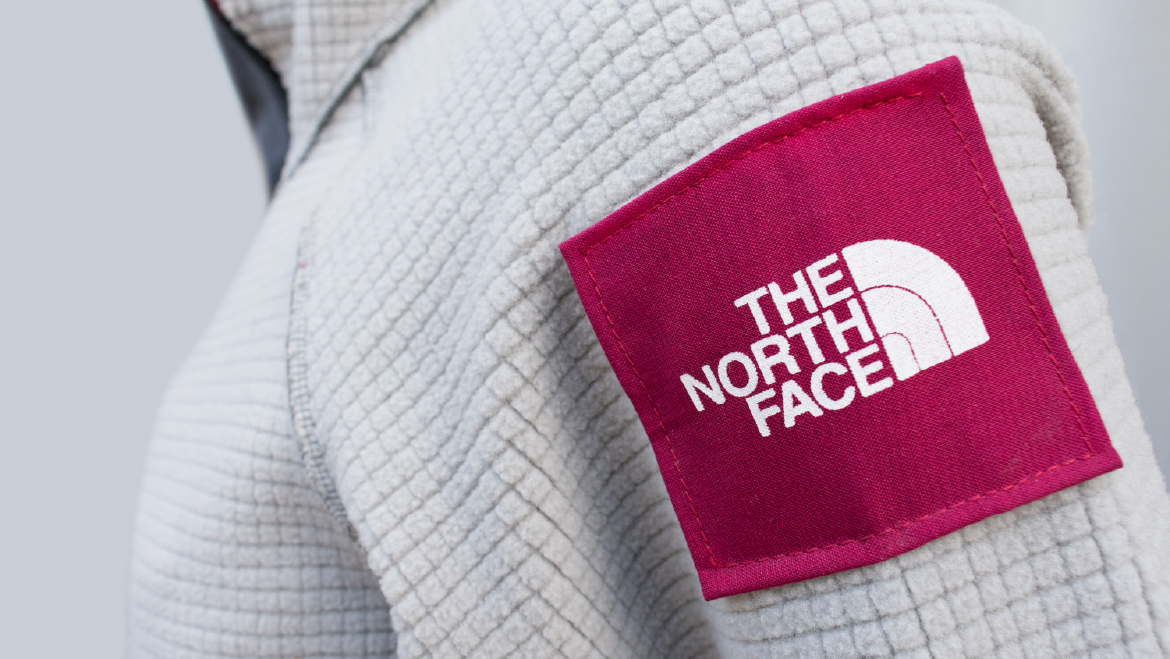
Screen printing tags and patches that will appear on the final model.
The Hang-Tag
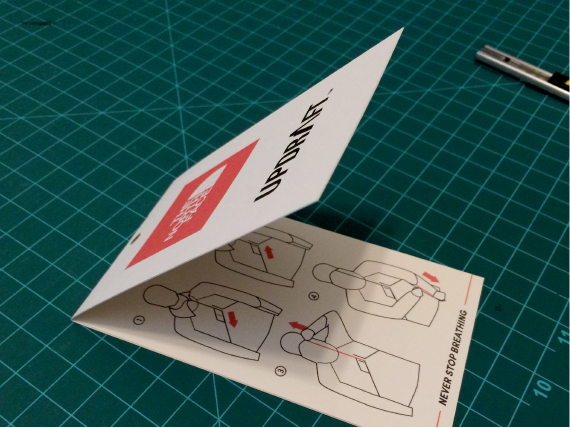
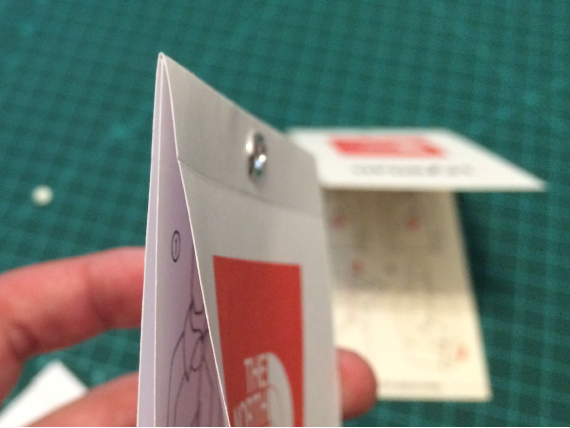
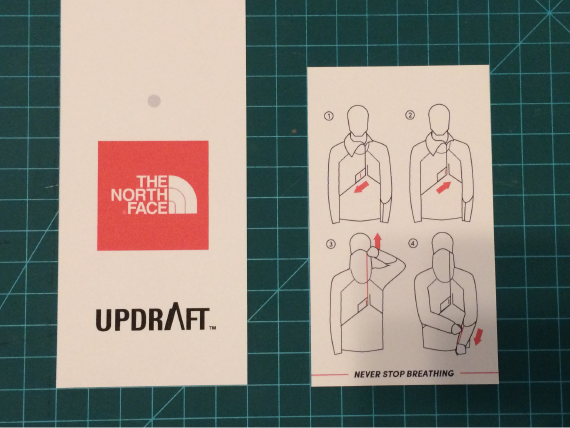
This hang-tag functions as a branding element as well as user instructions.
Assembly
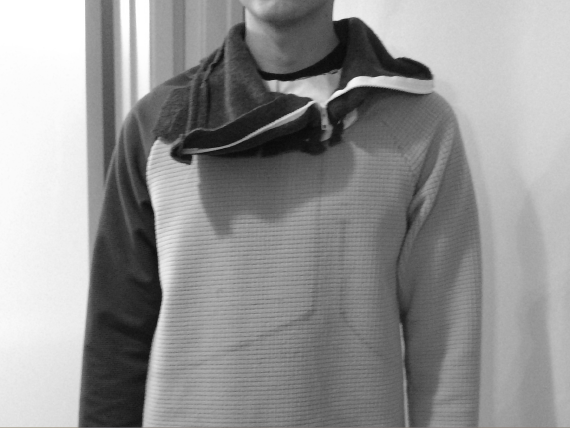
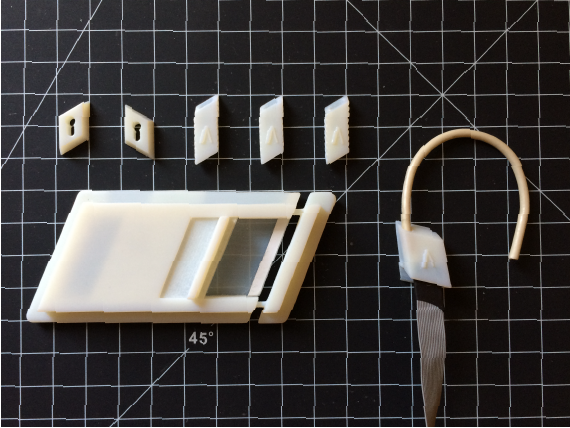
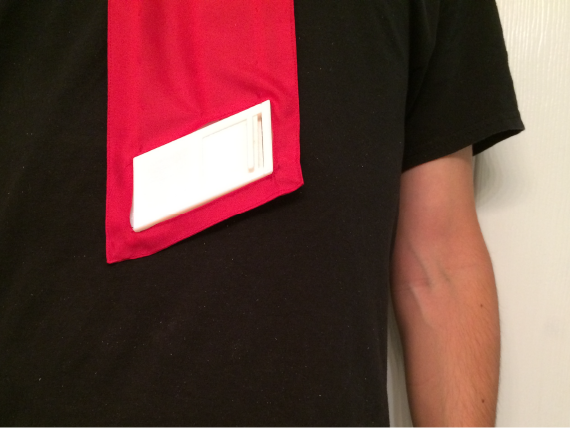
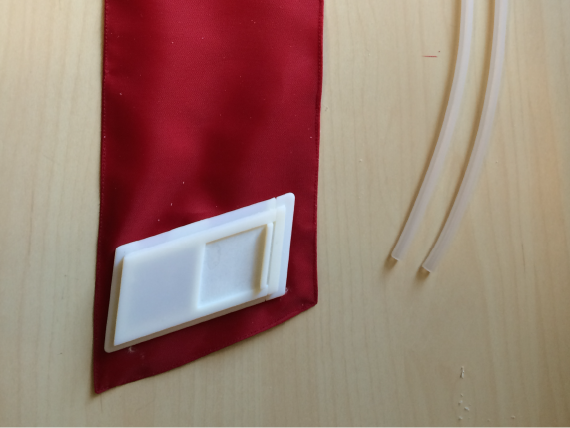
Translating the pattern lines to fabric and beginging to sew the final model.
Now that prototype hardware parts have been printed and are working as intended, I begin to start integrating them into the final.
Constructing the “funnel” for the oxygen to be delivered from the device to the wearer.
All works © Christiahn Roman 2017

